
Summarise this article with:
You can stitch a before-after picture online for free in 3 steps, and the whole workflow usually finishes in under 5 minutes. No software install, no account needed, and the merged file retains the original resolution of each shot, ready to post anywhere.
Creating a compelling comparison is mostly about consistency. When the angle, lighting, and framing match, the viewer instantly sees the transformation without distraction. MergeImages supplies three browser tools that line up the images for you, then let you download a ready-to-post file.
Horizontal Side-by-Side Method
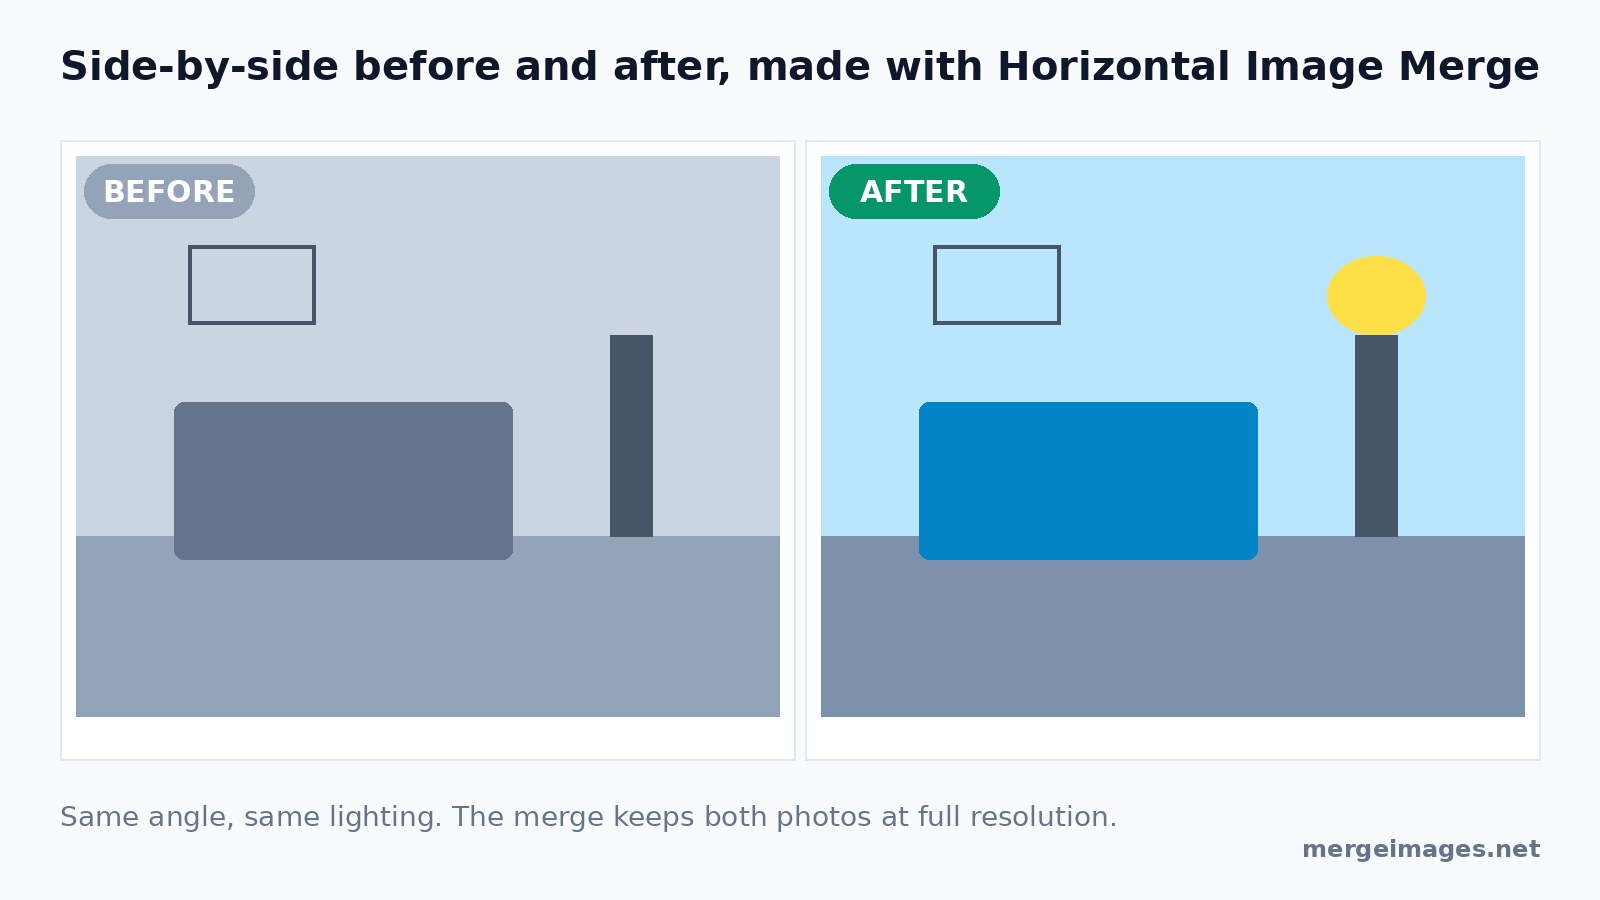
The classic layout puts the before picture on the left and the after picture on the right. This orientation follows the natural left-to-right reading flow and works well on most social feeds.
- Open the horizontal image merge tool.
- Drag your "before" picture into the first slot.
- Drag the "after" picture into the second slot.
- Set a spacing of 5 pixels for a subtle divider.
- Choose a neutral background color such as #ffffff.
- Press Merge and download the combined file.
The output is a single image you can drop straight into Instagram, Facebook, or a website portfolio. Because the tool does not add layers, the two photos remain side by side without any blending.
Vertical Stack Method
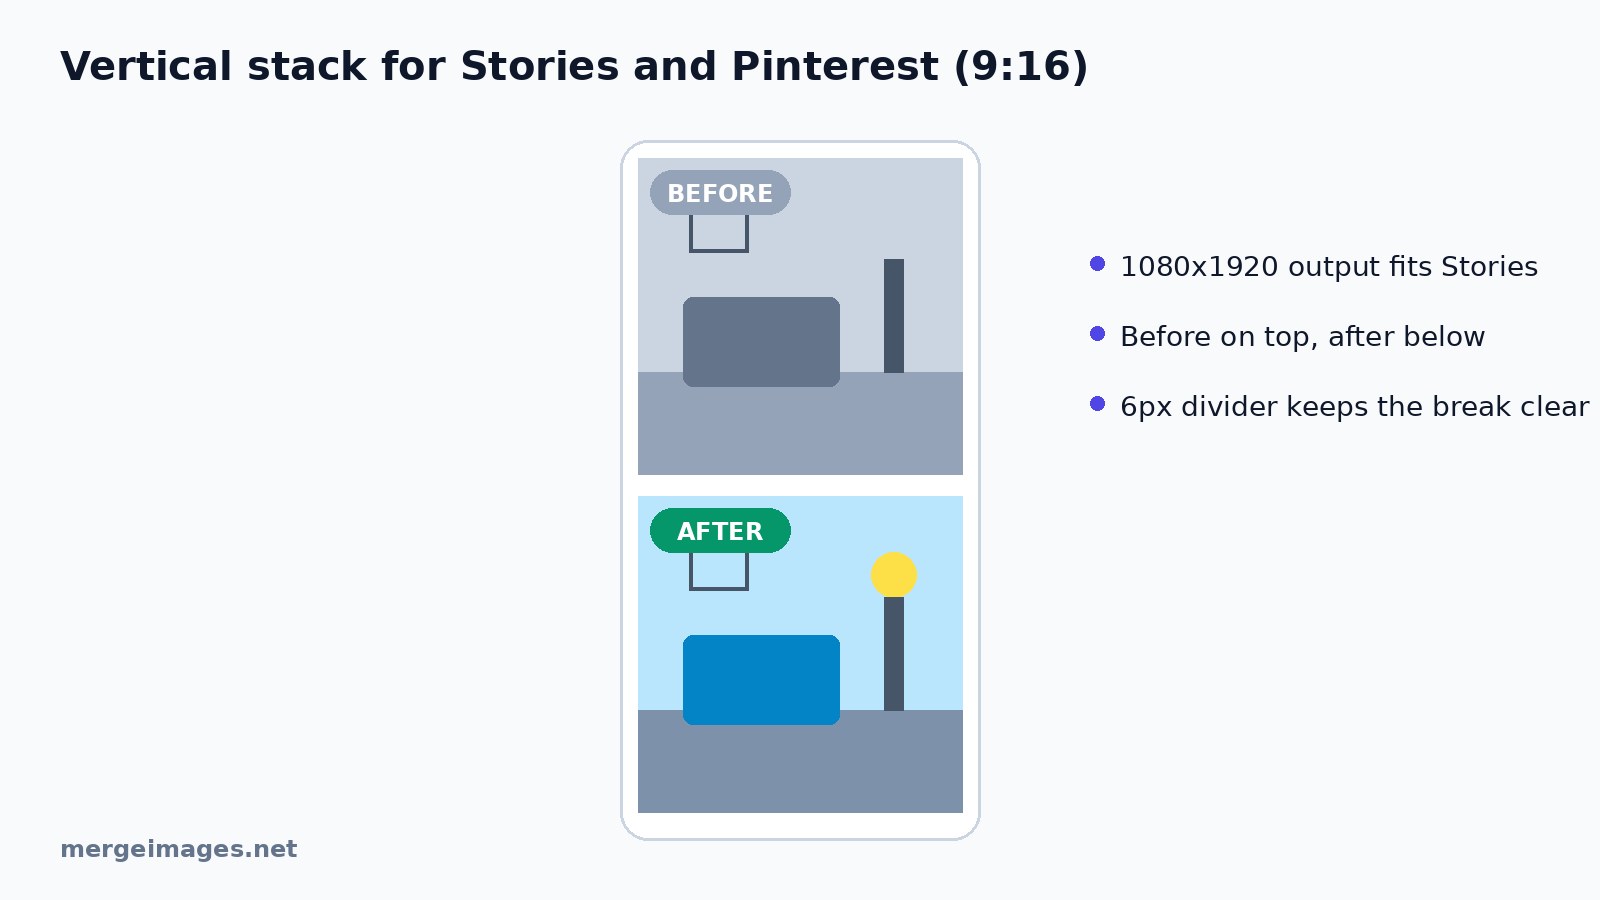
Stacking places the before photo on top and the after photo below. The tall format fits perfectly into Instagram Stories or Pinterest pins.
- Launch the vertical image merge tool.
- Upload the before picture first; it will appear at the top.
- Upload the after picture second.
- Adjust spacing to 6 pixels for a clear break.
- Select a background that matches your brand palette.
- Click Merge and save the file.
A vertical stack shines when the subject is tall, such as a full-body pose or a door-to-room transformation. The merged image keeps the original resolution of each photo.
Grid Collage for Multiple Stages
When a project has several milestones, a grid collage tells the whole story at a glance. Use the photo collage maker to arrange up to six images in a 2×3 layout.
- Open the collage maker and pick a 2×3 grid template.
- Add images in chronological order, start with the earliest "before" and end with the final "after".
- Adjust the spacing between cells to 4 pixels.
- Apply a thin border if you want each frame to stand out.
- Export the collage as a high-quality PNG.
A collage works well for renovation timelines, step-by-step tutorials, or product development cycles. Because the tool only places images side by side, you can later edit any cell in a separate editor if needed.
Preparation Tips for Perfect Comparisons
Matching the angle is the first hurdle. The moment I tried to photograph a client’s posture without a stable reference, the second shot was a few centimeters off and the comparison looked jittery. I now tape a small piece of masking tape to the floor where the tripod legs sit; the tape acts as a repeatable marker and eliminates that drift.
Uniform lighting removes a whole class of problems. Shooting at the same hour of day, using the same lamp or window, and turning off any stray overhead lights keeps the color temperature steady. If you must move indoors, carry a portable LED panel so the illumination stays constant.
Sticking to one device prevents white-balance shifts. Switching from a phone to a DSLR mid-project often results in a noticeable hue change that no amount of post-processing can fully hide. If you have to change cameras, copy the exposure, ISO, and white-balance settings manually.
Cropping to identical dimensions before you merge is a small but powerful step. The image cropper tool lets you lock an exact aspect ratio, 4:3, 1:1, or any custom size, so both frames line up perfectly.
Adding simple labels such as "Before" and "After" removes any doubt. A thin sans-serif caption placed in the lower corner of each half is enough; you can add the text in any graphic editor after the merge.
Finally, consider the background. A plain, non-reflective surface keeps the focus on the subject. For product shots, the background remover tool isolates the item and lets you place it on a neutral canvas before merging.
Practical Use Cases
Fitness, Photograph a client’s posture at the start of a program, then repeat after eight weeks. The side-by-side layout highlights muscle tone and alignment improvements. 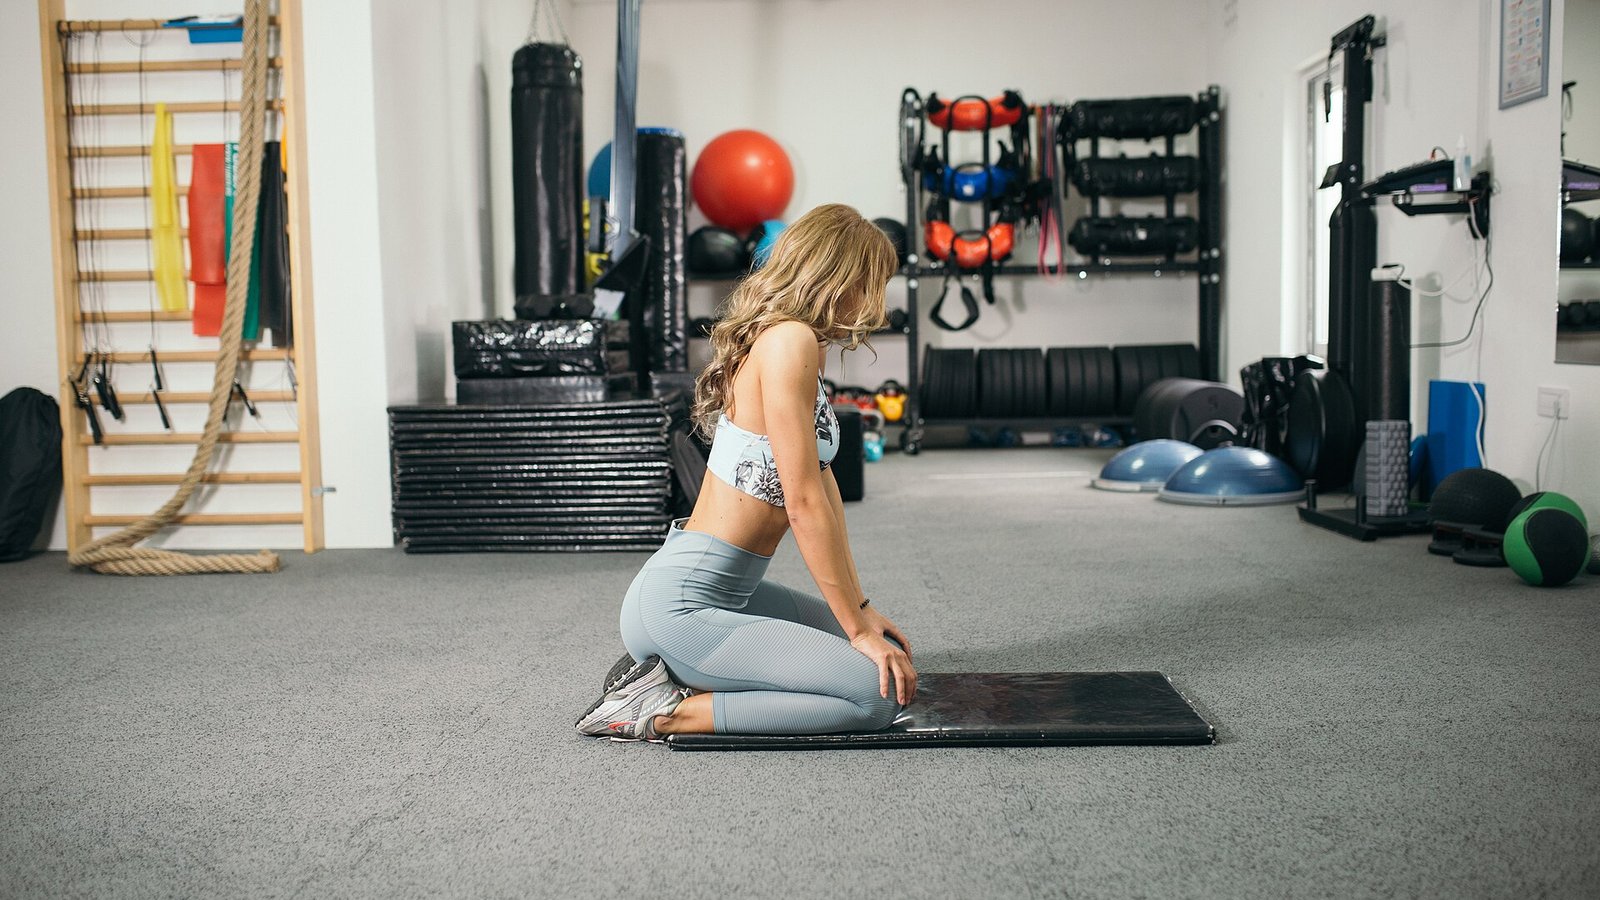 Photo: Nenad Stojkovic, CC BY 2.0, via Wikimedia Commons
Home Renovation, Capture a kitchen before demolition, then after installation of new cabinets. The grid collage can include intermediate steps like plumbing and tiling for a complete showcase. 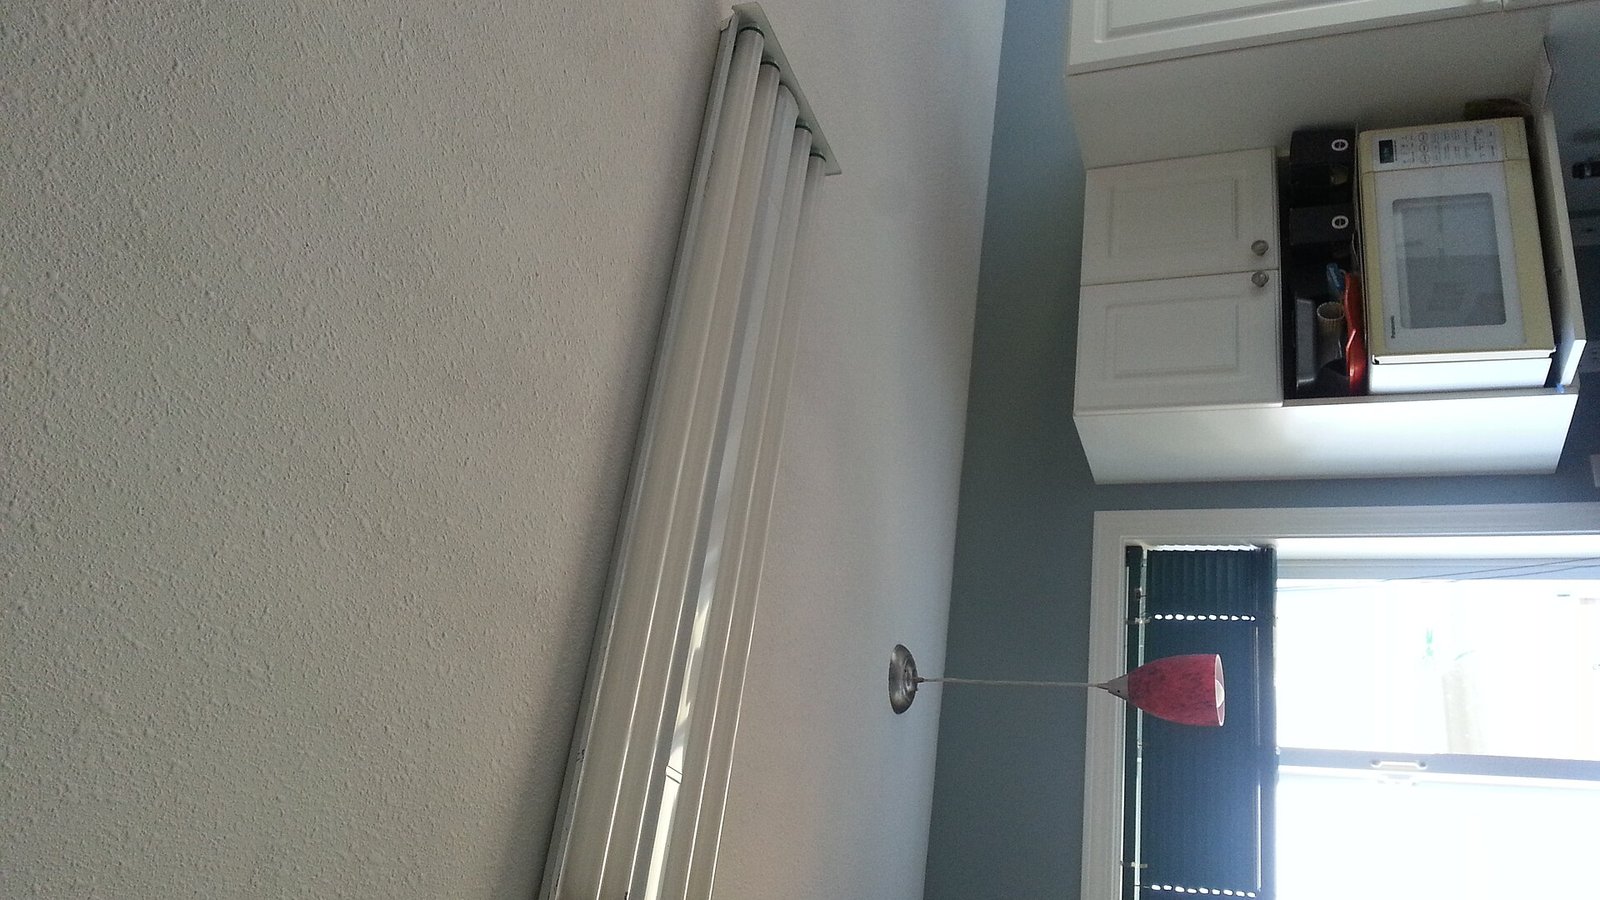 Photo: terri_bateman, CC BY 2.0, via Wikimedia Commons
Cleaning Services, Show a carpet before deep-cleaning and after stain removal. A vertical stack works well on Instagram Stories where you can add a short caption describing the cleaning method.
Restoration Framing, Document a vintage frame before restoration, after cleaning, and after re-glazing. Use the horizontal method to keep the frame edges aligned for easy visual comparison.
Worked Example: From Shoot to Share
Imagine you are documenting a backyard makeover. First, you set up a tripod on a concrete slab and tape a corner of the base plate to the slab. This tiny marker guarantees that the camera height and distance stay identical for the "before" and "after" shots.
You fire the first shot at 10 am, using the kitchen’s overhead light as the only illumination source. The camera records a 4000×3000 px JPEG with ISO 200, f/5.6, and a white-balance of 5600 K.
Six weeks later, the new pergola is in place. You return to the same spot, line up the tape, and snap the "after" picture with the same settings. The two files look almost identical except for the new structure.
Next, you open the horizontal image merge tool, drag the "before" file into the left slot and the "after" file into the right slot. You keep the default 5-pixel spacing, choose a #ffffff background, and click Merge. The tool instantly produces a 8000×3000 px PNG that preserves the original detail.
Finally, you head to the image resizer to shrink the width to 1200 px for a blog post, preserving the aspect ratio. The resulting file loads quickly and looks crisp on both desktop and mobile.
Consistency Checklist Details
A quick mental run-through before you press the shutter can save you a lot of re-shooting. Verify that the camera sits at the same height and distance, that the lighting direction and intensity have not changed, and that the background remains a uniform, non-reflective surface. Keep the ISO, aperture, and white-balance values locked, and name the files with a clear prefix, "before_" and "after_", to avoid mix-ups. Apply the same crop ratio to both images before you merge.
Export Guidance for Different Platforms
When you finish merging, choose PNG if you need sharp edges or text labels; PNG preserves every pixel without compression artifacts. JPEG works well for social feeds where a smaller file size speeds up loading; set the quality to a high level, around 80-90 percent, to keep details while reducing weight.
Export at 1080 px wide for Instagram, 1200 px wide for blog posts, and up to 2000 px for high-detail portfolios. Stick to the sRGB color profile for web consistency; switch to Adobe RGB only when the final destination is a print medium that requires a wider gamut.
Optimizing for Different Platforms
Instagram prefers a square 1080×1080 image for feed posts, while Stories favor a vertical 1080×1920 canvas. The horizontal merge works well for feed, and the vertical stack shines in Stories. Facebook displays side-by-side images clearly in news feeds, but keep the file under 1 MB for faster loading.
Pinterest rewards tall vertical images; aim for a 2:3 ratio and add a concise description in the pin text. Google Business Profile lets you upload a before-after image directly to your listing, giving potential customers a quick visual proof of your service quality.
On your own website, embed the merged image in a case-study page. Use the image resizer to match the layout width, typically 1200 px, so the picture aligns with surrounding text and loads efficiently.
Frequently Asked Questions
How long does it take to create a before & after photo?
Usually under five minutes, depending on how quickly you upload and adjust spacing.
Do I need to sign up for MergeImages tools?
No, all tools are free, browser-based, and require no registration.
Can I merge more than two photos at once?
Yes, the horizontal and vertical merge tools accept three or more images, creating a row or column of comparisons.
What file formats are supported for download?
You can download the result as PNG or JPEG, both of which are widely accepted on social platforms.
Is there a size limit for uploaded images?
Each image can be up to 5 MB, which is sufficient for high-resolution photos.
I found that spending a minute on lighting and angle makes the final comparison look far more professional. By following these steps, creating before & after photos online free becomes a quick and reliable part of any visual workflow.
Bello builds useful software and writes thoughtful content to make sense of it all. He tests the tools himself and checks the facts before any of it goes in a guide.
Try Our Free Image Tools
Ready to Try It?
Put these tips into practice with our free online image merger. No signup required.
Merge Images Now


