
Summarise this article with:
You can assemble a photo collage in minutes with a free browser tool without installing software or creating an account. Upload 3 to 9 images, set a 10 to 30 px gap, pick a horizontal or vertical layout, and you have a composition ready to share.
Collage Fundamentals
A collage tells a visual story through picture placement. The strongest layouts balance three factors: theme, color, and composition. Consistent theme lets the viewer follow the narrative without distraction. Color harmony ties disparate shots together. Balanced composition distributes visual weight so no single corner feels heavier. Layouts often collapse when one image dominates the color palette. Remedy this by muting that image with an exposure tweak before merging. A common mistake is to rely on the automatic layout engine without checking the visual flow; the algorithm may place a bright sky next to a dark portrait, creating a jarring contrast that pulls the eye away from the intended focal point. Stepping back and rearranging the thumbnails manually can often restore a smoother rhythm.
Orientation and Platform Fit
Choosing between a horizontal (landscape) or vertical (portrait) arrangement depends on where the collage appears. Instagram feeds favor square or vertical formats. Website banners look better horizontal. If you plan to share on both, start with a horizontal canvas and crop a vertical version later. Cropping after export reduces resolution. Set the final size before merging to stay safe. Keep in mind that some platforms compress images aggressively; a collage that looks crisp on a desktop may lose detail on a mobile feed if the original file exceeds the platform’s recommended dimensions.
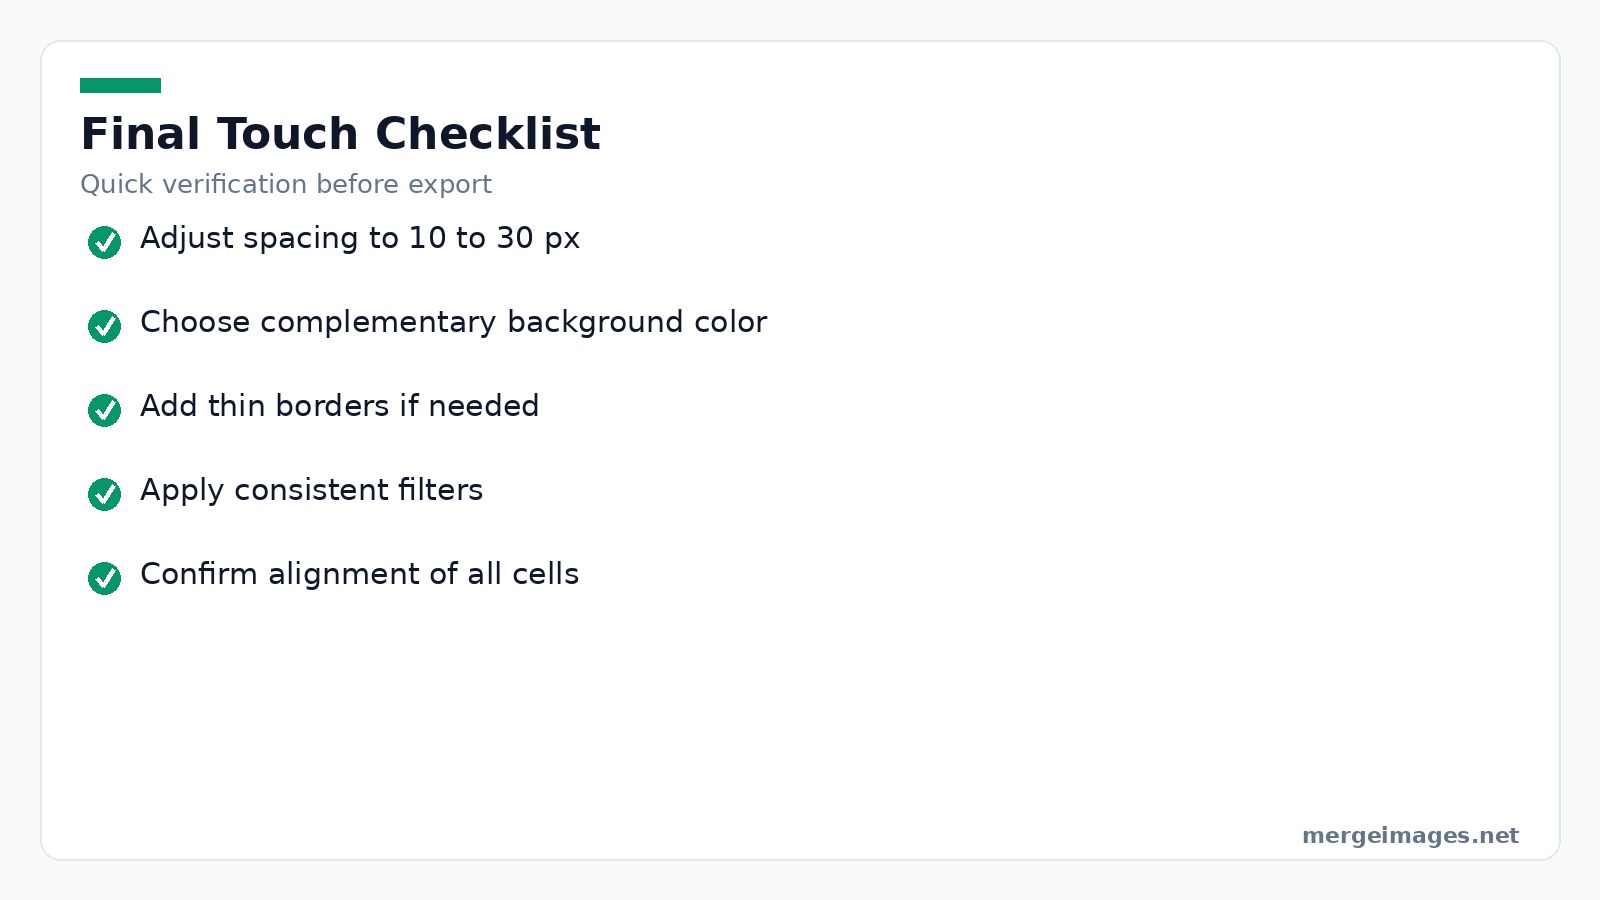
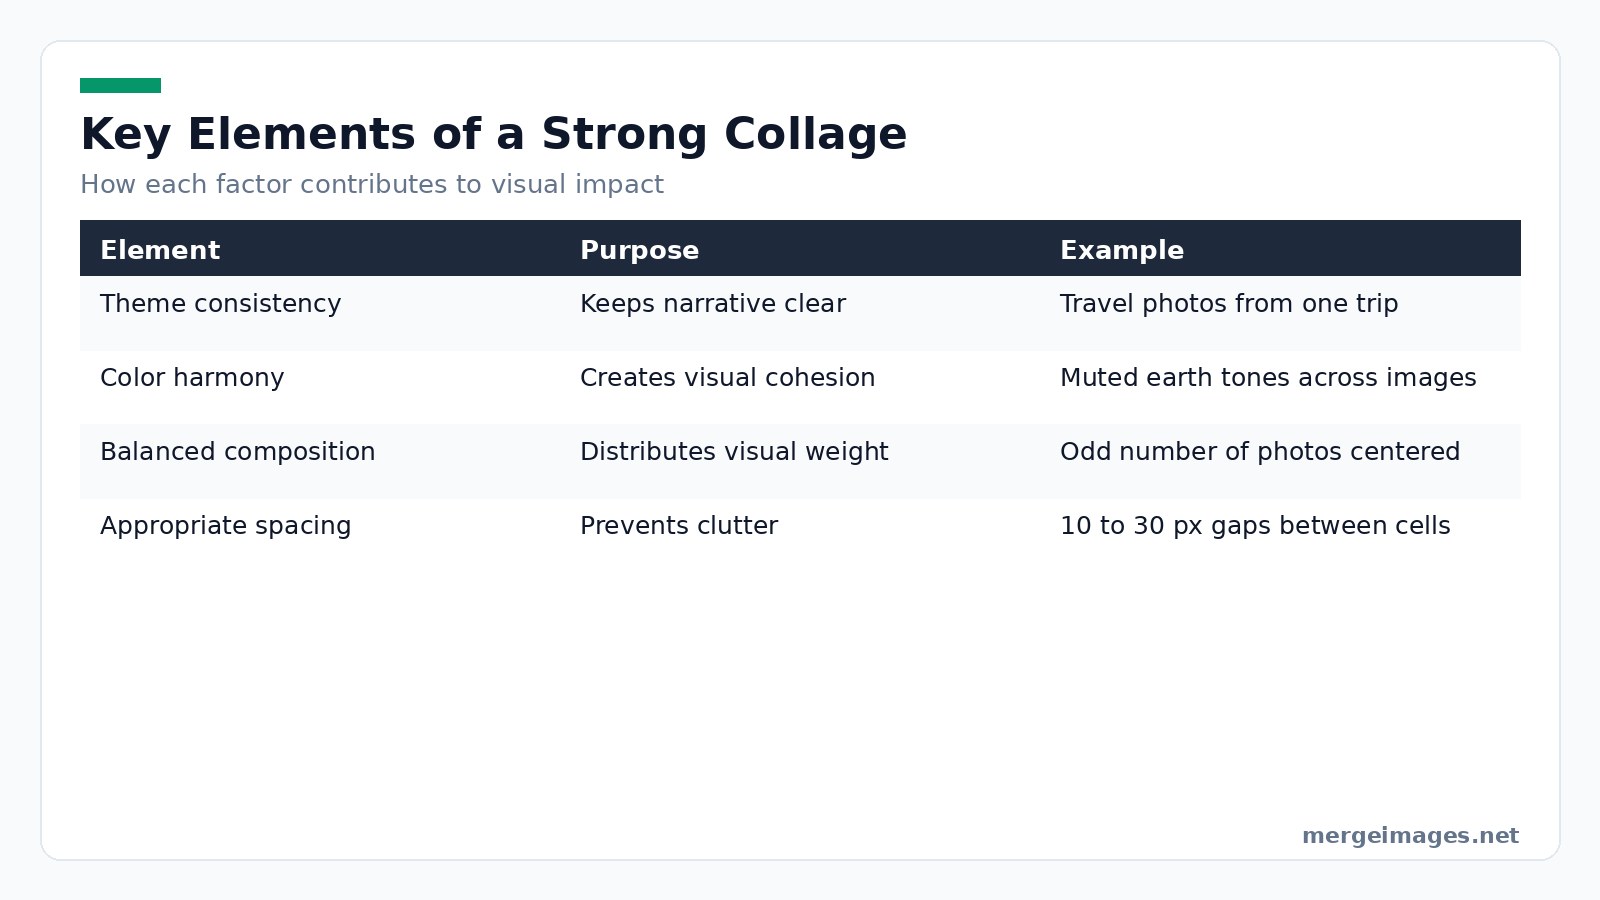
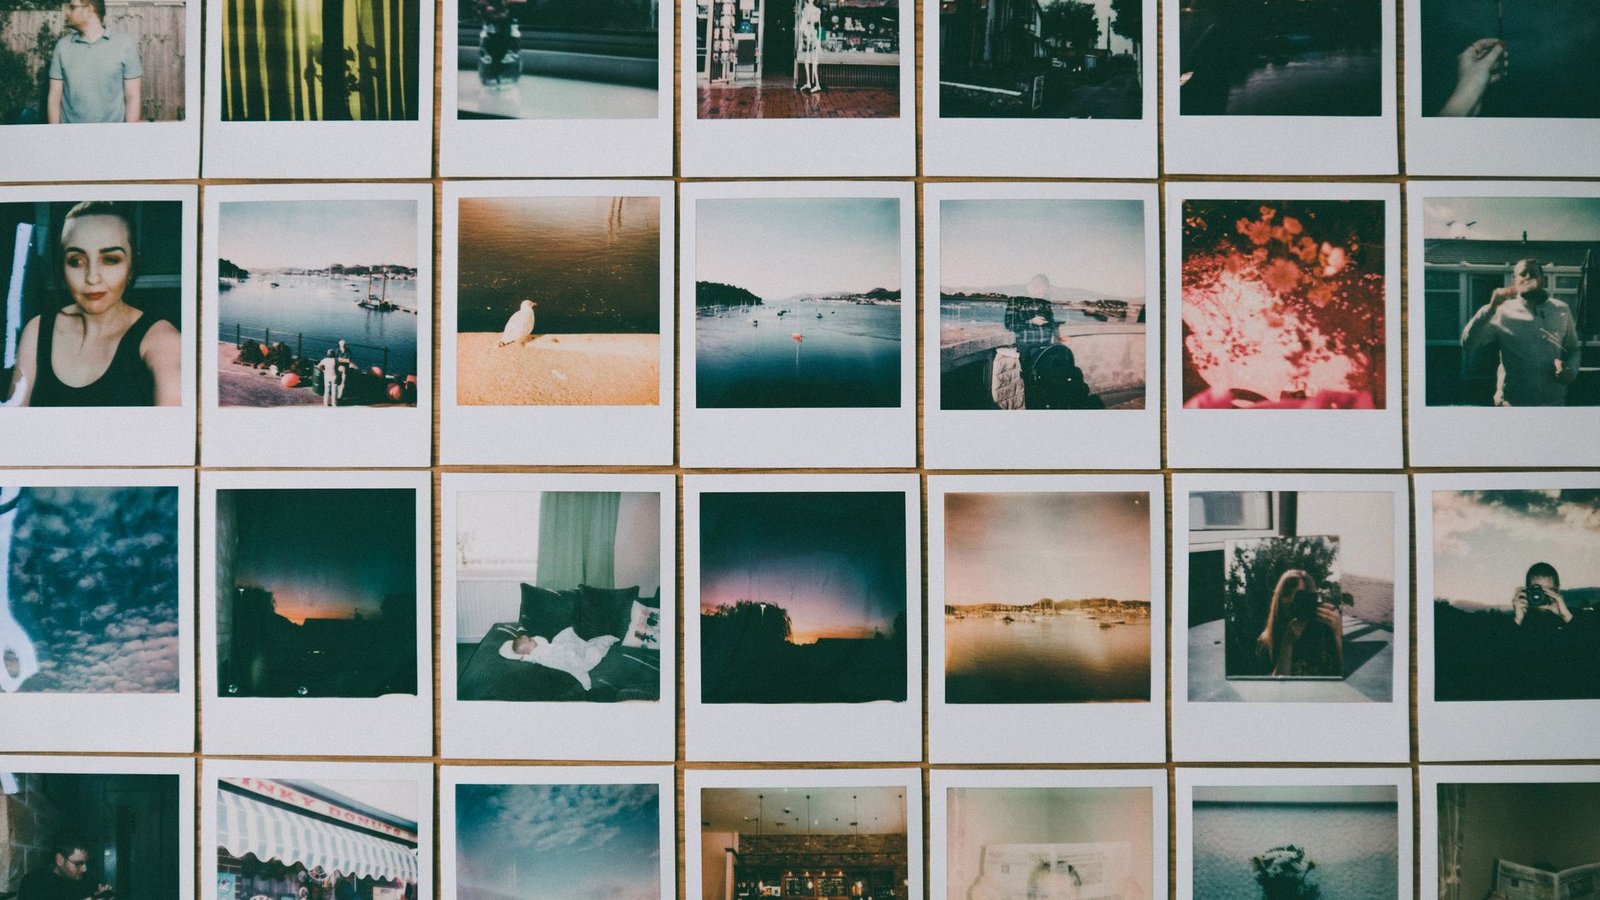
Photo: Lisa from Pexels via Pexels For a simple two-photo pairing without a template, the horizontal image merge joins images side by side in one step.
Image Preparation
Before uploading, gather photos that share a common subject or color scheme. I once dropped a 1920 by 1080 landscape shot into the uploader. The tool displayed it at 100 % size, confirming original resolution preservation. If any picture is dramatically larger than the rest, use the /image-resizer to shrink it to a uniform width like 1200 px. This makes the collage feel cohesive. Keep the aspect ratio. The tool lets you resize by exact pixels or by percentage. A common pitfall is resizing images to different aspect ratios. This leads to uneven borders the maker cannot automatically correct. Another hidden risk is uploading a file that contains embedded color profiles; some browsers ignore those profiles, causing a subtle shift in hue once the collage is rendered. Stripping the profile in a lightweight editor before upload prevents that surprise.
Assembling the Collage
The core workflow happens in the photo collage maker. Open the tool at /photo-collage-maker. Drag your selected files onto the upload area. Watch them line up in the preview pane. Rearrange the order by dragging thumbnails. The first image you place becomes the top left cell by default. For a side by side layout, click the horizontal image merge button. This invokes the /horizontal-image-merge utility. Prefer a stacked look? The vertical image merge option calls the /vertical-image-merge service. Both utilities work instantly in the browser and require no account. If you notice that one picture snaps to a different size after merge, pause and verify that the original dimensions were truly uniform; the tool will stretch a mismatched file to fit the grid, producing a blurry result.
Troubleshooting Merge Issues
Images with very different resolutions can cause one picture to appear pixelated after merge. Fix this by upscaling the lower resolution file with a dedicated upscaler before uploading. Transparent PNGs retain their alpha channel. If the collage background is a solid color, transparent parts appear as holes. Convert such files to JPEG or add a solid background layer first. Older devices may run out of memory when handling nine high resolution photos. Reduce each file to 1500 px on the longest side to fix this. When a merge fails entirely, check the console for a "File type not supported" error; this usually means the image contains an uncommon bit depth that the browser cannot decode.
Spacing and Styling
Once images sit where you want them, adjust the spacing. I increased the gap to 25 px and saw the white gutters expand evenly. This gives each photo breathing room. The tool offers a background color picker. A subtle off white lets bright pictures pop without overwhelming the eye. Adding a thin border of 2 px in neutral gray helps define each cell, especially when photos share similar tones. All changes render in real time. Compare before and after with a single click. If you accidentally set a gap larger than 30 px, the canvas may exceed the maximum size and the download button will become disabled. Reduce the gap or shrink the canvas dimensions to stay within the 5000-pixel limit.
Known Limitations
The free version does not support animated GIFs. Uploading one produces an error message. There is no built in text overlay feature. Users needing captions must add text in a separate image editor before merging. Maximum canvas size is limited to 5000 px on either side. Larger projects must split into multiple collages. The browser-based engine also cannot apply complex layer masks; any attempt to use a mask file will be ignored and the image will be flattened.
Export and Distribution
When the composition feels finished, hit the Download button. The service exports a PNG at the canvas resolution you set. Choose JPEG if you need a smaller file size for web use. For social media, choose the “optimize for web” preset. The tool automatically compresses the image while preserving visual quality. Save the file to your device and upload it directly to the intended platform. Check the final pixel dimensions against the platform recommended size. An Instagram post exceeding 1080 px on the longest side will be downscaled by the app. This potentially softens details. To avoid that, export a version that matches the platform’s exact pixel limit; the collage will retain its sharpness.
Practitioner Tips
- Odd numbered layouts tend to feel more natural; three, five, or seven photos create visual rhythm.
- Place your strongest image in a corner or center to act as a focal point.
- Embrace negative space; a clean background can be more striking than a crowded one.
- Apply the same filter or exposure adjustment to every picture. Consistency reinforces the story.
- Before exporting, use the preview toggle to view the collage on a dark background. This reveals any stray borders or uneven spacing.
- If you notice a slight color shift after merge, use the built in hue slider to bring the palette back into alignment.
Advanced Customizations
Many creators enjoy adding subtle visual tricks after the basic collage is complete. One technique is to overlay a very low-opacity texture, such as a paper grain or subtle vignette, across the entire canvas. Because the tool works in the browser, you can add the texture as a separate PNG layer before the final export. Another option is to experiment with selective sharpening. Apply a modest sharpen filter only to the central image; this draws the eye without making the outer photos look overly crisp. If you need a uniform border around the whole collage, set a background color that contrasts with the images and increase the outer margin by a few pixels. This creates a clean frame that works well for print.
You can also create a series of collages that share a common visual language. Choose a single background hue, use the same spacing value, and apply an identical filter preset to each piece. When the series is displayed together, whether on a website gallery or a social media carousel, the consistent treatment gives the collection a professional feel. Finally, consider exporting a high-resolution version for printing and a compressed web version for online sharing. Keeping both files lets you repurpose the collage without re-doing any work.
Frequently Asked Questions
How many photos can I add to a collage?
You can upload between three and nine images; beyond nine the layout becomes cramped and harder to read.
Does the tool keep my photos private?
All processing happens locally in your browser; images are never stored on our servers.
Can I change the collage size after I finish?
Yes, you can reopen the collage in the maker and resize the canvas without losing image quality.
What file formats are supported for upload?
JPEG, PNG, and WebP files are accepted. Animated GIFs are not supported.
Is there a limit to how many collages I can create per day?
No daily limit is imposed for the free version; you may generate as many collages as you need.

Bello builds useful software and writes thoughtful content to make sense of it all. He tests the tools himself and checks the facts before any of it goes in a guide.
Try Our Free Image Tools
Ready to Try It?
Put these tips into practice with our free online image merger. No signup required.
Merge Images Now


