
Summarise this article with:
Answer Capsule
A polished Father's Day photo card collage comes together by picking 40 to 90 meaningful images, printing a test layout, aligning each picture to the card's corners, trimming overlaps, and sealing with a thin glue coat. Use a free online collage maker, restore any vintage shots, and compress the final file for a crisp print.
Why a Photo Card Beats a Store Card
Store bought cards feel flat. A custom collage tells a story spanning decades. It pulls in grandchildren. It shows off his hobbies. You get a tactile piece that outlasts any fleeting greeting. Families notice the effort. The card becomes a keepsake displayed for years.
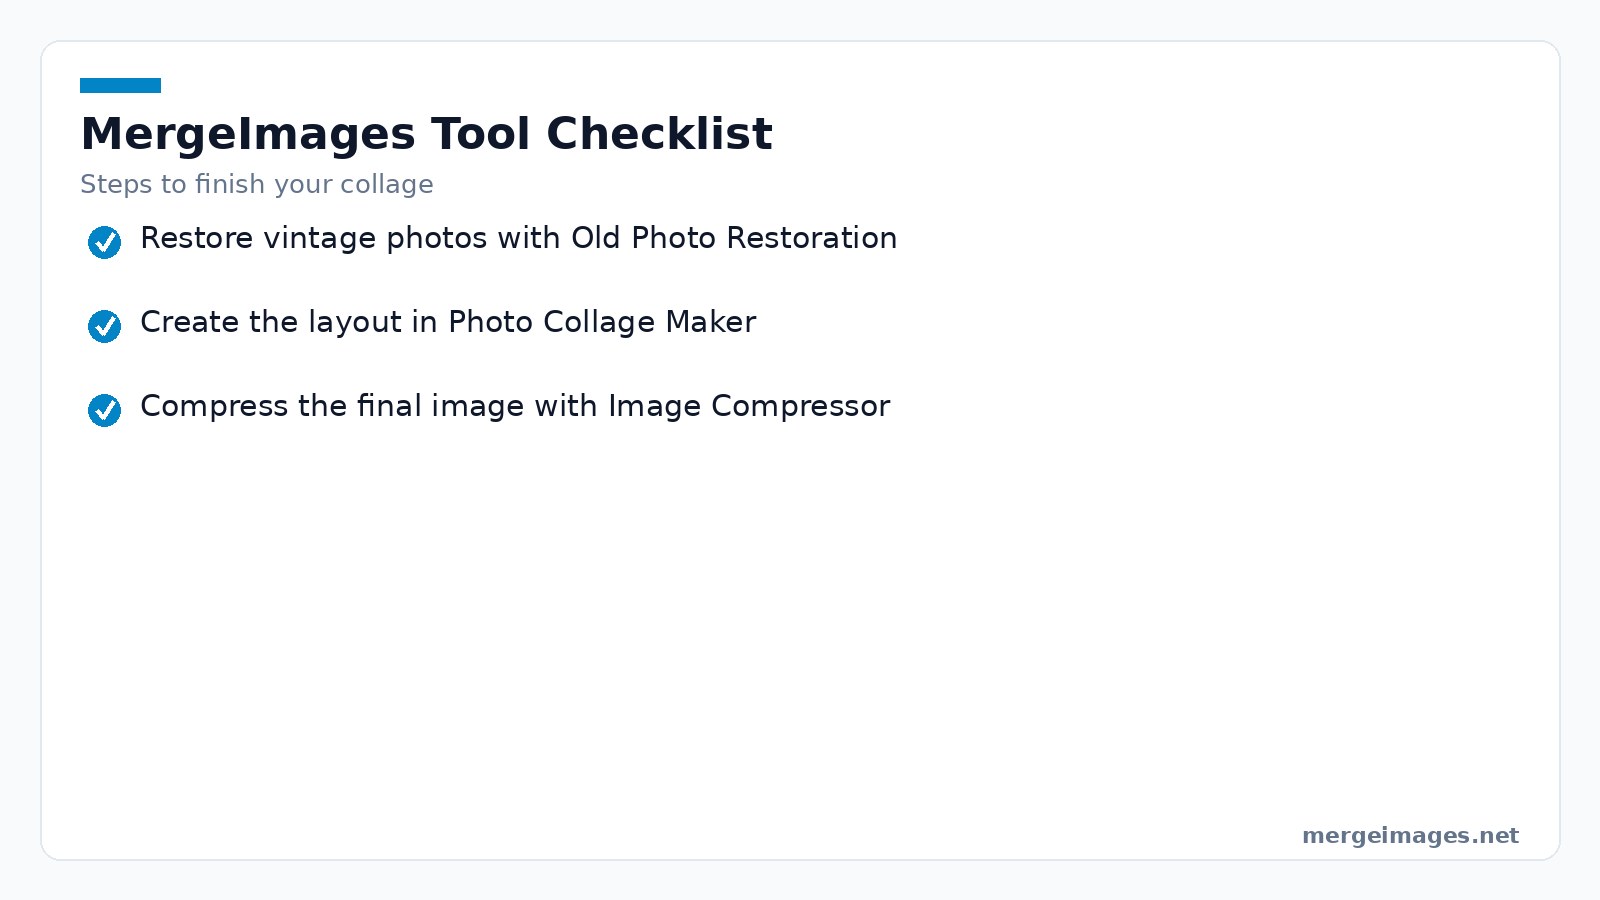
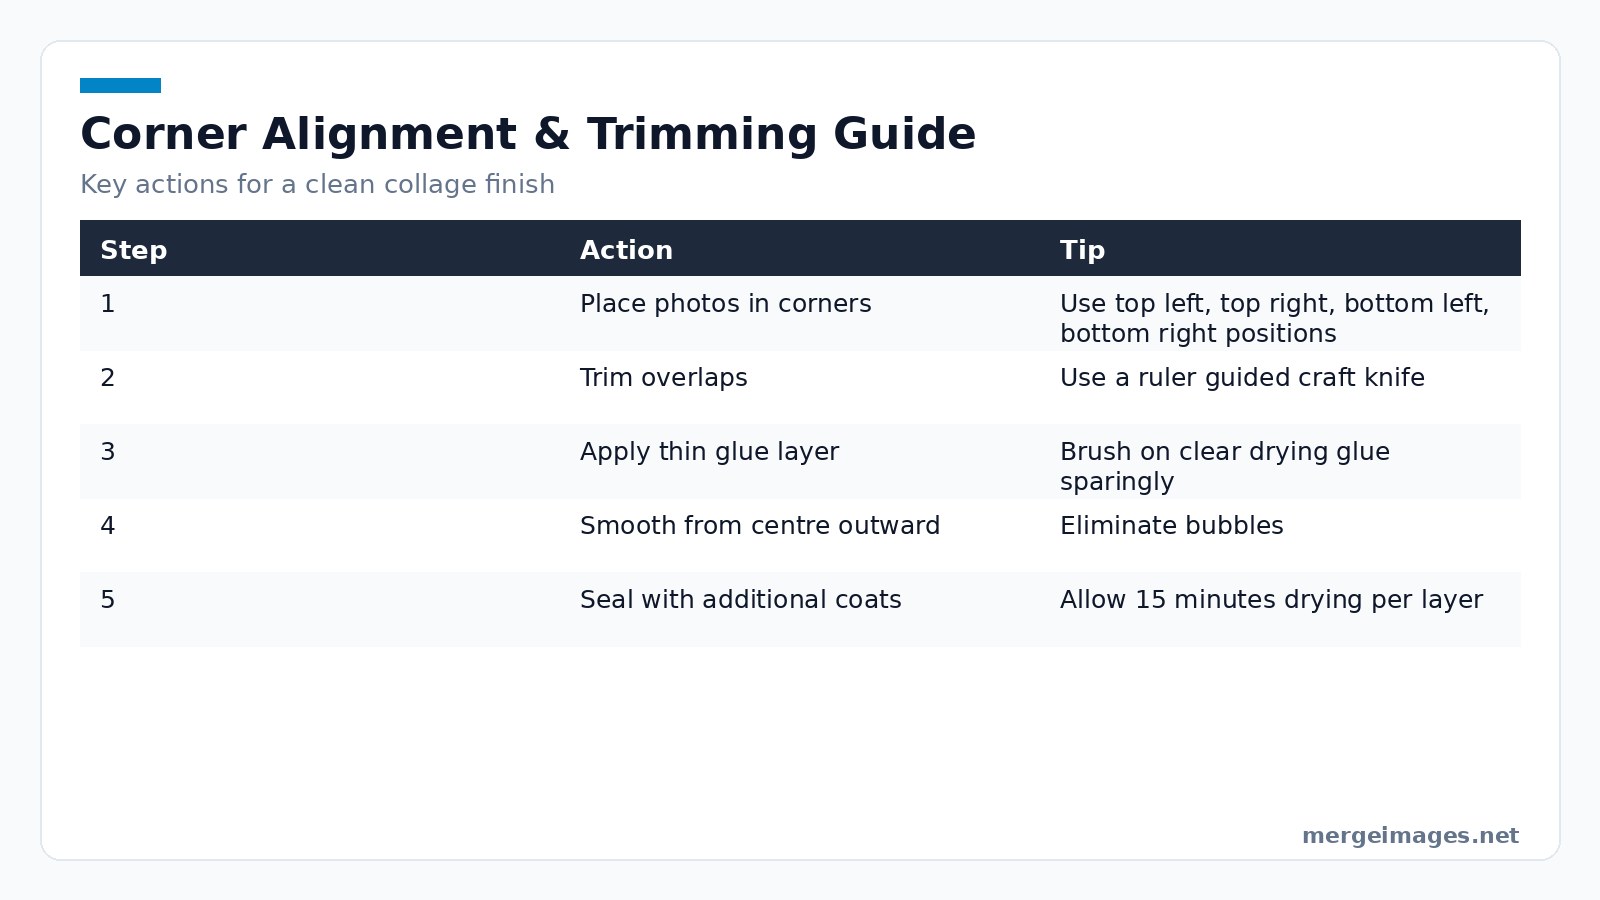
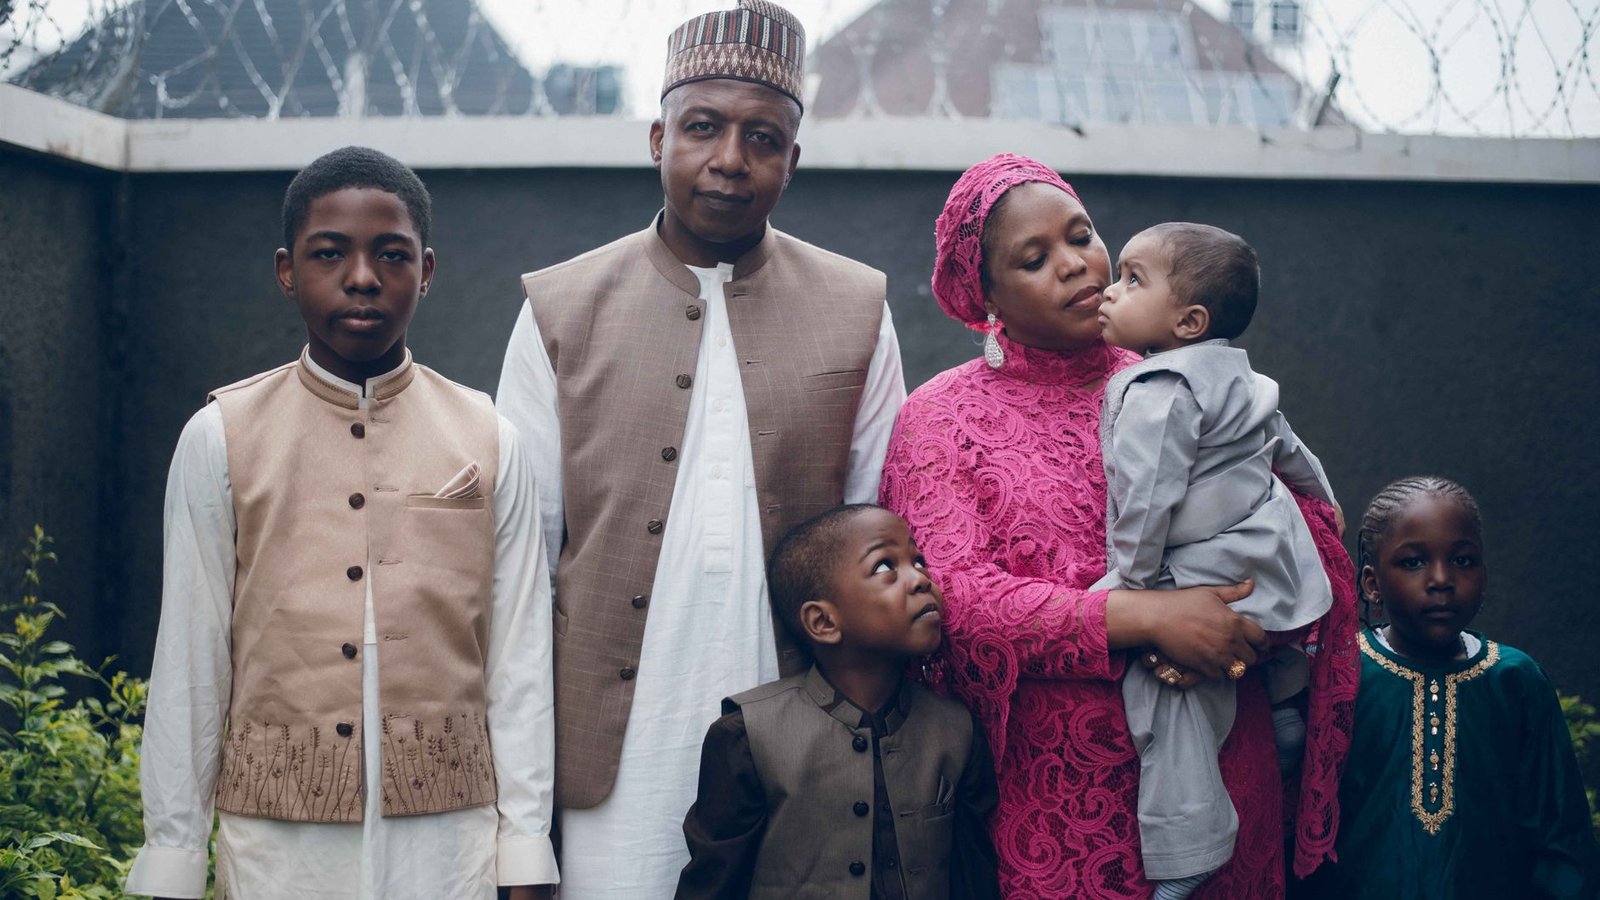
Photo: Darkshade Photos via Pexels
Gather the Right Photos
Start with a quick inventory. Aim for 40 to 90 pictures covering specific categories. You want solo dad shots. You want dad child moments from pregnancy to now. Grab partner photos, grandkid gatherings, milestone events, and hobby snapshots. Keep a printed checklist on the kitchen table. Tick off each group while you hunt through phones, cloud albums, and old shoeboxes.
Template Sizing and Draft Prints
Set your digital canvas to match the exact dimensions of the final card before cutting anything. Use five by seven inches for a flat card or five by seven inches folded for extra space. A millimeter off means the photos shift during printing. Most free online resizers let you enter size in pixels. For 300 DPI, a five by seven card needs 1500 by 2100 px.
Print a draft on regular printer paper first. This cheap test reveals whether the photos line up with template margins. You can spot sizing errors immediately. Adjust the crop or resize until the draft feels right. Then move on to the high quality print run.
Align Trim and Glue Like a Pro
Place each photo in one of the four corners when the layout is set. Top left. Top right. Bottom left. Bottom right. This habit makes straight cuts easier and cuts down accidental overlap. If a picture spills over another, use a ruler guided craft knife to trim the excess. Clean edges keep the surface smooth and the final card professional.
Brush a thin layer of clear drying glue onto the back before positioning a photo. Use the same product we use in ModPodge projects. The coat should wet the paper without pooling. This thin film helps the image lay flat. It eliminates bubbles that often appear with thicker glues. Press the photo. Smooth it from the center outward with a fingertip or a soft cloth.
Apply two more thin glue coats over the entire surface once all pictures are glued. Test the first coat on a hidden corner. Too much liquid warps thin card stock. Let each layer dry for about 15 minutes before adding the next. You get a glossy sealed finish that protects the images from fingerprints and light wear.
Common Pitfalls and Honest Limits
Low resolution phone shots struggle with upscaling, which can only add pixels, not detail. If the image looks soft after enhancement, consider using a larger print size or substituting a sharper frame. Home printers often produce a slight orange cast on dark fabrics. Print a colour swatch first. If it deviates, adjust the colour balance in the collage maker before the final export. Applying glue too thickly causes glue warping and cardstock curling. Use a disposable brush and apply a single even stroke. Forgetting the 3mm bleed leads to trimmed photos. Always add a safety margin in the digital file. Rushing the drying time creates tacky layers that attract dust. Set a timer for each 15-minute interval and work in a dust-free area.
Seal and Finish
Give the card a gentle rub with a lint free cloth after the final glue layer dries. Remove any lingering tackiness. Lightly dust the surface with talc and brush it off if you prefer a matte look. Allow the card to cure for at least one hour before handling it or placing it in an envelope. Patience prevents smudges. It ensures the collage stays crisp during mailing.
Using MergeImages Tools
The digital part of the workflow relies on three free browser tools. Upload your selected pictures to the photo collage maker, choose a grid template that matches your card size, and drag drop each image into the slots. The tool automatically aligns photos to the corners. This saves you time on manual measurements. Scan any vintage prints at 600 DPI, then run them through the old photo restoration tool. This AI powered fixer removes dust, repairs minor tears, and restores faded colours without you needing Photoshop. Once you assemble the collage, compress the final JPEG to under 1MB with the image compressor. The compressor keeps the visual quality high while making the file easy to email or upload for printing.
Start by restoring any aged photos. Feed the clean files into the collage maker. After arranging the layout, download the high resolution PNG, run it through the compressor, and you're ready to send the file to your printer or attach it to an email.
Color Typography and Hobby Touches
A warm palette of navy, tan, and muted earth tones feels masculine yet inviting. Let the photos dictate the dominant hue. Avoid overly bright backgrounds that compete with the images. Choose a bold serif for the "Happy Father's Day" headline. Use a clean sans serif for personal messages. Add a small icon that hints at dad's favourite hobby, like a tiny grill silhouette for a BBQ lover, without crowding the design.
Card Specs and Print Prep
| Size | Use |
|---|---|
| 5x7 flat | Standard, mailable |
| 5x7 folded | More space for stories |
| 4x6 postcard | Quick send, budget friendly |
| Photo book | Premium, keepsake |
Print at a minimum of 300 DPI. Include a 3mm bleed around the edges so the printer can trim without cutting into your images. Set the paper type to "photo matte" or "glossy" depending on the finish you prefer if you're using a home printer.
Frequently Asked Questions
How far in advance should I start?
For a premium photo book, begin 4 to 6 weeks ahead. A simple card can be ready in 2 to 3 weeks.
Should I include the mother's photos?
Optional. Focus on dad centric moments unless the couple's story is part of the tribute.
What if I want to honor a dad who has passed?
A respectful collage that mixes old restored photos with recent family shots creates a heartfelt memorial.
Is it okay to add a short quote?
Yes, a brief line from a child or grandchild adds a personal touch without cluttering the design.
How do I handle low resolution phone images?
Run them through the collage maker's built in auto enhance, then use the image upscaler if you need extra detail.
Bottom Line
A Father's Day photo card collage blends nostalgia, hobby flair, and professional finishing tricks into a single printable keepsake. Match the template size. Print a draft. Align each picture to a corner, trim overlaps, and seal with thin glue layers. Restore any vintage shots. Assemble the layout with the free collage maker, compress the final file, and you have a card that feels handcrafted yet looks studio perfect. This workflow works year after year. It turns ordinary photos into an extraordinary tribute.

Bello builds useful software and writes thoughtful content to make sense of it all. He tests the tools himself and checks the facts before any of it goes in a guide.
Try Our Free Image Tools
Ready to Try It?
Put these tips into practice with our free online image merger. No signup required.
Make your collage, free


