
Summarise this article with:
Answer Capsule
Building a printable AI collage takes four precise actions. You select 4 to 12 harmonious variations, upscale each to 300 DPI, arrange them in a free collage maker with a 3 mm bleed, and export a compressed print ready file. The entire workflow costs under $5 and fits a 12 inch canvas.
Why Collage Beats a Single AI Piece
One image grows stale after a few prompt tweaks. Grouping several outputs builds a visual narrative no feed can duplicate. You showcase the model's range. You suppress repetitive artifacts. The final product feels handcrafted.
Selecting Variations That Stick Together
Run a single prompt session yielding at least twenty results. Scan the batch for concrete signals. Dominant colors must echo each other. A cool blue sky pairs naturally with a teal river. Framing matters. A centered subject aligns cleanly side by side, unlike a wildly off center one. Render style demands consistency. Mixing photorealistic with painterly creates jarring contrast. Maintain uniform tonal mood. Bright airy scenes belong together. Dark moody scenes stay together.
Discard any image carrying stray text, extra limbs, or an aspect ratio forcing a stretch. A clean set of four to twelve images provides enough flexibility. It never overwhelms the layout.
Preparing Files for Print
Batch Upscaling with the Image Upscaler
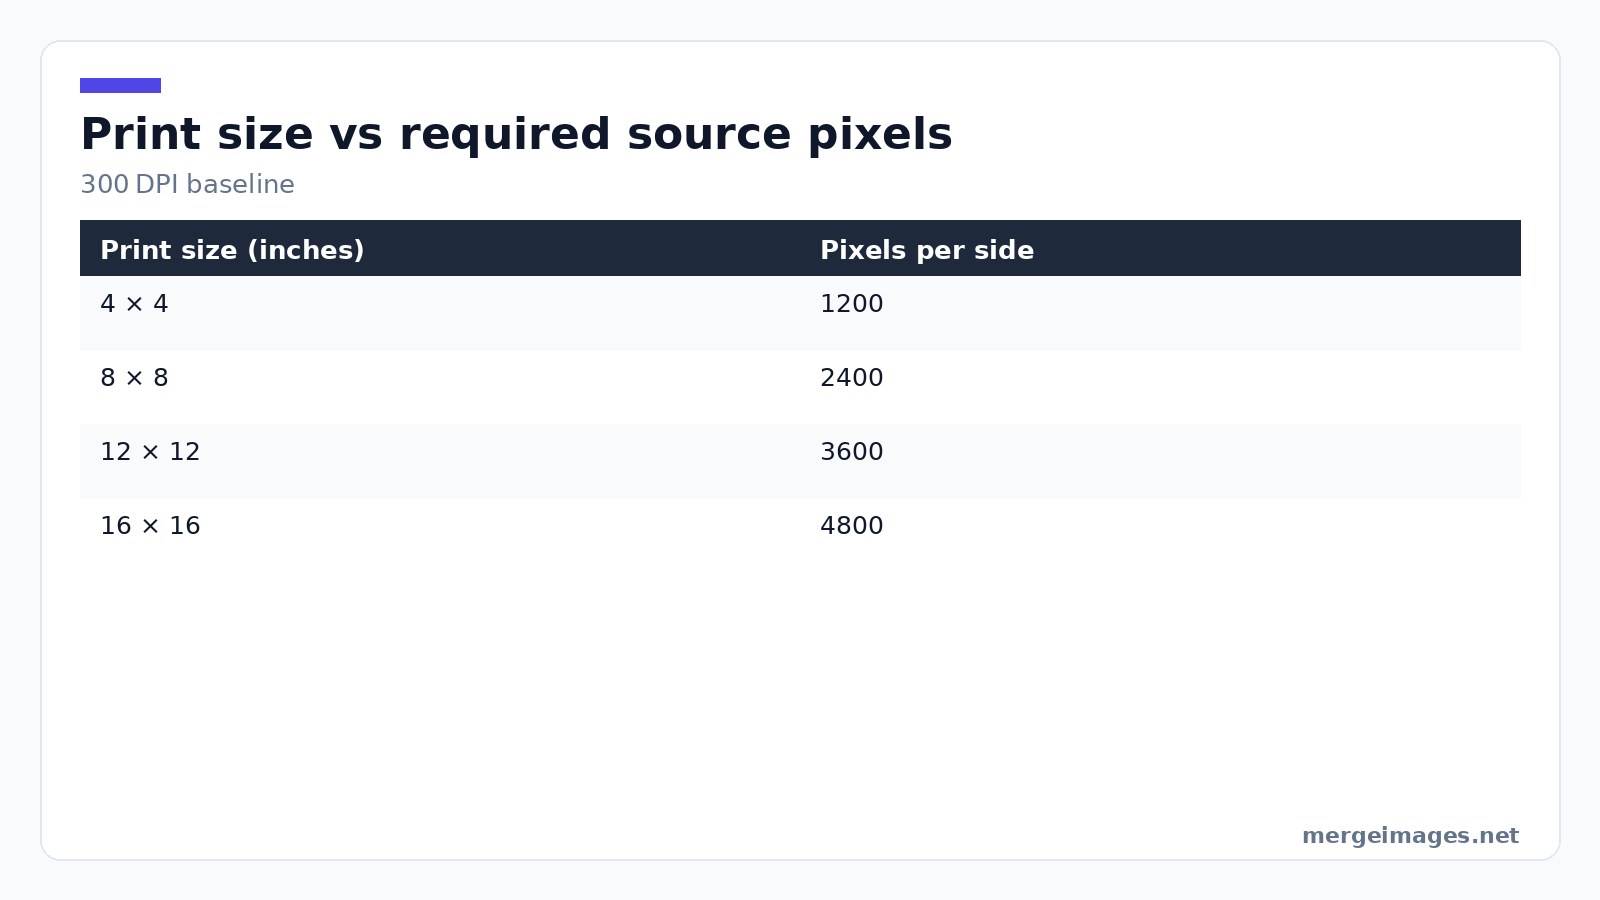
Most AI generators stop at 1024 × 1024 pixels. At 300 DPI that covers a three inch square. You need 3600 × 3600 pixels for a 12 inch print. I uploaded eight 1024 × 1024 outputs to the image upscaler. The tool processed all files in under a minute. It returned a preview confirming each image now measured 2400 × 2400 pixels, perfect for an 8 inch print. For a 12 inch canvas, repeat the up scale step. Or use the tool’s “extra-large” mode to hit 3600 pixels.
Color Normalization
Convert every file to the sRGB profile. It is the safest choice for web and most print labs. Align the white point. I used a simple brightness image adjustment to bring the coolest sky and warmest sunset to the same neutral gray. Apply a modest saturation boost across the board. The palette feels unified without losing the individual quirks of each variation.
Optional Background Removal
Clean edges first if you plan to insert a personal photograph. The background remover strips the backdrop in seconds. It leaves a crisp PNG that slides neatly into the collage grid.
Layout Strategies
Grid Foundations
| Layout | Best for |
|---|---|
| 2x2 grid | Four strong variations |
| 3x3 grid | Nine variations with a central focal point |
| 4x4 grid | Sixteen variations for an immersive wall |
| Strip (1x4 or 4x1) | Sequential narrative |
| Polaroid scatter | Casual, organic feel |
| Mosaic (varied sizes) | Hierarchical importance |
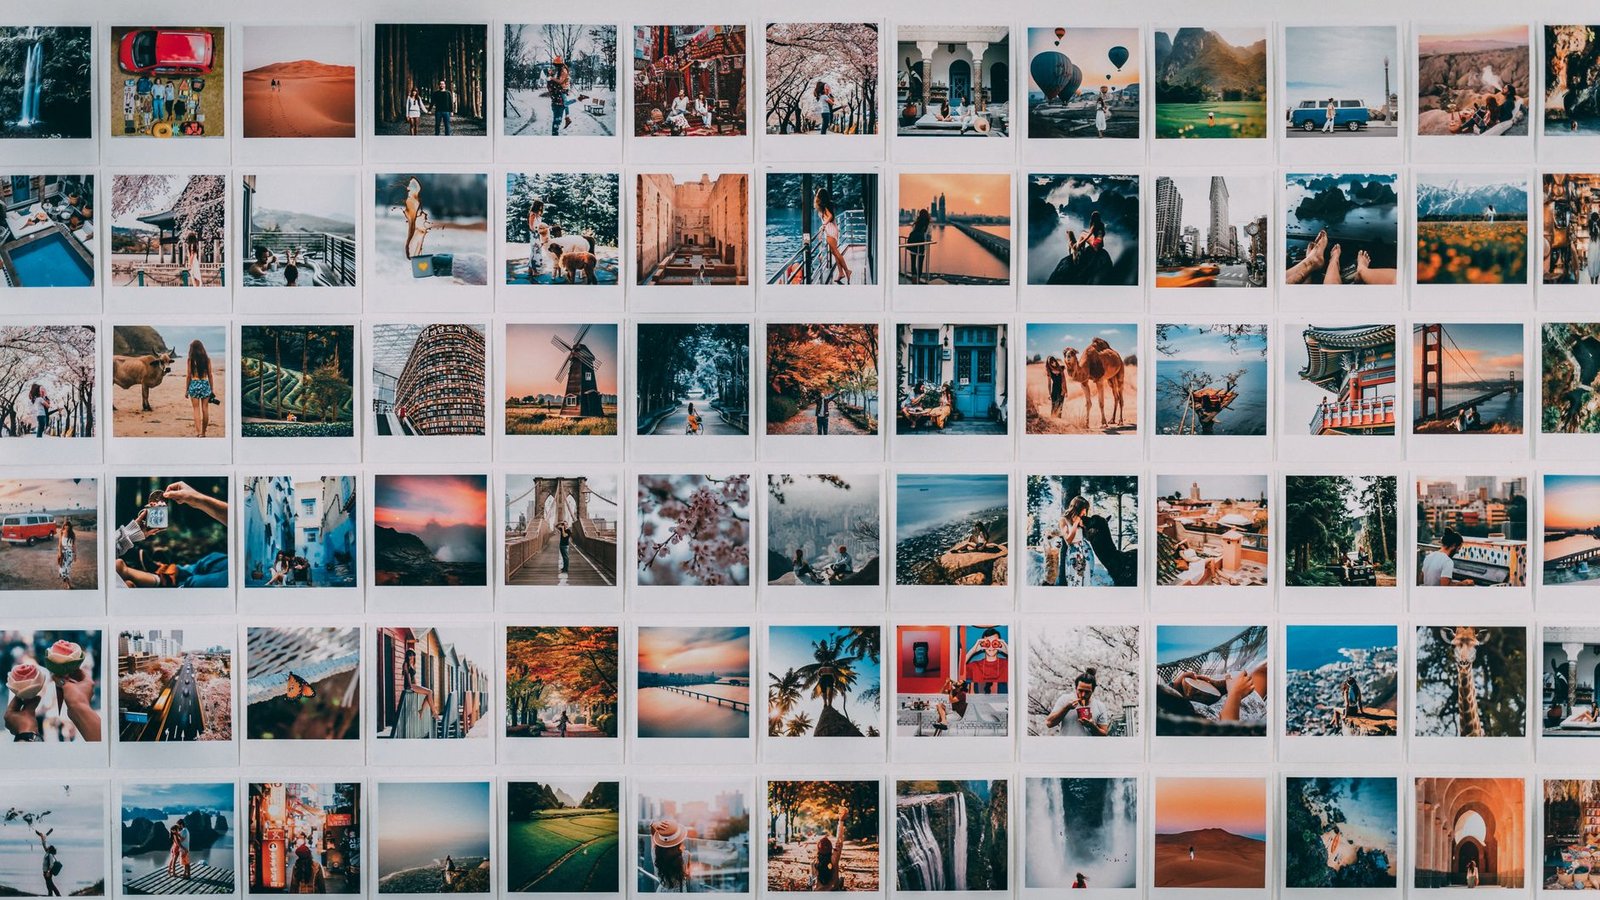
Photo: Taryn Elliott via Pexels
A 2x2 grid printed at 16 × 16 inches requires each cell to be 8 × 8 inches. Multiply by 300 DPI. You need 2400 × 2400 source pixels per image. That is exactly what the upscaler delivered in my test.
Narrative Placement
I dropped a portrait photo into the collage alongside futuristic cityscapes using the photo collage maker. The tool snapped the images into a clean three column layout. I placed the portrait in the bottom right cell to act as a resolution point. The AI cityscapes occupied the remaining slots. Automatic alignment saved me from manual nudging. Margins stayed even.
Adding Bleed
Print shops demand a 3 mm bleed beyond the final trim line. Set the canvas size a few millimeters larger than your target print in the collage maker. The extra space will be trimmed away. No white edges remain.
Mixing AI with Personal Photos
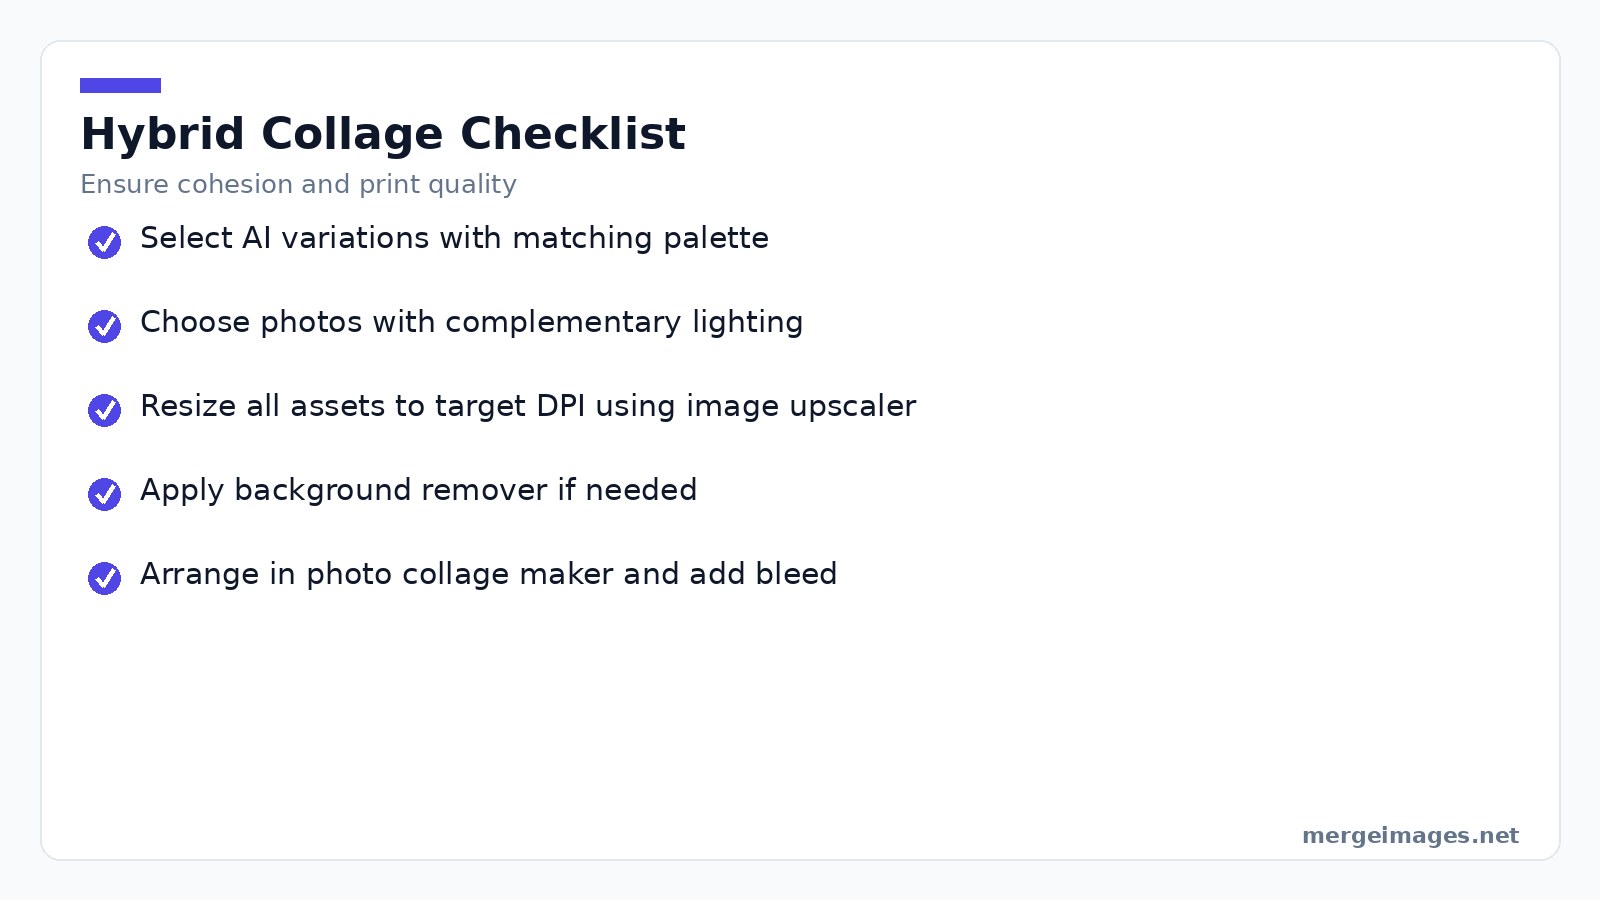
Hybrid collages answer the demand for authenticity. Follow this checklist to keep the mix looking intentional:
- Choose AI variations whose palette matches the lighting of your photos.
- Pick photos taken with a similar focal length. A wide angle shot pairs better with AI landscapes than a tight portrait.
- Upscale every asset to the same DPI using the image upscaler.
- If a photo has a distracting background, run it through the background remover first.
- Assemble everything in the photo collage maker, then add a uniform bleed margin before export.
The result feels like a curated gallery rather than a random mash up. It sidesteps the "pure AI" label that some buyers shy away from.
Export, Compress, and Ship
Export as a high quality JPG or TIFF after arranging the collage. Online stores often need a file under 15 MB. The image compressor reduces the size while preserving visual fidelity. This is a critical step. Many print on demand services cap uploads at 20 MB.
Keep a copy of the uncompressed file for future revisions. Down sample from the master without losing detail if a client requests a different size.
Legal and Ethical Checklist
Verify the commercial use license of the AI model you employed. Midjourney, DALL-E, Stable Diffusion, and Flux each have distinct terms. Credit the tool in the product description. Transparency builds trust and satisfies platform policies. Treat the collage as your own creative arrangement. It qualifies for copyright in most jurisdictions because of the original composition. Some models flag images with recognizable faces for privacy reasons. Avoid using AI-generated portraits of real people without consent.
Marketing the Collage on Etsy
Your listing title should be keyword dense but niche specific. "Neon cyberpunk city AI collage, 12 × 12 inch wall art" hits the sweet spot. It includes the primary keyword "AI collage" and a concrete size.
Use free mockup templates in Photoshop to place the exported collage onto a framed wall scene. Shoppers click more often on realistic product images than on raw AI files.
Offer free shipping for US and Canada. Etsy's algorithm rewards listings that provide this perk. Set the smallest size at a lower price point to act as an anchor. Keep a 30 to 45% margin on larger prints.
Run a modest ad budget. $1 per day for a week can generate the first click that converts into a sale. You get data to refine future campaigns.
Beyond Print: Digital Showcases
Export a single high resolution image without bleed for Instagram or Pinterest. Aim for 2048 × 2048 pixels or larger to accommodate retina screens. Use a 4:5 aspect ratio for Instagram feeds and a 16:9 ratio for stories.
Digital collages can be denser. Include 12 to 16 variations because viewers can zoom in. Keep the file size reasonable. The image compressor will help you stay under platform limits.
Frequently Asked Questions
Is it ethical to sell AI-generated art?
Legal requirements vary by region and by the AI tool's license. Ethically, disclose the AI origin and avoid claiming the work as solely human made.
Should I mix my own photos with AI images?
Hybrid collages are popular and reduce the perception of pure AI output. Choose photos that share lighting and color characteristics with the AI set.
What print size works best for a living-room wall?
A single statement piece of 24 × 24 inches makes an impact, while a gallery of 12 × 12 or 16 × 16 inches offers flexibility.
How can I prevent my collage from looking too “AI”?
Combine different prompt styles, mix in real photographs, and adjust the color balance to create a cohesive yet varied visual language.
Can I commission a custom AI collage?
Many creators on Etsy offer prompt driven services. Prices typically range from $50 to $200 depending on complexity and print size.
The Bottom Line
Creating a print ready AI art collage in 2026 is a straightforward, low cost process. Pick a tight group of variations. Upscale each file with the image upscaler. Arrange them in the photo collage maker. Compress the final export with the image compressor. You have a market ready product. Add personal photos when you want a hybrid feel. Respect licensing. Use niche specific keywords to attract buyers. The workflow scales from a single hobbyist print to a full time Etsy shop without heavy software investments.

Bello builds useful software and writes thoughtful content to make sense of it all. He tests the tools himself and checks the facts before any of it goes in a guide.
Try Our Free Image Tools
Ready to Try It?
Put these tips into practice with our free online image merger. No signup required.
Merge Images Now

