
Summarise this article with:
The Exact Frame
Nail your Instagram Reels dimensions and your video fills the screen, avoids hard cuts, and keeps calls to action visible across the 1080 × 1920 canvas. Correct sizing also stops the platform from adding unwanted compression passes that blur details, ensuring UI overlays never hide key graphics.
Native Reels Canvas
The native Reel runs at 1080 × 1920 pixels. This clean 9:16 rectangle occupies the whole phone display. Instagram accepts MP4 or MOV files up to 4 GB, preferring 30 fps though 60 fps works as well. Anything larger than this resolution will be downscaled. Start with the exact size to avoid a second compression pass.
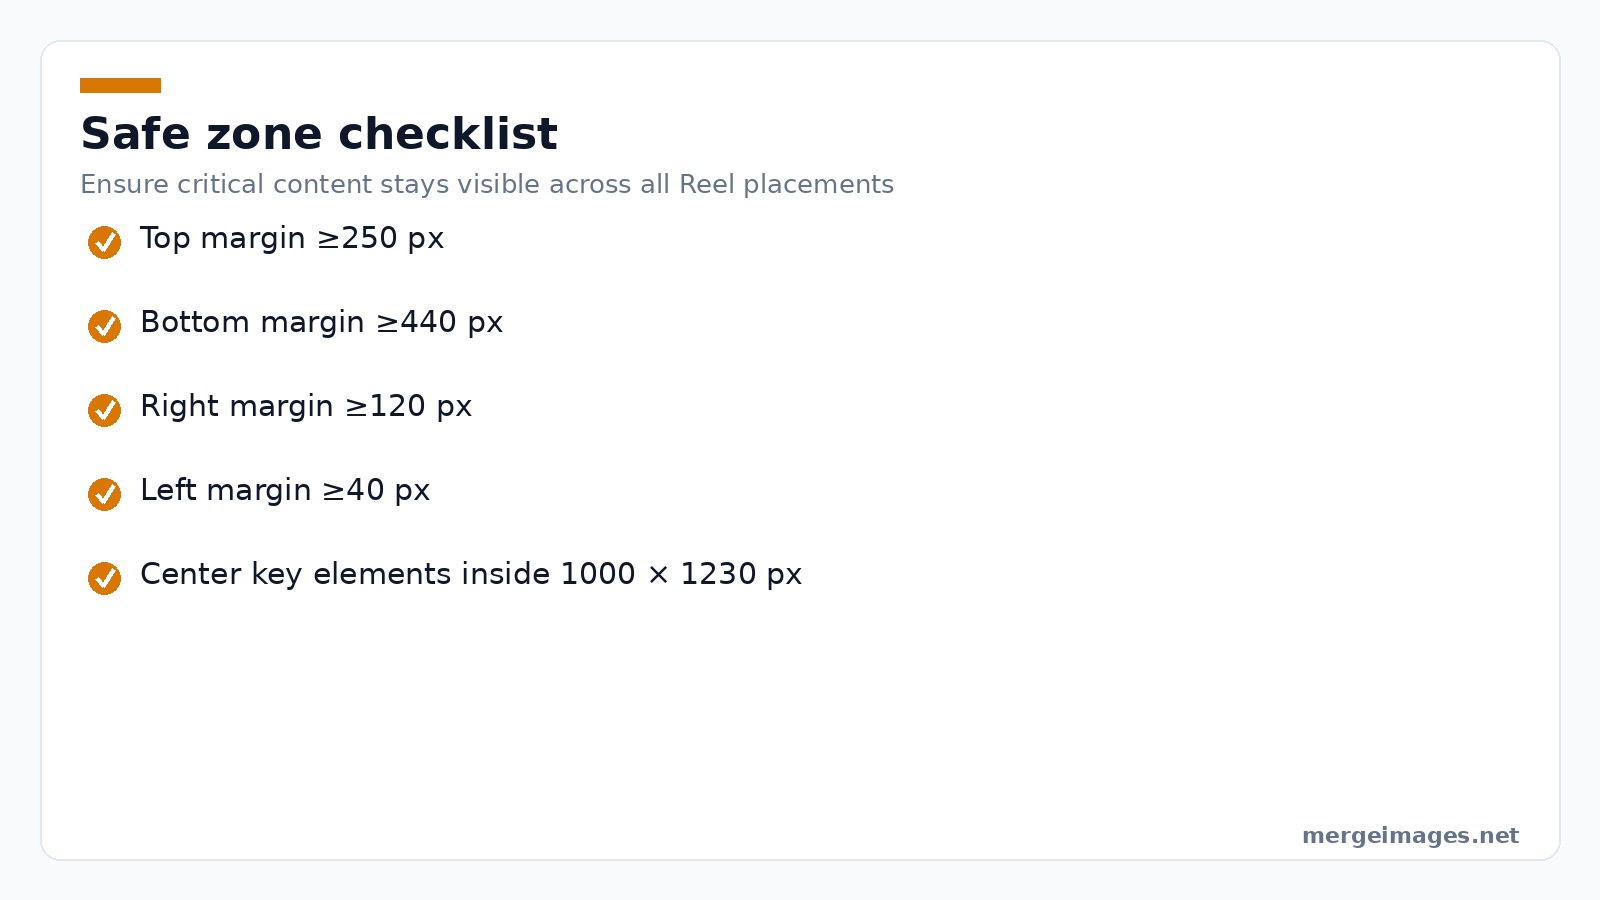
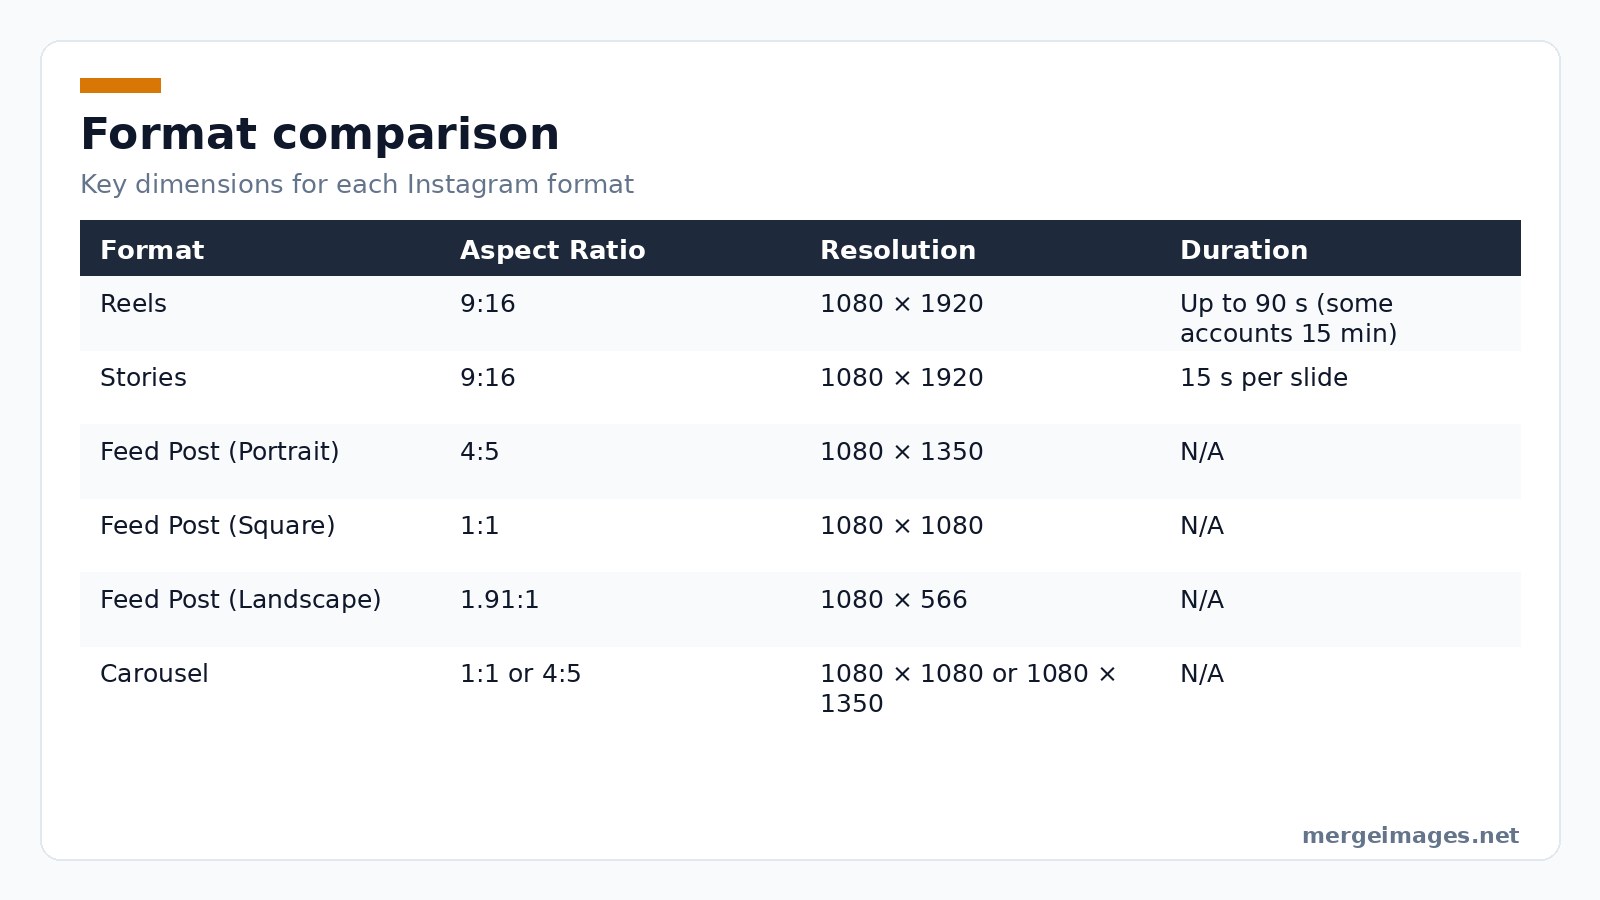
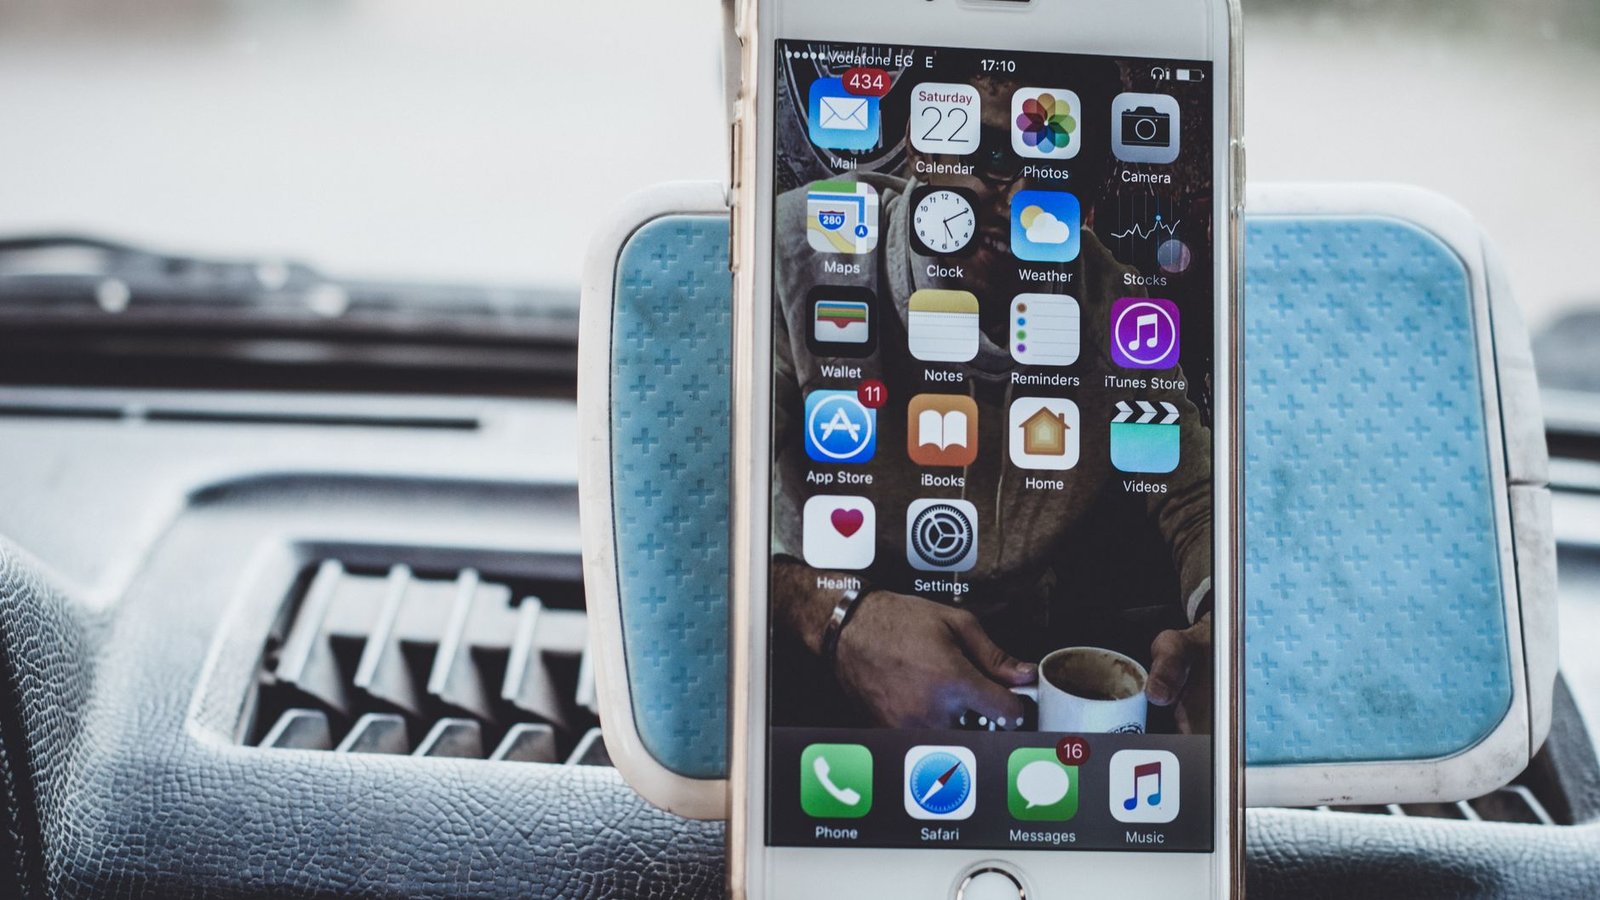
Photo: Mustafa ezz via Pexels
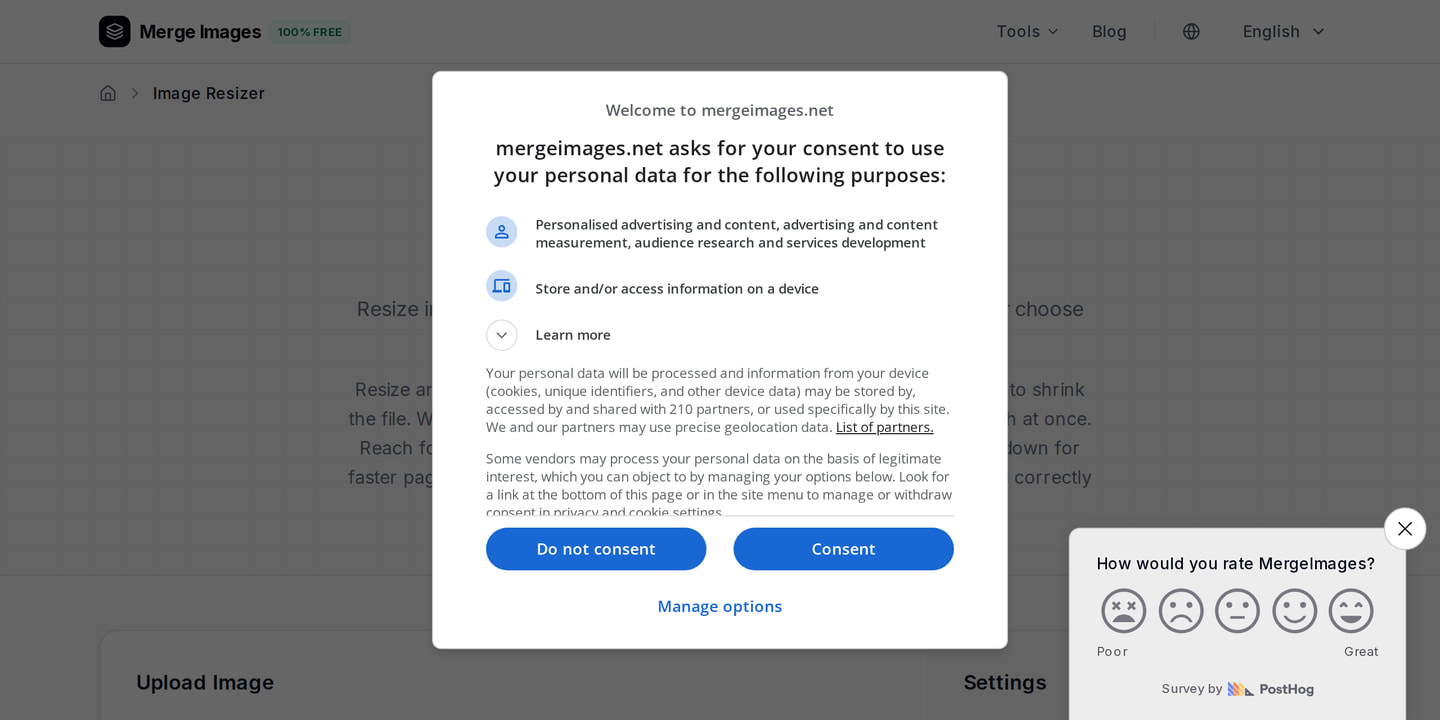
When I opened the image resizer, typed 1080 × 1920 in the width and height fields, and hit Resize, the preview instantly snapped to the vertical frame. No manual cropping was needed because the tool respects the exact pixel count.
Surviving UI Overlays
UI elements sit on top of the Reel: the username bar, comment icons, the audio track, and the share button. If your title or logo lands under these overlays it disappears for most viewers.
Keep critical graphics at least 250 px below the top edge. Leave a 440 px buffer above the bottom edge. Reserve 120 px on the right side for the action icons. The left margin only needs about 40 px.
The resulting safe rectangle measures roughly 1000 × 1230 px and sits dead center. Design inside that box and you survive every crop.
Where Instagram Crops Your Video
Instagram shows the same video in three distinct contexts, each applying its own crop.
Full Screen Player (Reels Tab)
The player respects the full 9:16 canvas. UI overlays cover roughly the bottom 23 % and the right hand 11 % of the frame. Your content remains untouched elsewhere.
Feed Thumbnail (4:5 Crop)
In the main feed Instagram trims about 285 px from both the top and bottom. This delivers a 1080 × 1350 px portrait still. Center the most important visual elements vertically to survive this crop.
Profile Grid (1:1 Square)
Your profile shows a square thumbnail taken from the middle of the Reel. Instagram cuts 420 px off the top and bottom, leaving a 1080 × 1080 px window. Anything outside that window never appears on the grid.
I tested the image cropper by dragging a rectangle to 1080 × 1350 and watching the preview reflect the feed style crop. The tool also lets me lock the aspect ratio to 1:1 for a perfect grid thumbnail.
Mistakes That Kill Quality
Exporting more than once adds a layer of compression that quickly makes the video look fuzzy. Using a source smaller than 1080 × 1920 forces Instagram to upscale the file, but the algorithm creates soft edges and loss of detail. Placing text too close to the edges invites trouble since UI overlays shift slightly on different devices. Text that looks fine on one phone can be cut on another. Relying on automatic captions is risky because Instagram’s autocaption engine often mishears speech. Always upload a manual SRT file if captions matter.
Hard Limits and Bitrates
Most accounts can post up to 90 seconds, though a small number of verified creators can extend to 15 minutes. Plan your story arc around these limits. The hard file size ceiling is 4 GB, so compress large files before upload to avoid failures. For bitrates, target 3.5 to 5 Mbps for video and 128 kbps AAC for audio to balance quality against Instagram’s reencoding. Stick to H.264 for codec compatibility because newer codecs like HEVC may be rejected on older devices. If you notice audio sync issues after upload, make sure the audio track is exactly 44.1 kHz. Mismatched sample rates cause drift after the platform's processing.
Professional Export Workflow
- Set your project resolution to 1080 × 1920 and frame rate to 30 fps.
- Use a constant bitrate encoder; avoid variable bitrate settings that can produce spikes.
- Export to MP4 with the H.264 profile set to High and level 4.2.
- Do a quick test upload to a private account; review the Reel on both iOS and Android to catch UI overlay differences.
- If the test looks soft, reexport the source at a slightly higher bitrate (up to 6 Mbps). Instagram will still cap the final stream, but the extra data gives a cleaner result after compression.
Prepping Still Images for Reels
Reels can be built from a series of stills. Each picture must match the Reel canvas to avoid unwanted black bars.
- Open the image resizer and set the dimensions to 1080 × 1920.
- Drag your high resolution photo into the workspace; the tool will automatically scale it while preserving aspect ratio.
- Verify that any text or logo sits inside the safe rectangle.
- Export as JPEG at 90 % quality or as PNG when you need crisp edges.
- Load the exported files into your video editor and add music.
When you need to combine several photos into one frame, like a split screen collage, the photo collage maker provides ready made Instagram templates that respect the 9:16 canvas.
Format Breakdown
| Format | Aspect Ratio | Resolution | Duration |
|---|---|---|---|
| Reels | 9:16 | 1080 × 1920 | Up to 90 s (some accounts 15 min) |
| Stories | 9:16 | 1080 × 1920 | 15 s per slide |
| Feed Post (Portrait) | 4:5 | 1080 × 1350 | N/A |
| Feed Post (Square) | 1:1 | 1080 × 1080 | N/A |
| Feed Post (Landscape) | 1.91:1 | 1080 × 566 | N/A |
| Carousel | 1:1 or 4:5 | 1080 × 1080 or 1080 × 1350 | N/A |
The table clarifies how each format fits within Instagram’s pixel budget. Reels share the same vertical resolution as Stories, but the feed and carousel use different crops.
Safe Zone Checklist
Run through this list before you export. Keep a 250 px top margin, a 440 px bottom margin, a 120 px right margin, and a 40 px left margin. Center key elements inside 1000 × 1230 px to guarantee that UI overlays won't hide your call to action.
Frequently Asked Questions
What is the optimal pixel size for a Reel?
1080 × 1920 px at a 9:16 aspect ratio delivers the full screen experience without extra black bars.
Why does my Reel appear blurry after upload?
Blurriness usually stems from using a source smaller than 1080 × 1920, reexporting the video multiple times, or letting Instagram compress a low quality file.
How should I size a Reel cover image?
Create the cover at 1080 × 1920 px, but keep all important visuals inside the central 1080 × 1080 px square to ensure they show on the profile grid.
Can I post landscape footage as a Reel?
Yes, but Instagram will add large black bars. Crop the footage to 9:16 first, or use a pan and scan technique to fill the vertical frame.
How do I prevent text from being hidden by Instagram’s UI?
Stay within the safe zone: at least 250 px from the top, 440 px from the bottom, 120 px from the right, and 40 px from the left. Centering text in the middle 60 % of the frame works across all Reel placements.

Bello builds useful software and writes thoughtful content to make sense of it all. He tests the tools himself and checks the facts before any of it goes in a guide.


