
Summarise this article with:
A vintage-style photo booth strip consists of four stacked frames, each separated by a thin white border and sharing the same dimensions, creating a candid, playful, nostalgic look. Use a free browser tool such as MergeImages to upload your images, set the canvas to 4×1, apply the borders, and export the final strip.
4 stacked frames define the look. Thin white borders separate each portrait. The images share a uniform size. The vibe feels candid, playful, nostalgic. Modern twists might add color borders or extra frames. The core remains the same vertical stack.
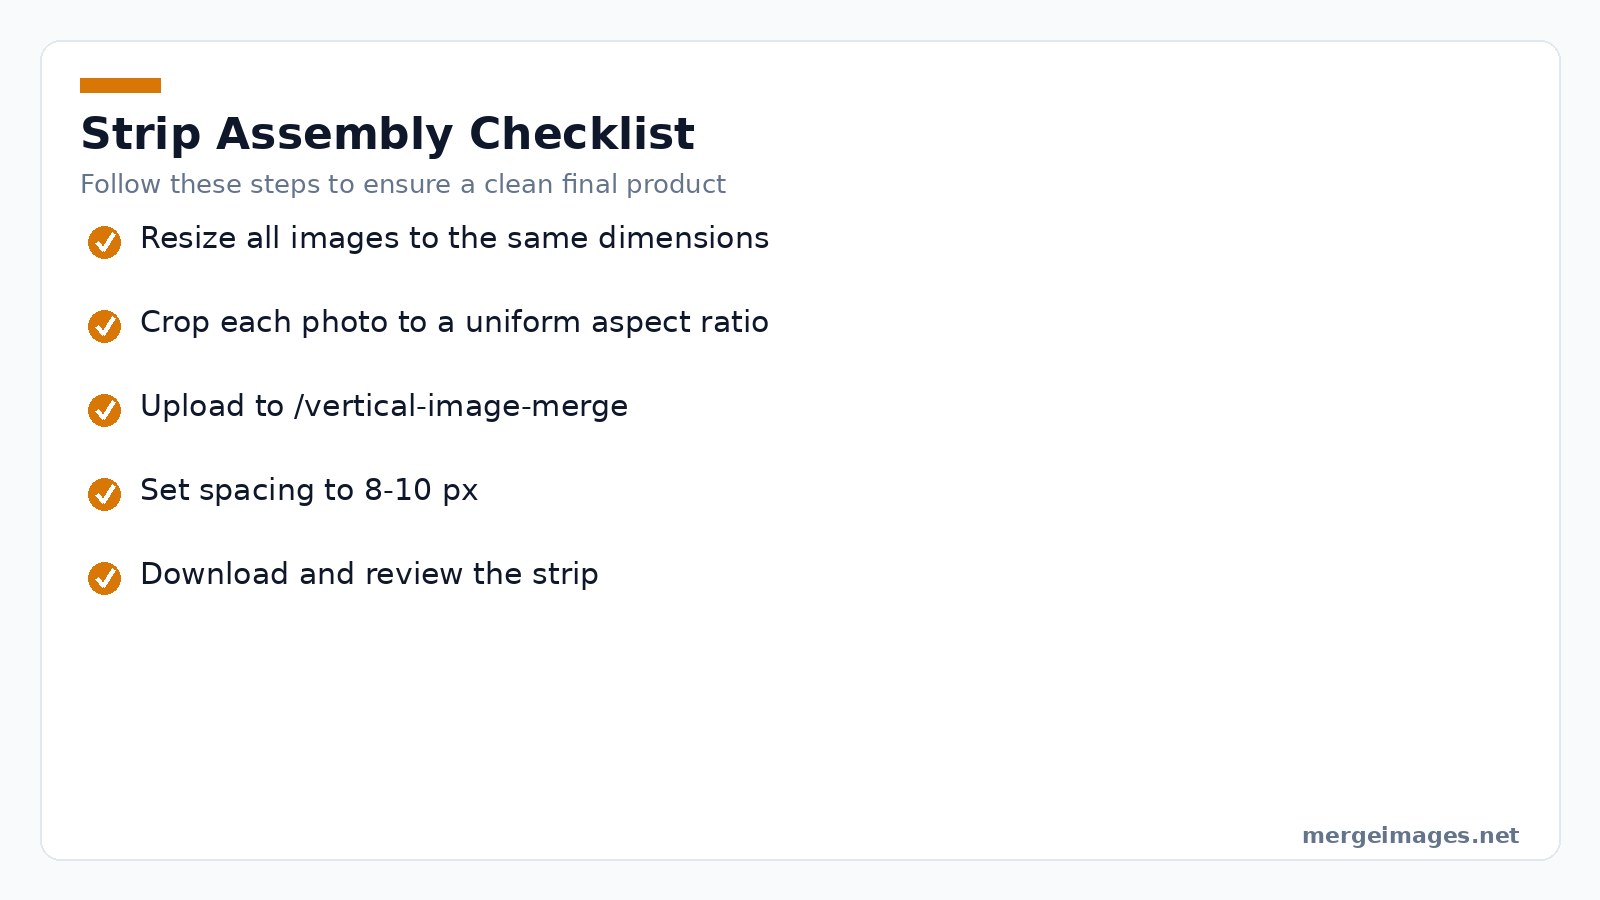
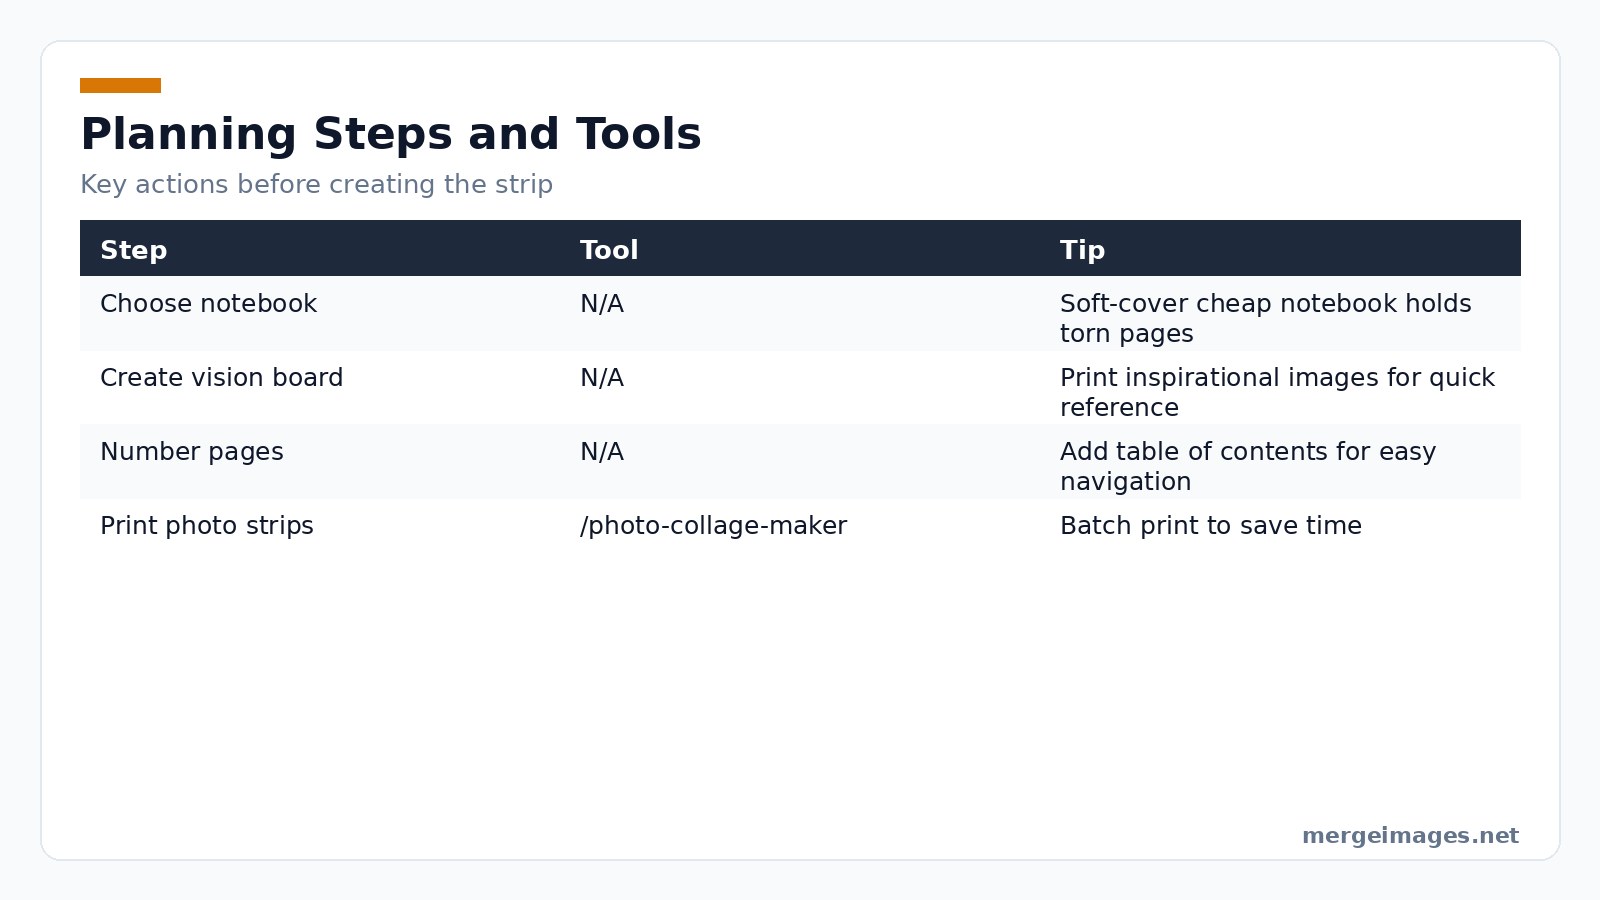

Photo: Ron Lach via Pexels
Planning Your Strip
Grab a cheap soft-cover notebook. The flexible binding tolerates torn pages better than a hard-cover journal. Number every page. Sketch a quick table of contents. This habit lets you locate a specific strip months later without flipping endlessly. The vertical image merge tool stacks your four frames into the classic strip in one step.
Build a personalization queue. Finish the cover first. Add stickers, photos, or graphics later. The queue lets you incorporate fresh ideas without redoing the whole layout.
Print a few inspirational images. Tape them inside the notebook on a vision board. Swap them out as your theme evolves. For multi-strip sheets, the photo collage maker arranges several strips on a single page.
When you tackle the intro page, batch-print photo strips instead of cutting each picture by hand. A single print run saves time. It keeps the strip dimensions consistent.
Avoid These Traps
Forgetting to lock the notebook pages causes mis-alignment when you later add thick stickers. Glossy pages make ink bleed. Matte paper is safer. Skipping the table of contents makes later retrieval painful.
Preparing Your Images
A reliable canvas size prevents distortion. Open Canva or any simple editor. Set the canvas to 600×1800px. Divide it into four equal 450-pixel strips. Add a solid black border around each frame. The border frames the photo without hiding any detail.
Overlay a 35% opacity gray texture on top of the frame. The low opacity preserves the underlying image. It gives it a vintage film feel. If you enjoy color grading, convert the photo layer to a background layer. Apply your look. Export the grading as a .cube LUT file for later use in photobooth software.
Keep all assets in a single folder named after the event (e.g., "Birthday2026"). This simple organization avoids confusion when you import files into the merging tool.
Watch These Limits
Free editors cap canvas size at 2000px on the longest side. Stay within 1800px height. PNG files larger than 5MB may slow the upload process. The gray overlay works best on images with moderate contrast. Very dark photos become muddy.
Building the Strip
- Resize all images to the same dimensions with the /image-resizer tool. I uploaded three 800×800px portraits. I set the width to 450px. I watched the preview shrink uniformly.
- Crop each photo to a 1:1 aspect ratio using /image-cropper. The freeform option lets me fine-tune the composition. The preset ensures the same size for every frame.
- Upload the prepared files to /vertical-image-merge. The interface lets you drag and drop the four images. It automatically stacks them top-to-bottom.
- Set thin spacing to 8px. The tool adds a clean white border between frames. It matches the classic look.
- Download the final strip as a PNG. Open it on your computer. Verify that each frame aligns perfectly.
Platform Pointers
After uploading, click the preview thumbnail to open the edit pane. Use the "align center" button to guarantee equal margins. If the tool reports "image size mismatch," return to /image-resizer. Enforce the exact 450px width. The free version limits merges to ten images. Keep your strip to eight or fewer to stay well within the quota.
Creative Variations
Want more than a single vertical strip? Try the /photo-collage-maker. Choose a grid layout. Drop each photo strip into a cell. Add themed borders or text captions. This method works well for holiday greetings, birthday collages, or a set of mini-strips that tell a larger story.
Experiment with three-frame or six-frame layouts. Adjust the canvas size accordingly. A six-frame strip uses a 600×2700px canvas (four 450-pixel strips plus two extra). The same merging steps apply.
Anticipate the Snags
Adding extra frames without adjusting spacing creates a cramped look. Increase spacing to 10px for six-frame strips. Using a non-square crop for a three-frame layout leads to uneven heights. Re-crop to 1:1 before merging.
Printing and Cutting
Classic dimensions are 2×6 inches. Print two strips on a 4×6 inches photo paper. Cut the sheet in half. For larger displays, use a 4×12 inches size. Print on matte cardstock. Wallet-size strips (1.5×4.5 inches) fit nicely on a single 4×6 paper when you place four per page.
Glossy photo paper gives the vivid, retro feel. Matte finish reduces glare for framing. Card stock adds durability for keepsake books. Sticker paper turns each strip into a peel-and-stick souvenir.
Real-World Constraints
Home printers often cannot print beyond 8.5×11 inches. Plan your layout accordingly. Cutting with regular scissors may produce ragged edges. A craft knife and ruler yields cleaner lines.
Sharing Online
Upload the PNG to Instagram Stories. The vertical format fills the screen without extra cropping. Facebook memories love the nostalgic vibe. A quick tweet of the strip captures a moment in under 280 characters. Pin the strip to a board on Pinterest for future inspiration.
Messaging apps appreciate the compact size. Send a strip in a group chat to recap an event. Attach it to an email newsletter for a personal touch.
Event Ideas
For Weddings, set up a DIY booth with a notebook for guests to fill in. Print strips on sticker paper so guests can label their luggage. At Parties, use themed borders for birthdays or holidays. Create a "year-in-review" collage with the photo-collage-maker. For Corporate events, capture conference moments. Merge them into a strip for the company blog. For Personal use, document a day's adventure, a pet's growth, or a couple's date night in a single vertical story.
Advanced Tips
Apply the same filter to every frame for consistent styling. Matching outfits, props, or backgrounds amplify the cohesive feel.
Add subtle date stamps or event logos with an image editor before merging. The gray texture layer should sit after any custom LUT to preserve the vintage tint without obscuring details.
Test the final strip in the preview mode of the merging tool. If a frame looks off-center, return to /image-cropper. Adjust the crop boundaries.
When you feel satisfied, transfer the file to your phone via AirDrop or email. Print at home or at a local shop. The workflow stays entirely browser-based. It is free. It requires no sign-up.
Frequently Asked Questions
How many frames can a vertical strip have?
Four is classic. You can use three to six frames as long as the canvas height matches the total pixel count.
Do I need Photoshop to add a vintage look?
No. A simple gray overlay and an optional LUT exported from any free editor achieve the effect.
Can I print strips on regular office paper?
Yes, but glossy or matte photo paper yields richer colors and sharper borders.
What file format works best for printing?
PNG preserves transparency and detail. JPEG is fine for quick sharing.
Is there a limit to how many images I can merge at once?
The free vertical-image-merge tool handles up to ten images. Eight or fewer keeps the strip tidy.

Bello builds useful software and writes thoughtful content to make sense of it all. He tests the tools himself and checks the facts before any of it goes in a guide.
Try Our Free Image Tools
Ready to Try It?
Put these tips into practice with our free online image merger. No signup required.
Merge Images Now


