
Summarise this article with:
A LinkedIn profile picture must be a square image of at least 400×400pixels, saved as JPG, PNG, or static GIF, and not exceed 8MB. The face should fill roughly 60% of the square because LinkedIn crops the picture into a circle for display.
A LinkedIn profile picture must be at least 400x400pixels. The platform stores images as squares but displays them inside circles, so faces should dominate roughly 60% of the square. Accept JPG, PNG, or static GIF up to 8MB. Upload your largest file; LinkedIn will downscale it for desktop and mobile.
| Spec | Value |
|---|---|
| Recommended size | 400x400px (minimum) |
| Maximum file size | 8MB |
| Aspect ratio | 1:1 (square) |
| Display size | 200x200px on desktop |
| Supported formats | JPG, PNG, GIF |
Forget these numbers and you get a blurry circle. Small source images destroy professional credibility instantly.
Why Composition Matters
Faces register faster than any other visual cue. Fill the frame so recruiters instantly gauge confidence and approachability. Position your eyes in the upper third of the square to honor the rule of thirds and protect key features from the circular crop. Use a neutral background like light gray, soft blue, or plain white to kill competing visual noise.
A genuine smile acts like a magnet. It signals openness and makes viewers linger on your profile. Sunglasses, heavy filters, and group shots distract viewers and kill engagement. Authenticity beats perfection.
Common Technical Pitfalls
Low resolution uploads create a pixelated circle. Start with a photo that is at least 1200x1200 pixels before cropping. Over compression erases subtle facial details so use a quality setting of 85-90 for JPG. Incorrect color space like CMYK gets converted to RGB by LinkedIn, shifting hues unpredictably. Save the file in sRGB. Transparent PNGs work but LinkedIn adds a gray background that may clash with your branding.
Step-by-Step Workflow Using MergeImages
1. Capture a Clean Headshot
I set up my laptop near a window for natural light. I wore my standard client meeting shirt. I used my phone's portrait mode, held the device at arm's length, and filled most of the frame with my face. The resulting photo was sharp, evenly lit, and perfectly composed.
2. Remove the Background
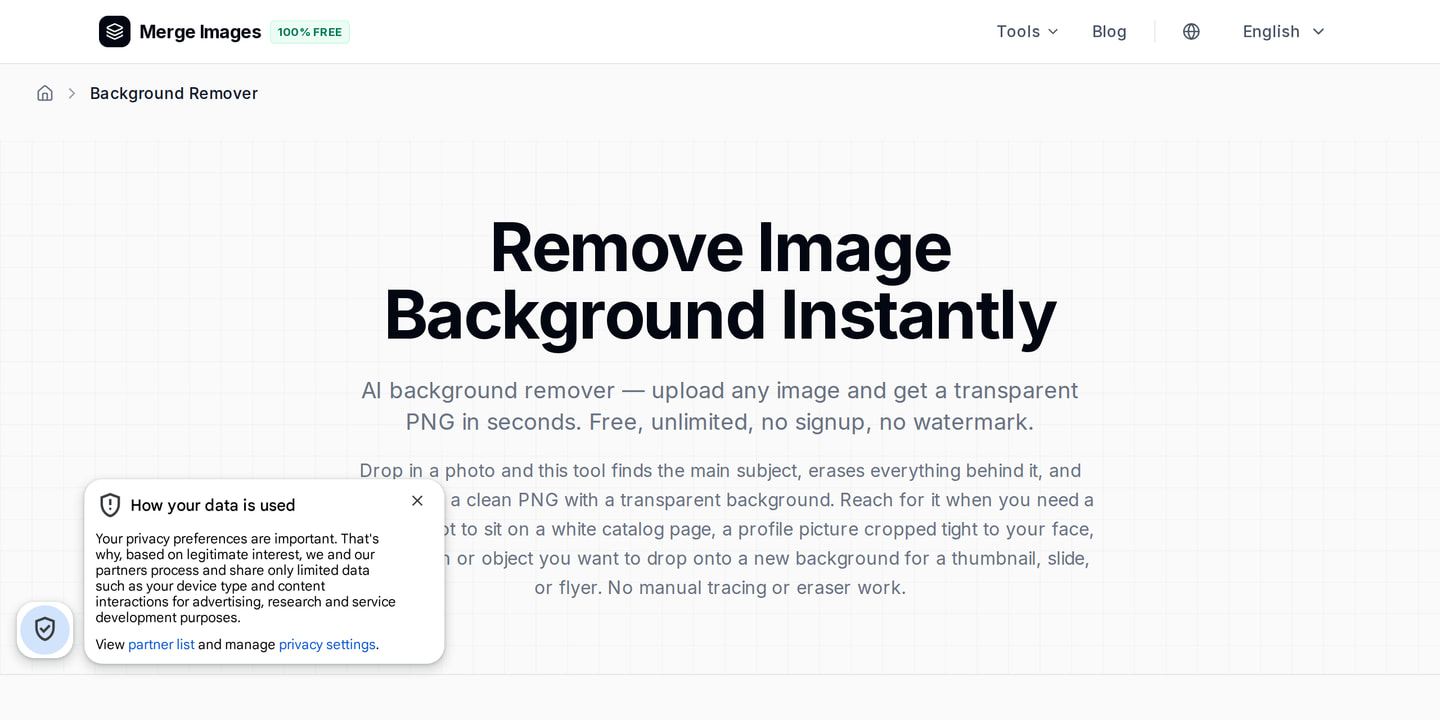
Open the Background Remover tool. Drag the photo onto the upload area. The AI isolates the subject and outputs a transparent PNG. I downloaded the cutout and saved it. The process takes under ten seconds and requires no sign up.
3. Add a Professional Backdrop
I created a solid color canvas in an image editor set to #E5E5E5. Using the Image Cropper, I imported the transparent headshot and centered it. The Cropper resizes the cutout while preserving the aspect ratio, keeping the face at roughly 60% of the new square.
4. Crop to a Perfect Square
Launch the Profile Picture Maker. Feed the combined image into the tool and select the 1:1 preset. A live preview shows the circular mask. I nudge the image until my eyes sit just above the centre line. One click creates a 400x400px square ready for LinkedIn.
5. Polish Brightness and Contrast
A quick pass with the built-in brightness slider brightens the eyes and adds subtle contrast. The face pops without looking artificial. I keep the adjustments modest to avoid the filtered look.
6. Compress for Fast Upload
I run the file through the Image Compressor on the same site and set quality to 90. The output lands at 420KB. That is well under the 8MB limit and loads instantly on any device.
Optimizing File Size and Quality
LinkedIn re-encodes uploaded photos. Start with a well-compressed image to speed up the process and preserve detail. Aim for a JPG under 500KB. If the file is larger, the compressor will reduce it while retaining sharpness. Avoid PNG unless you need a transparent background for a later overlay. PNG files are larger and trigger LinkedIn's internal compression.
Banner Image Basics
Your banner sits behind the profile picture and offers extra real estate for branding. The recommended dimensions are 1584x396px with a centered safe zone of 1200x300px. Place key text or logos away from the left edge because the profile picture covers that area on desktop. Use high contrast so text remains legible on desktop and mobile.
Deeper Practitioner Guidance
Watch for three hidden enemies when you shoot the original photo: harsh shadows, background clutter, and inconsistent color temperature. Soften harsh shadows with a diffuser or a sheer curtain. Background clutter like posters, plants, or office equipment draws the eye away from your face. A blank wall or a simple fabric backdrop solves this. Inconsistent color temperature from mixing warm and cool light creates a halo effect that looks odd after LinkedIn’s automatic re-encoding. Aim for a single light source or balance daylight with a soft white lamp.
Enable the highest resolution setting on your webcam and clean the lens before recording. Many professionals forget to set the autofocus to a single point. The camera hunts for focus and produces a soft image. Lock focus on the eyes, then take several shots to avoid motion blur.
Limits of Free Tools
Free online tools are powerful but have limits. The AI Background Remover works best on images with clear separation between subject and background. Busy scenes may produce halo artifacts that require manual touch up in a raster editor. The Image Cropper does not support layer masks, so complex compositing must be done elsewhere. The Profile Picture Maker enforces a 400x400 output. If you need a higher resolution for other platforms, upscale with a dedicated AI upscaler.
Sharper Platform Guidance
LinkedIn applies a subtle vignette to profile pictures on mobile. Keep the most important facial features at least 5mm away from the edge of the square canvas to compensate. Test your final image on desktop and mobile preview modes before publishing. If the circular mask cuts off the top of your head, increase the canvas size to 450x450 before the final crop, then let LinkedIn downscale.
Common Pitfalls to Avoid
Sunglasses hide the eyes, the most important facial feature. Group photos rarely meet resolution standards even after cropping. Heavy Instagram-style filters look unprofessional and reduce clarity. Out-of-date pictures fail if you would not be recognized; update every two to three years. Corporate logos as profile pictures belong on company pages, not personal profiles, which should showcase a face.
Final Checklist
Before you hit Save on LinkedIn, run through this quick audit:
| Item | ✔ |
|---|---|
| Minimum resolution met (400x400px) | |
| Face occupies ~60% of frame | |
| Background is neutral and non-distracting | |
| Eyes are in focus and visible | |
| File size under 500KB (JPG) | |
| Circular crop preview shows no clipping | |
| Tested on desktop and mobile preview |
Check each box. A single missed detail can diminish the professional impact of your profile.
Frequently Asked Questions
How do I know if my photo is the right size?
Upload the image to LinkedIn. The platform will display a preview. If the face looks pixelated, the source file is too small.
Can I use a smartphone selfie?
Yes, as long as the selfie meets the size, lighting, and composition guidelines outlined above.
Do I need to remove the background completely?
A clean, solid background works best. A subtle office setting is acceptable if it does not distract from your face.
What file format should I choose?
JPG provides the best balance of quality and file size for LinkedIn profile pictures.
How often should I update my LinkedIn photo?
Every two to three years, or whenever your appearance changes significantly.

Bello builds useful software and writes thoughtful content to make sense of it all. He tests the tools himself and checks the facts before any of it goes in a guide.
Try Our Free Image Tools
Ready to Try It?
Put these tips into practice with our free online image merger. No signup required.
Make your social images, free


