
Summarise this article with:
The Bare-Bones Budget Box shows that a functional home studio can be assembled for under $30 using everyday items. A white foam board backdrop, a sturdy tripod, and a single soft-light source provide the essential lighting and stability needed to capture professional-looking product photos without costly equipment.
A clean white backdrop, a steady tripod, and soft light are enough to start selling products online. Grab a 20-inch square of white foam core for the background for less than 5 dollars, plus a second piece to act as a reflector. Position the reflector on the shadow side to balance the light without a pricey softbox.
A smartphone released within the last three years captures enough detail for most small items. Turn off HDR. Lock focus on the product. Keep the camera steady on a low-cost tripod. The tripod eliminates blur. It guarantees the same framing across dozens of shots, which saves time in post-production.
Common Pitfalls
Uneven lighting happens if the reflector sits too close. The light becomes flat and the product loses texture. Move the reflector a few inches away until you see a gentle gradient. Direct LED panels create hot spots, leaving bright circles on glossy surfaces. Diffuse the panel with a thin white sheet or parchment paper. Indoor bulbs that are not daylight-balanced will cast a yellow tint, causing color shift. Use bulbs labeled 5000-5600K or add a white balance preset in the camera app.
DIY Lightbox Construction
Cut four pieces of foam core into exact 20-inch squares on a cutting board. This protects both the blade and your floor. Tape the seams on the inside only. The outside stays clean so no black marks appear on reflective items. The beveled edges let the box fold back on itself, creating a sturdy tent that resists wobbling.

Photo: Nothing Ahead via Pexels
Attach Velcro strips at each corner. A few spots of Velcro hold the structure together while still allowing it to collapse for storage. Slip a non-slip pad under the base. A lightweight lightbox will otherwise slide on smooth tables.
To diffuse the light, drape a doubled-up plastic tablecloth over the top opening. If you have diffusion paper, swap it in for a smoother glow. Cut a small slit in the front panel and tape a white paper bounce card inside. The bounce card reflects a bit of light back onto the front of the product, softening any remaining harsh edges.
Finally, line the back interior with a long strip of white poster board that runs from the front opening to the rear wall of the box. This creates a continuous white background that extends behind the product, eliminating distracting edges in the final image.
Limits of a DIY Box
The 20-inch frame works well for items up to about 8inches tall. Larger products will need a bigger frame or a separate backdrop stand. LED panels stay cool, but incandescent bulbs can warm the foam core. Keep the exposure time short and allow the box to cool between batches to prevent heat buildup.
Simple Backdrop Stand
When you need a larger background than a foam core can provide, a portable stand built from a heavy-duty table clamp and a ½-inch pipe does the trick. Choose a clamp that tightens securely to the tabletop without drilling holes. The clamp stays reusable for future shoots.
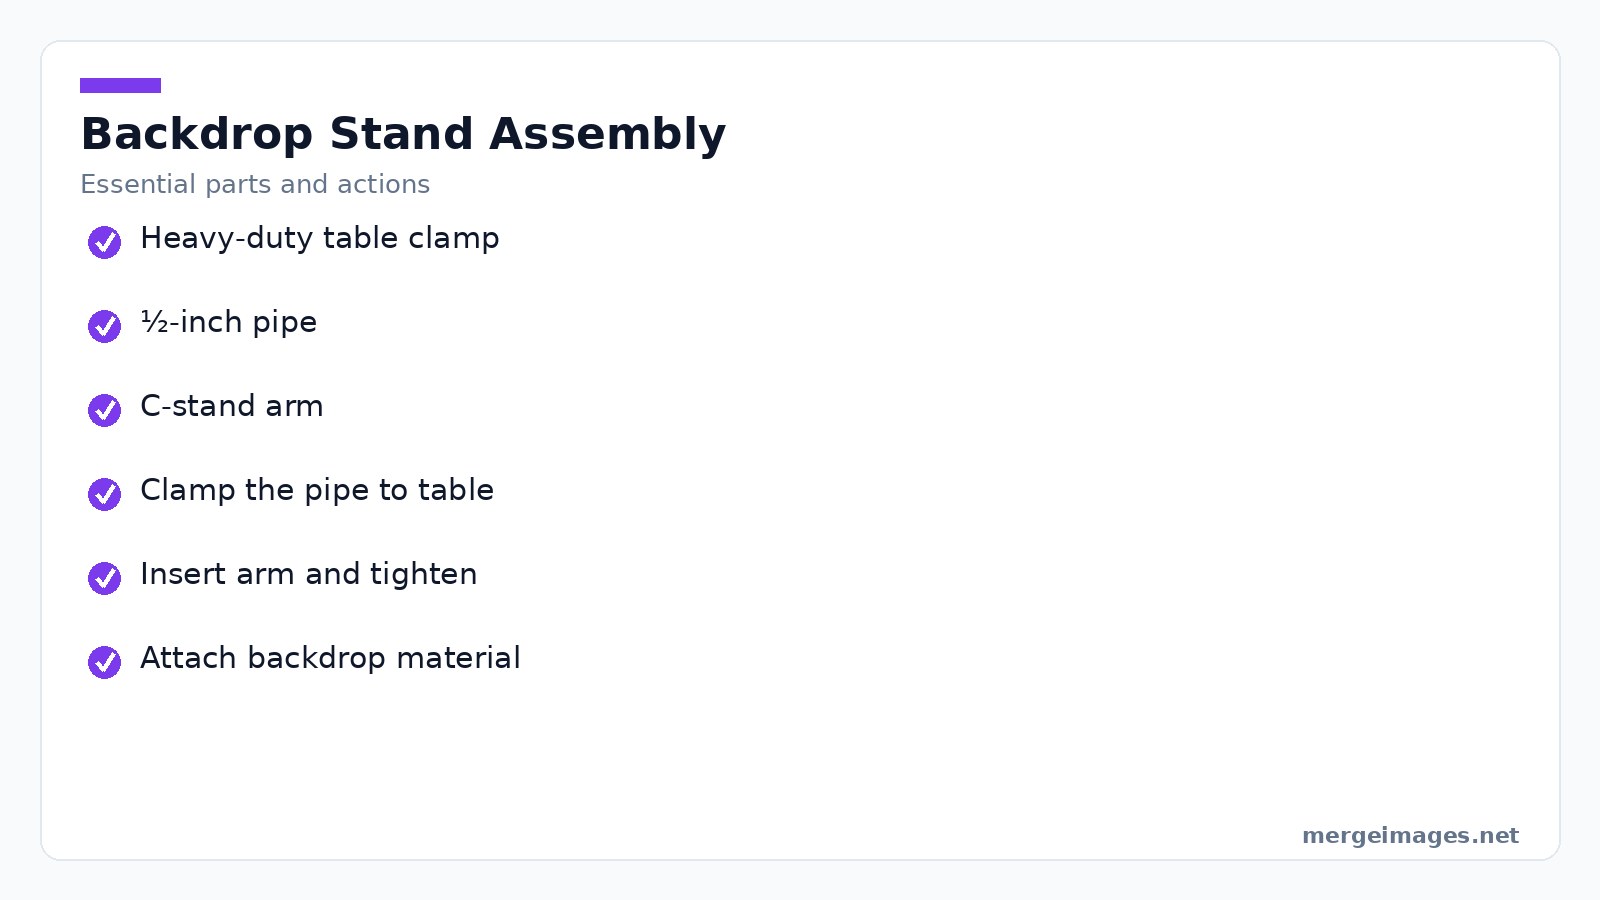
Slide the pipe through the clamp's top and bottom jaws, leaving about three inches of pipe above the surface for a stable base. Insert a C-stand arm into the pipe, aligning the arm's opening with the pipe's hole, then tighten the arm's top clamp. The arm's height slides freely, so you can raise or lower the backdrop material without rebuilding the rig.
Clip a roll of continuous white paper, a piece of fabric, or a sheet of wood grain board to the arm using binder clips. Keep a few neutral-gray microfiber cloths on the stand for quick wipe-downs. Bright-colored cloths can reflect unwanted hues onto shiny products.
The whole assembly folds flat for storage and can be set up on any table, making it ideal for small apartments or shared workspaces.
Mistakes to Avoid
A slipping clamp will tilt the backdrop and cause inconsistent edges. Double-check the clamp torque before each session. Some fabrics have a subtle sheen that shows up on glossy items. Test a small patch under your lighting before committing.
Lighting Strategies
Natural Light Window Setup
Place the product 1-3feet from a north-facing window or any window that receives indirect daylight. The light should strike the product's front side at a shallow angle. The reflector foam core sits opposite to bounce light into the shadows. Adjust the distance. The closer you are, the more directional the light. Move back a foot or two for softer transitions.
Artificial LED Light Setup
If you shoot after sunset or need consistency across multiple days, two daylight-balanced LED panels or desk lamps with high-CRI bulbs replace the window. Position one panel at a 45-degree angle to the product and the reflector on the opposite side. Keep the color temperature uniform, around 5500K, to avoid color casts that later require heavy correction.
Lightbox Use
The DIY lightbox described above delivers flat, shadow-free illumination. It shines best for jewelry, small electronics, and packaged goods where every detail must be visible. Flat lighting can make textured items look dull. For shoes or fabrics, revert to the single-source setup to preserve depth.
Shooting with a Smartphone
Modern phones excel at product photography when you follow a few habits. Tap and hold on the product to lock focus and exposure. Compose the shot using the grid lines for consistent framing. Disable digital zoom. Instead, move the phone closer to maintain pixel density.
Set the camera to its highest resolution mode and shoot in RAW if the phone offers it. RAW preserves more detail for later adjustments. Use a tripod or a stable surface to keep the camera level, especially when you're using longer shutter speeds in low-light situations.
When a Smartphone Falls Short
Very small items under 1inch may need a dedicated macro lens attachment. Even then, depth of field can be too shallow. High-contrast scenes like bright metal against a dark background can clip shadows or highlights. Reduce contrast in post-processing rather than relying on the phone to capture the full dynamic range.
Editing Workflow
Even perfect lighting can leave minor imperfections that need polishing. Start by uploading the raw image to the background remover tool. I dropped a 1200×800pixel photo into the remover, clicked "process," and watched the white backdrop disappear in seconds, leaving a clean transparent PNG ready for any background.
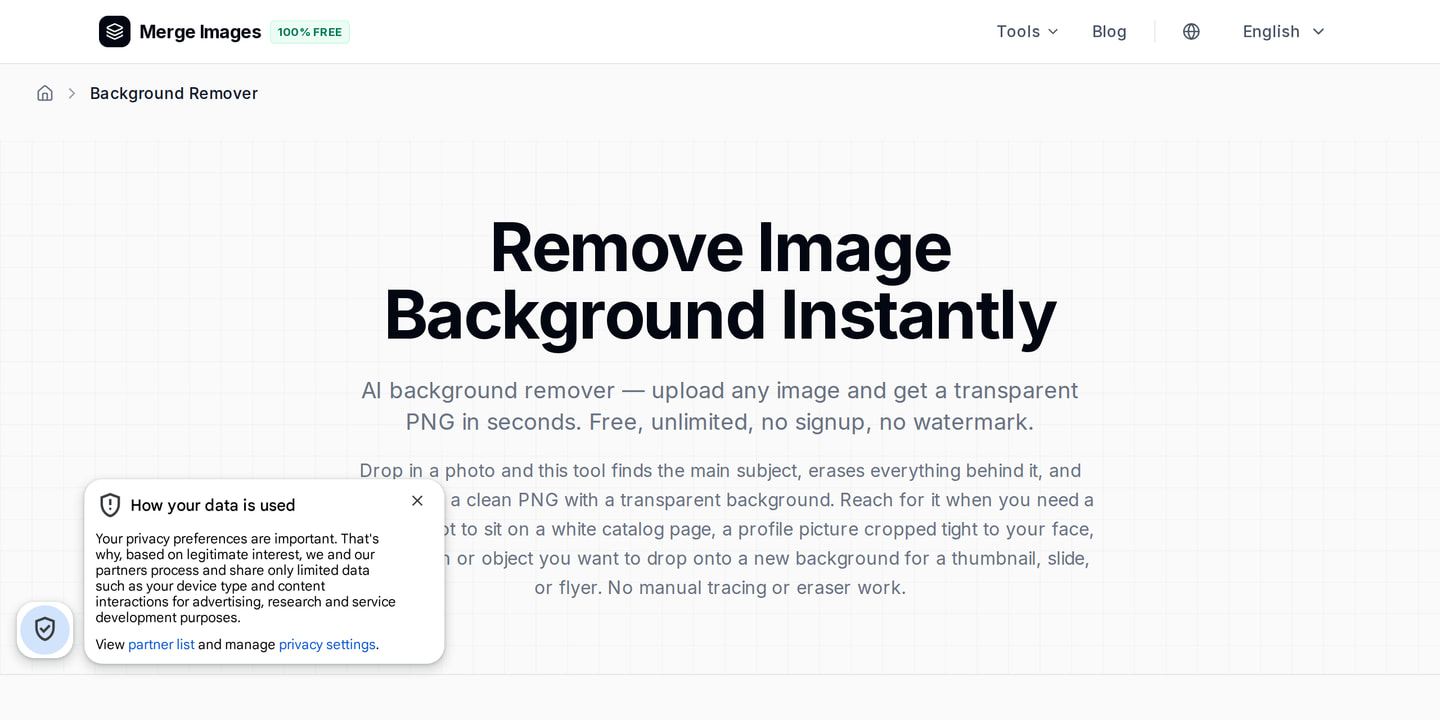
Next, run the same file through the brightness image adjuster. A single slider raised the overall exposure just enough to push the background toward true white without blowing out product highlights. The tool's auto-balance kept the colors natural, saving me from manually tweaking white balance later.
Finally, I needed a square hero image for a marketplace that required 800×800pixels. Using the image cropper, I selected the "square" preset and the product stayed centered while the edges remained crisp. The cropper's preview showed exactly how the final image would look, so I could confirm the composition before downloading.
Batch-process the rest of the catalog with the same steps, and you'll have a uniform set of images ready for upload.
Platform Guidance
Amazon requires a pure white background at RGB255,255,255 and a minimum of 1000pixels on the longest side. The image must fill 85% of the frame. Etsy allows a light neutral background but recommends a minimum of 2000pixels width for zoom capability. eBay accepts up to 5MB per image. Keep the file size under 1MB by exporting as JPEG with 80% quality. Follow each platform’s spec sheet before exporting. A mismatch can result in rejection or automatic down-scaling that reduces sharpness.
Consistency Checklist
A catalog that looks like it was shot in one day builds trust with shoppers. Before each session, run through this quick checklist.
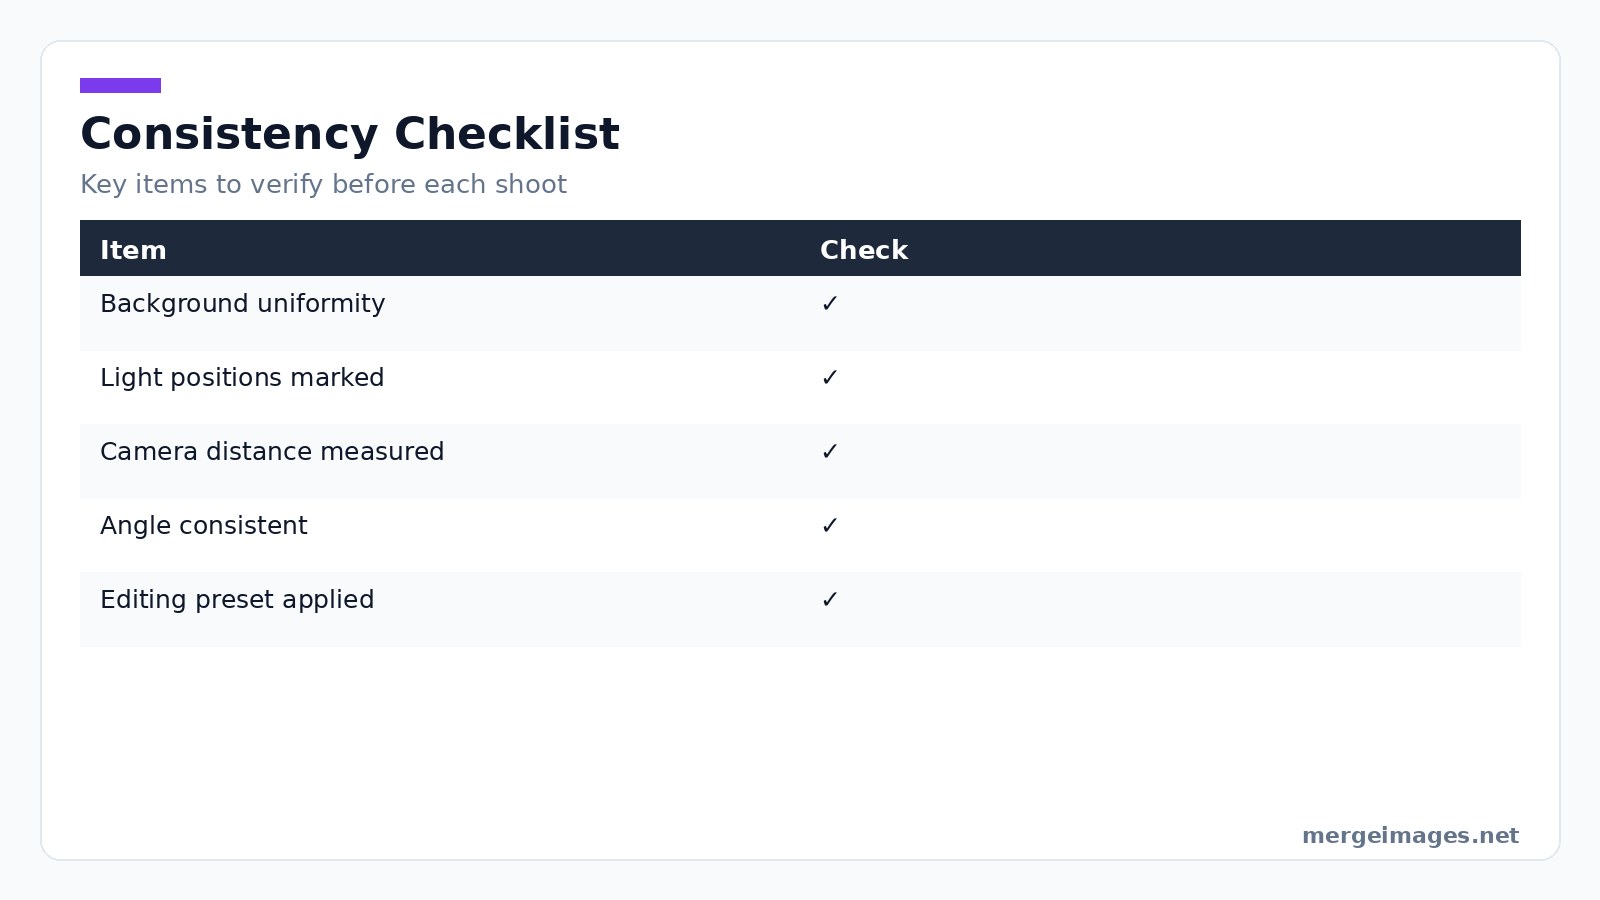
Check background uniformity. Ensure light positions are marked on the table. Verify the camera-to-product distance is measured. Keep the angle consistent, straight-on or 45degrees. Confirm the editing preset is applied uniformly. Keeping a reference photo of your setup and a printed copy of the checklist on the workbench makes it easy to replicate the exact conditions for every product line.
Frequently Asked Questions
Do I really need a DSLR for product shots?
A recent smartphone can match a DSLR for most small items when you control lighting and use a tripod. Upgrade only if you need macro depth-of-field control or shoot large, heavy products that require a higher-resolution sensor.
How can I tame reflections on shiny objects?
Use the DIY lightbox with diffused light, or add a thin sheet of white paper in front of your LED panel to soften specular highlights. A polarizing filter works on cameras that accept lenses, but for phones a softbox is the simplest solution.
What's the best background for marketplace listings?
Pure white is the standard requirement for Amazon, Walmart, and most major platforms. If you can't achieve true white in-camera, remove the background with the background remover tool and replace it with a solid white canvas.
Can I reuse the same lighting setup for different product sizes?
Yes. Just adjust the distance between the light source and the product. Larger items may need the light farther away to avoid hot spots, while tiny accessories benefit from closer, more directional illumination.
How do I keep color consistency across multiple shoots?
Document your light temperature, use the same white balance setting each time, and apply the same brightness-image preset in post-processing. Mark light positions with tape and keep the camera height constant on the tripod.

Bello builds useful software and writes thoughtful content to make sense of it all. He tests the tools himself and checks the facts before any of it goes in a guide.
Probieren Sie Unsere Kostenlosen Bildtools
Bereit es Auszuprobieren?
Setzen Sie diese Tipps mit unserem kostenlosen Online-Bildeditor in die Praxis um. Keine Anmeldung erforderlich.
Clean up your images, free


