
Summarise this article with:
You can blur a photo background without Photoshop in 3 ways: shoot with portrait mode, apply a full-image blur in a free browser tool, or remove the background and rebuild it over a blurred copy. Each method takes under 10 minutes and none needs paid software.
A softened backdrop pulls the eye to the subject, hides clutter, and adds depth mimicking a wide-aperture lens. The effect works for portraits, product shots, and social-media posts. You do not need an expensive camera; 1 click can deliver the same visual punch. In practice, the human brain interprets a shallow depth of field as a sign of professional lighting, so even a modest smartphone image can look premium when the background is properly blurred. The key is to keep the subject crisp while the surrounding area recedes gradually, creating a natural transition that feels three-dimensional. The free blur tool applies a clean full-image blur in the browser.
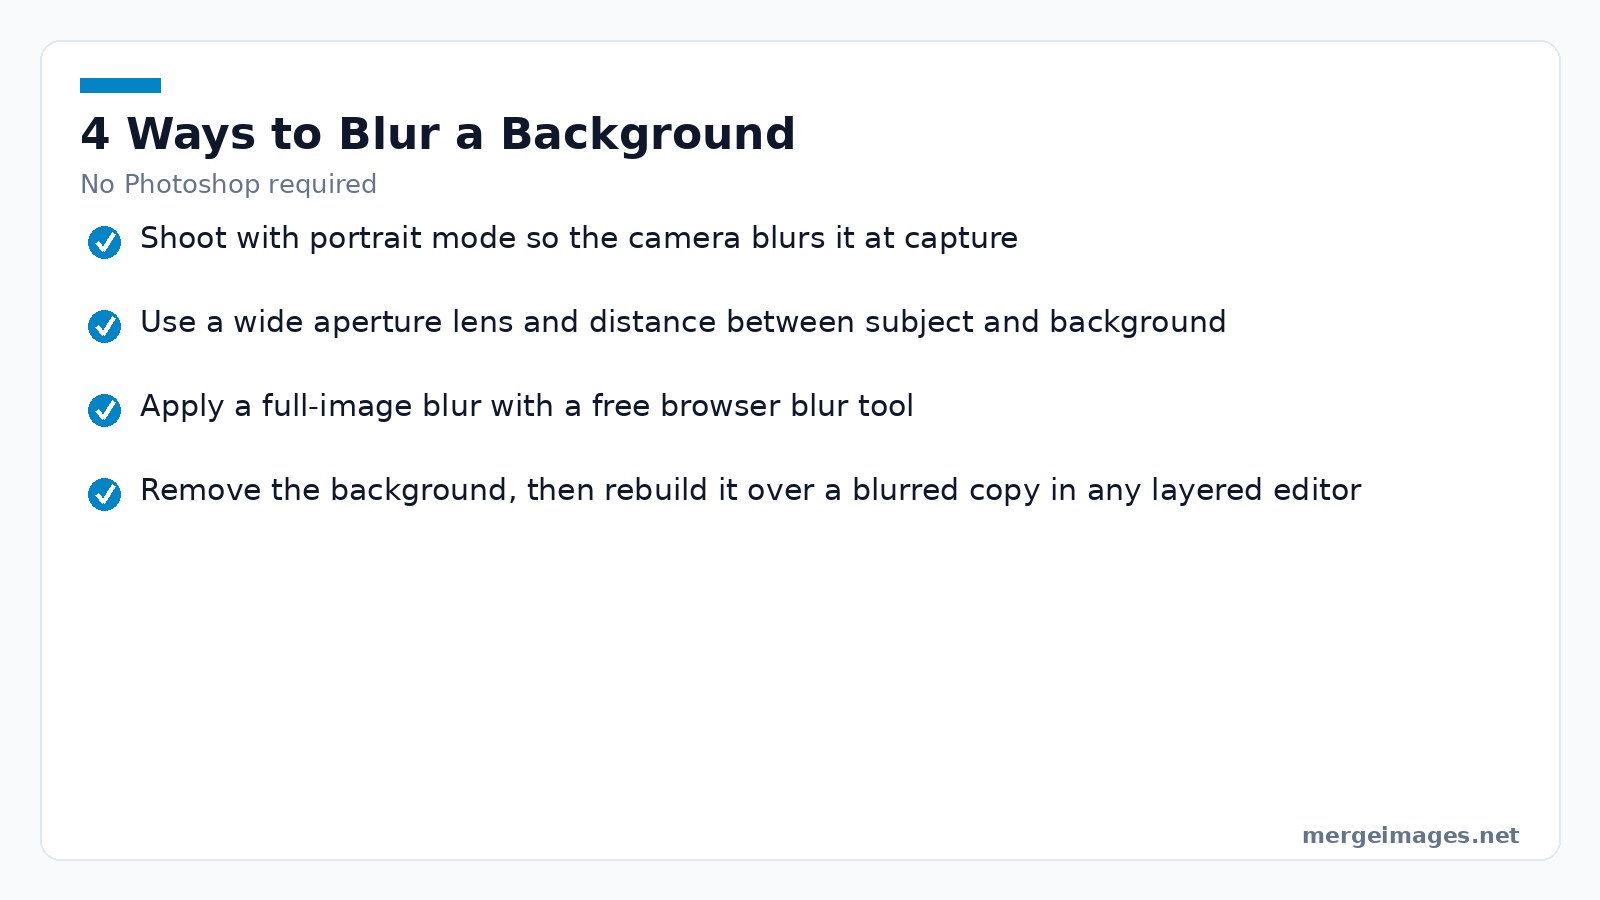
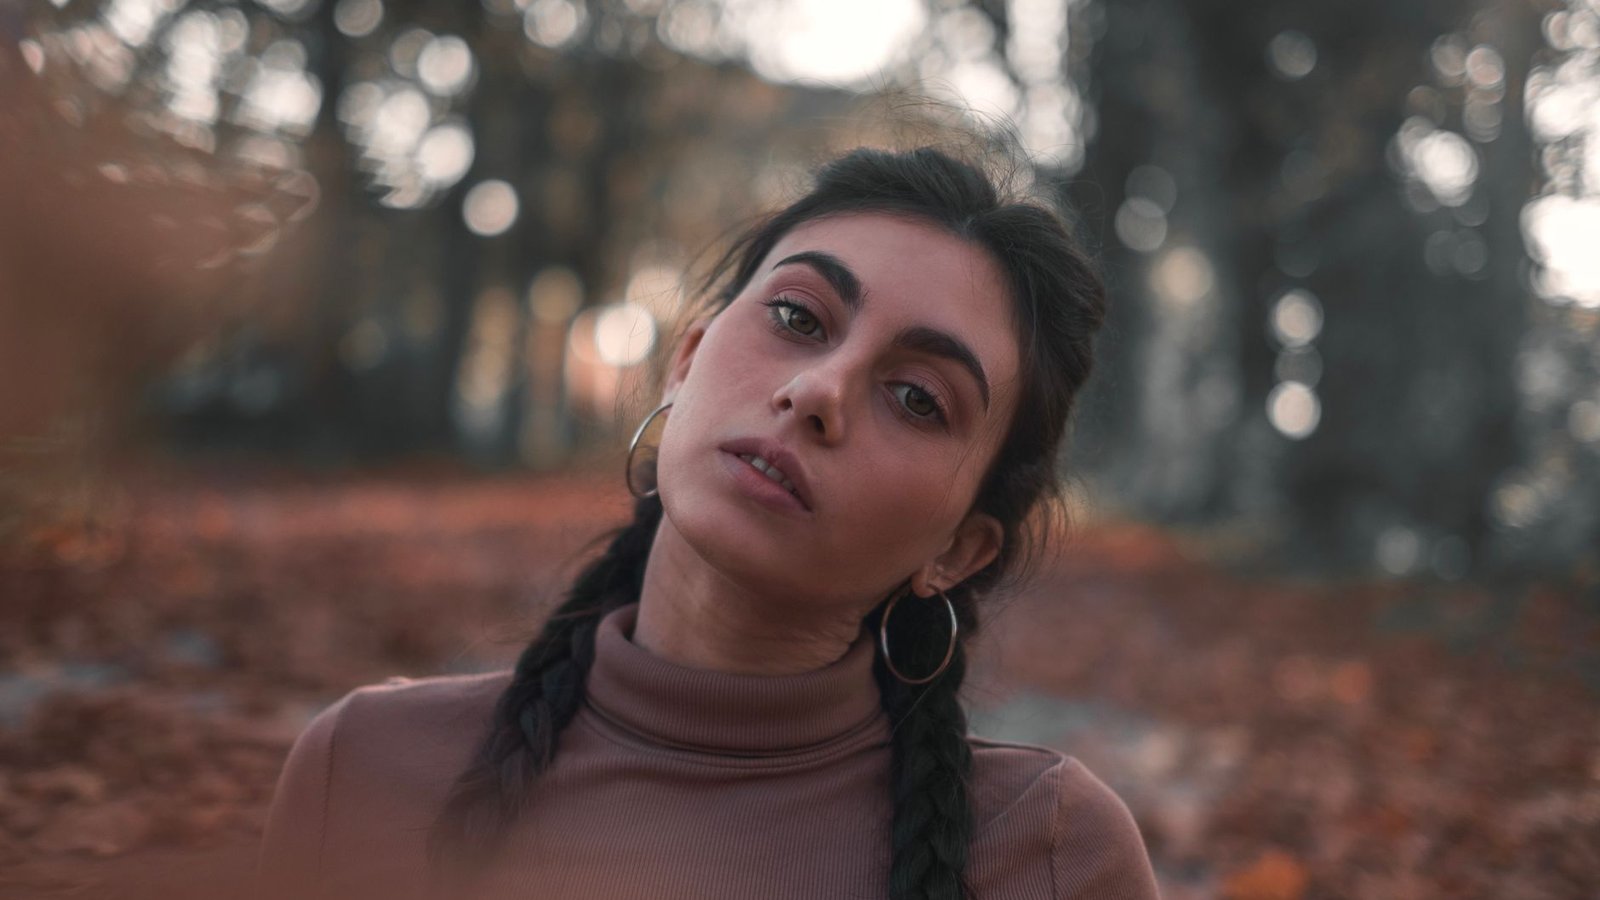
Photo: Michele Raffoni via Pexels
Fast AI Workflow with MergeImages
Start with MergeImages' Background Remover. Upload the photo. Let the AI cut out the person or object. Download the transparent PNG. Next, open the original picture in any free editor like Pixlr, Photopea, or the built-in browser canvas. Apply a full-image blur using the Image Blur tool at a radius of 8px for a subtle look or 12px for stronger separation. The blur algorithm in MergeImages uses a Gaussian kernel, which preserves edge smoothness while diffusing colour transitions.
After blurring, return to MergeImages. Use the Overlay Images feature to place the sharp cutout over the blurred background. Align the layers by snapping to the centre or by dragging manually; the preview window shows a real-time composite, so you can tweak the position until the subject sits naturally within the scene. The result looks like a camera-shot with a shallow depth of field, and you never touched Photoshop. This workflow also preserves the original resolution because the AI mask is generated at the source size, avoiding the pixel loss that occurs when you downsample before masking.
Manual Selective Blur Using Background Remover
AI masks miss fine details like hair strands or thin necklaces. Refine the cutout manually. Download the PNG. Open the blurred version of the full image in your editor. Drag the PNG on top and position it precisely. If the background shows unwanted edges, use the editor's eraser with a hard brush (size 10px, hardness 100%) to clean up. This two-layer technique mimics a layer mask without needing a dedicated masking tool. For especially fine hair, switch to a 2-pixel brush with 30% opacity and paint around the edges; the semi-transparent strokes will gently feather the hair into the background, preventing a harsh halo.
Refining the Mask, Practitioner Tips
I tried a 12px blur radius on a portrait. The edges became too soft. I lowered it to 9px and the subject stood out crisply. While painting the mask, increase brush hardness when outlining fine details. A soft brush feathers into the blurred area and creates a halo. Zoom in to 200% for the eyes. Zoom out to 100% to verify the overall shape. Alternating zoom levels keeps the outline accurate. If the background shares colors with the subject, select a larger brush to ensure the mask fully covers the silhouette. The paint table in MergeImages works like a layer mask. Toggle visibility to compare the masked version with the original at any time. Frequent use of the preview tick (✔) catches mistakes early. It saves you from re-doing the whole cutout.
A practical tip for skin tones: after overlaying the cutout, add a subtle inner shadow (2px offset, 10% opacity) on the subject layer. This tiny contrast cue reinforces the perception of depth and prevents the subject from looking flat against the blurred field.
Limits of the AI Approach
The AI model cannot infer depth when the subject blends into a similarly coloured background. The mask will leak. You must manually add or subtract pixels. The free tier limits the number of high-resolution removals per day. Once you hit the quota, the tool pauses until the next day. Plan sessions or upgrade to a paid plan for bulk work. In addition, the AI struggles with semi-transparent objects such as sheer fabrics; in those cases, a manual mask drawn in Photopea is more reliable.
Mobile Portrait Mode Adjustments
iPhone users who shot in Portrait mode have a depth map baked into the file. Open the photo in the Photos app. Tap Edit. Slide the f-stop slider left or right. Moving the slider toward a higher f-stop number deepens the background blur. A lower number restores more of the scene. This adjustment works only on Portrait-mode captures. For regular shots, rely on the AI workflow described above or a third-party blur app. The built-in tool never alters the original RAW data. You can always revert to the unedited version.
When adjusting the f-stop, watch the preview for edge artifacts around hair. If the algorithm misclassifies background pixels as foreground, use the Depth editing brush (available in iOS 17 and later) to paint over problem areas, then re-apply the blur. This fine-tuning step can save you from a full AI re-mask later.
When Portrait Mode Fails
If the depth map is inaccurate, like when a subject is partially obscured, the slider produces uneven blur. Export the image. Run it through MergeImages' Background Remover. Apply a manual blur as described earlier. This hybrid approach restores control over the blur zones. After overlaying the clean cutout, you can re-introduce a subtle vignette (3% opacity) to draw attention back to the centre, compensating for any residual background noise.
Optimizing File Size and Quality
Run the finished image through MergeImages' Image Compressor. Set output quality to 100% only if file size is not a concern. A quality of 85% shrinks the file by 30% while keeping visual fidelity. Need a larger canvas for a print or a social-media banner? Consider the Image Upscaler. The full-resolution result downloads free, with no watermark. Upscaling after blurring preserves the smooth gradient of the background. It avoids pixelation around the subject. For print work, upscale to 300dpi before compression; this ensures the blurred gradient remains continuous when viewed up close.
Blur Intensity Guide
| Use Case | Gaussian Blur Radius | Effect |
|---|---|---|
| Subtle portrait enhancement | 4-6px | Soft, natural separation |
| Standard portrait bokeh | 8-12px | Clear subject isolation |
| Product photography | 10-15px | Strong product focus |
| Dramatic creative effect | 15-25px | Heavy artistic blur |
| Miniature/tilt-shift | 8-12px | Toy-like diorama look |
Choosing the right radius prevents artificial blur. Start low. Preview. Increase only until the background recedes just enough. Remember that a larger radius on a high-resolution image can still look natural, whereas the same radius on a 720p photo may appear exaggerated.
Common Mistakes Checklist
Applying too much blur detaches the subject. Forgetting to feather selections creates unnatural hard edges. Keep shadows that belong to the subject sharp. Vary the radius for realistic depth instead of a uniform blur. Watch for reflections in glass or water. They should match the subject’s focus. If you notice a halo around hair, revisit the mask and add a few pixels of the original background behind the hair strands to create a natural blend.
Frequently Asked Questions
How can I blur only the background if my photo isn’t a portrait shot?
Use MergeImages' Background Remover to isolate the subject. Blur the original with Image Blur. Overlay the cutout. This mimics selective blur without Photoshop.
Does the Image Blur tool affect the subject as well?
No. The tool applies a uniform blur to the entire image. To keep the subject sharp, combine it with a cutout layer as described in the workflow.
Can I adjust the blur intensity after applying it?
The blur is baked into the file. You need to re-apply it with a different radius. Save a copy of the original first to avoid losing the unblurred version.
Will using the Image Compressor reduce the quality of the blurred background?
Lowering the compressor quality introduces artifacts, especially in smooth gradients. Keep quality at 85% or higher for clean blur edges.
Is the background removal truly free for every user?
MergeImages offers a daily free limit for the Background Remover. Reach the limit and you can wait until the next day or consider a paid plan for unlimited access.

Bello builds useful software and writes thoughtful content to make sense of it all. He tests the tools himself and checks the facts before any of it goes in a guide.
Try Our Free Image Tools
Ready to Try It?
Put these tips into practice with our free online image merger. No signup required.
Enhance your photos, free


