
Summarise this article with:
Baby passport photos face rejection far more often than adult shots, with up to 30 % of submissions flagged for simple errors like stray hands or non-white backgrounds. Fixing these exact issues takes just a few minutes using free online tools available today.
Parents often assume a quick snap satisfies the passport office, only to discover a hidden flaw when the application is returned. The rules are strict. The mistakes are predictable. Below each common problem I detail what the officer sees, why it happens, and a practical browser fix requiring no software installation.
1. Stray Hands and Fingers
Why it happens: A wobbly baby prompts a parent to steady the head. Even a tiny fingertip near the ear means rejection.
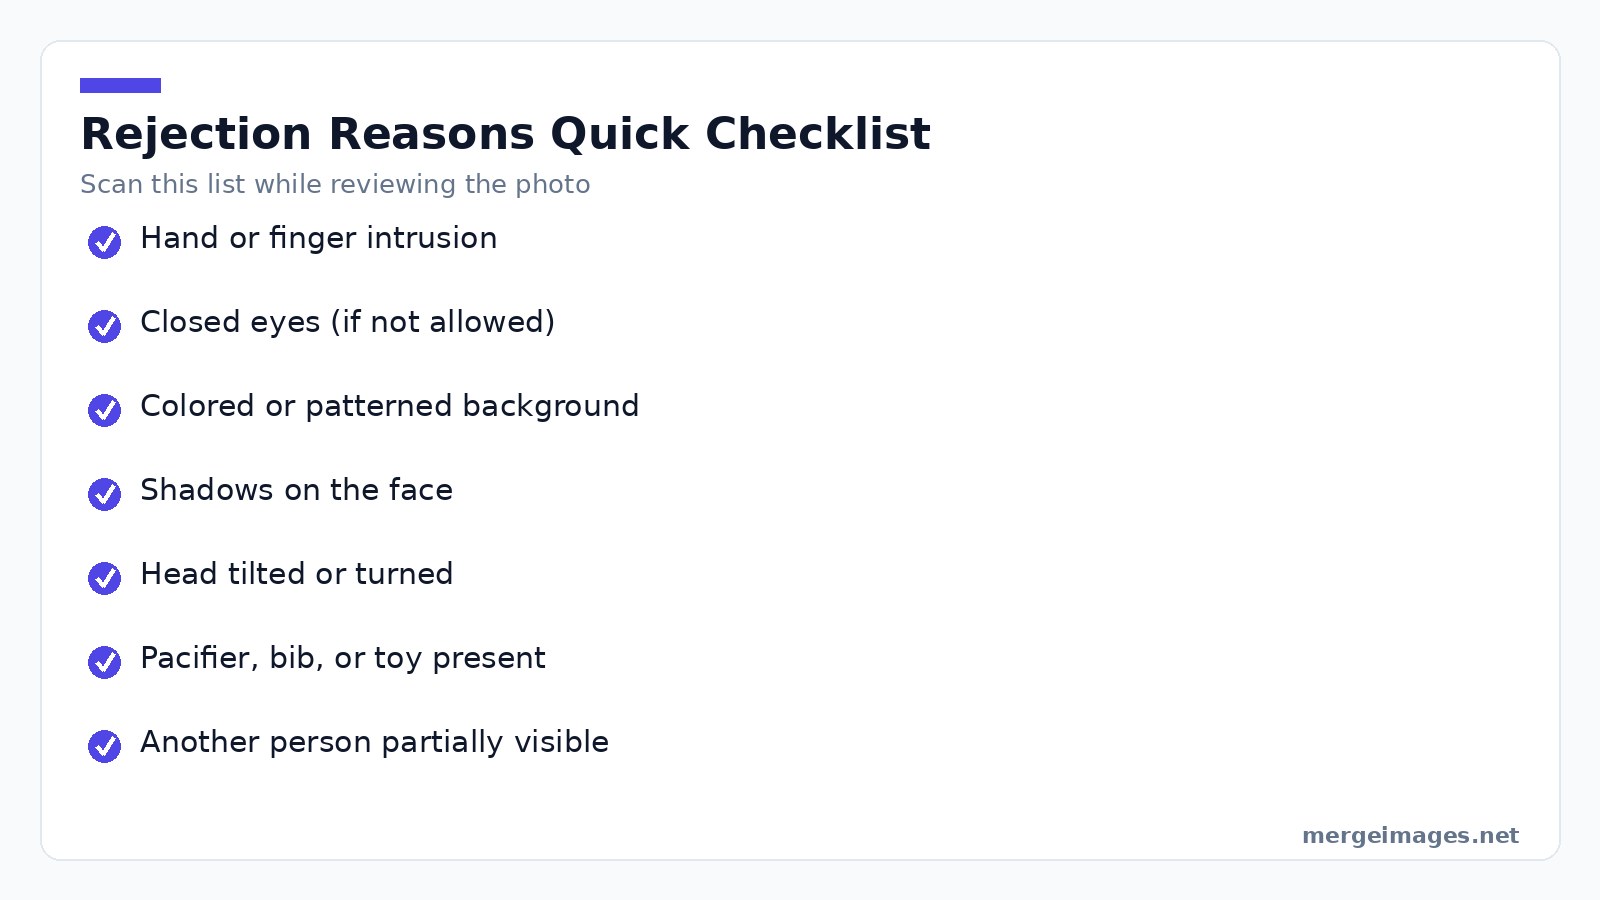
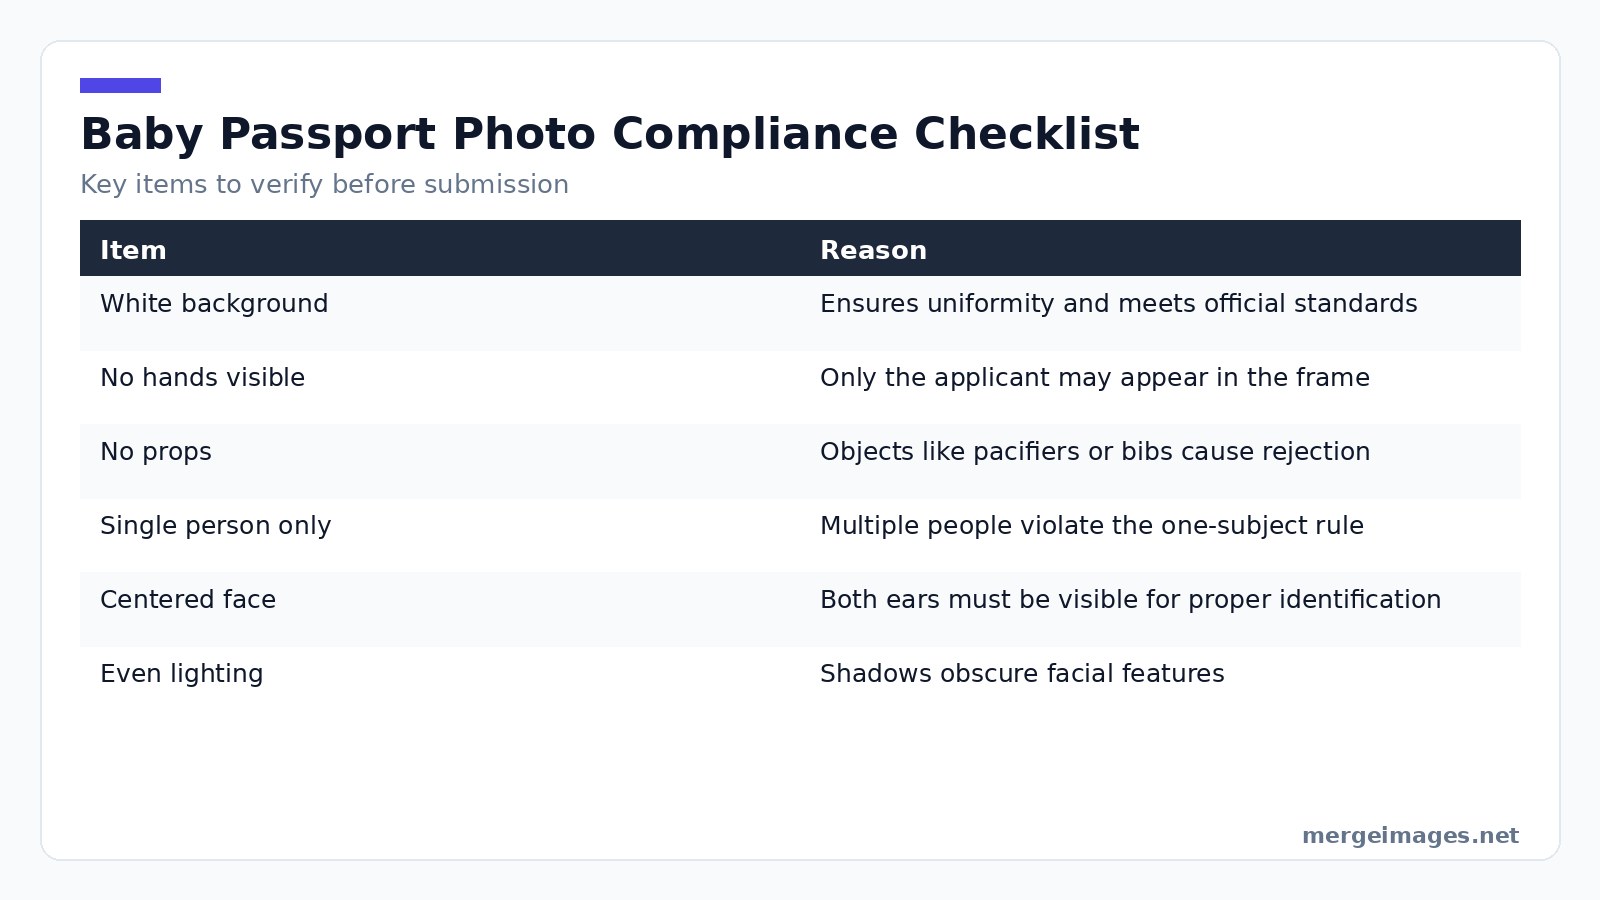
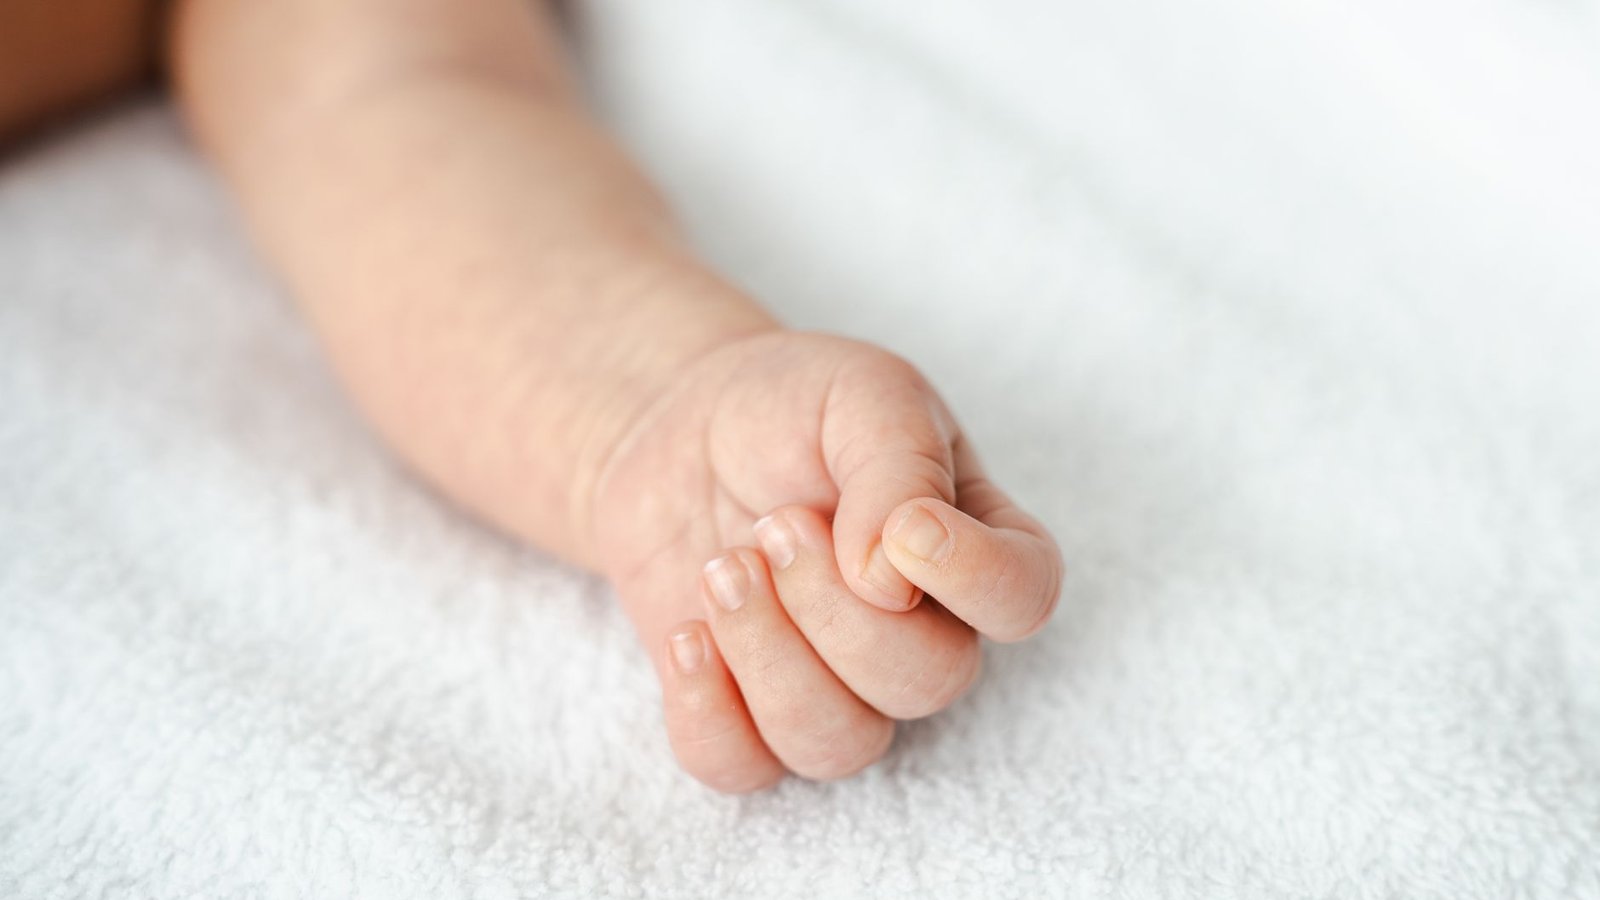
Photo: Ionela Mat via Pexels
What the officer sees: A hand, finger, or arm segment crossing the frame edge. The skin tone clearly does not match the baby, breaking the rule that only the applicant appears.
How to fix it: Lay the infant on a clean white sheet. Support the head with rolled towels placed just outside the camera view. If the baby sits, a car seat draped with a white pillowcase works well. After the shot, use our image-cropper to trim any stray edge showing a hand. I tested this by uploading a photo where a fingertip peeked at the corner. The cropper let me cut 15 px off each side. The final image passed the compliance check.
2. Closed Eyes
Why it happens: Babies blink constantly. A calm moment often aligns with brief eye closure.
What the officer sees: A sleeping or blinking face. Some jurisdictions allow closed eyes for infants. Others do not.
How to fix it: For babies under one year, most countries, including the US, UK, Canada, EU members, and Australia, accept closed eyes. Submit the photo as-is. For toddlers older than one year, aim for open eyes. Use burst mode on your phone, taking 20 to 30 frames in quick succession. Review the series and pick the sharpest shot with eyes open. A gentle sound behind the camera can coax the child to look forward without startling them.
3. Patterned or Dark Backgrounds
Why it happens: A couch, patterned blanket, or carpet looks cozy. The passport office demands a plain, light-colored surface.
What the officer sees: Any color or texture other than a uniform white or off-white. Patterns, shadows, or visible edges of a different material trigger a rejection.
How to fix it: Spread a plain white sheet, pillowcase, or poster board behind the baby and smooth out wrinkles. If you cannot set up a white backdrop, upload the photo to our background-remover. The AI isolates the baby and replaces the background with a clean white canvas. I tried it on a picture taken on a gray rug. The tool removed the rug and produced a perfectly white background in under ten seconds.
4. Harsh Face Shadows
Why it happens: Overhead lighting or a single light source creates uneven illumination, casting shadows under the eyes, nose, or chin.
What the officer sees: A partially dark face, making features hard to verify.
How to fix it: Position the baby near a large window on an overcast day. Diffused natural light fills the face evenly. Avoid direct sunlight, which creates harsh glare. Steer clear of ceiling lights that cast shadows from above. If indoor lighting is your only option, use two lamps placed at 45-degree angles on either side of the baby to balance the light.
5. Tilted or Turned Heads
Why it happens: Babies naturally turn toward sounds or movement, resulting in a tilted or turned head.
What the officer sees: A profile or angle where both ears are not visible, violating the straight-on requirement.
How to fix it: Capture the shot from directly above while the baby lies on its back. This viewpoint encourages a neutral head position. If a slight roll remains, our passport-photo-maker can detect and correct minor angles automatically during processing. I uploaded a photo with a 5-degree roll. The tool nudged the image to a true vertical orientation. The corrected version cleared the compliance test.
6. Pacifiers, Bibs, and Toys
Why it happens: Rushing to calm a baby, parents forget to remove a pacifier, bib, or favorite toy.
What the officer sees: Any object besides the baby and the background, such as a pacifier in the mouth or a bib covering the shoulders.
How to fix it: Before the shoot, strip the baby of all accessories. Remove the pacifier, bib, hat, hair clips, and jewelry. The only items in the frame should be the infant and the white background. A quick visual scan of the edges ensures nothing lurks off-center.
7. Extra People in Frame
Why it happens: A parent leans in to steady the baby. A sibling peeks from the side, unintentionally entering the frame.
What the officer sees: More than one person, or a stray arm, leg, or shadow belonging to another individual.
How to fix it: Frame the shot tightly around the baby. After taking the picture, zoom in on the corners to verify that no other body part is visible. If a faint shadow of a hand appears, adjust the angle or use the cropper to eliminate it.
8. Outdated Photos
Why it happens: Babies grow rapidly. A photo taken months ago may no longer represent their current appearance.
What the officer sees: A mismatch between the baby's present look and the submitted picture, especially if facial features changed.
How to fix it: Capture a fresh image within the last three months for infants under one year. Six months is acceptable for older children. When in doubt, take a new photo. Setting up the backdrop and lighting takes only a few minutes. The result will be compliant.
Pre-Shoot Audit
Run through this quick audit before you upload. Confirm a plain white background without patterns. Check for no hands, fingers, or arms in the frame. Remove all pacifiers, bibs, hats, toys, and props. Ensure only the baby appears in the image. Verify the face is centered, both ears are visible, and the head is upright. Use even, soft lighting with no harsh shadows. Take the photo within the last few months. Confirm eyes are open if required for your country and age group. Running the photo through our passport-photo-maker will automatically verify these criteria and suggest adjustments where needed.
Frequently Asked Questions
What size should a baby passport photo be?
The standard dimensions are 2 × 2 inches (51 × 51 mm) with a resolution of 300 dpi, which most online tools can generate automatically.
Can I use a photo taken on a smartphone?
Yes, as long as the image meets the size, background, and lighting requirements. Our tools accept common formats like JPEG and PNG.
Are there special rules for newborns?
Newborns may have closed eyes and can be photographed lying on a plain surface. The background must still be white, and no props are allowed.
How do I know if my country requires open eyes?
Check the official passport agency website for your nation. Many countries relax the eye-open rule for infants under one year.
What if the photo still gets rejected after using the tools?
Review the rejection note for the specific issue, adjust the image accordingly, and resubmit. The tools are designed to address the most common problems, but occasional edge cases may need manual correction.
Bello builds useful software and writes thoughtful content to make sense of it all. He tests the tools himself and checks the facts before any of it goes in a guide.
Try Our Free Image Tools
Ready to Try It?
Put these tips into practice with our free online image merger. No signup required.
Make your passport photo, free


