
Summarise this article with:
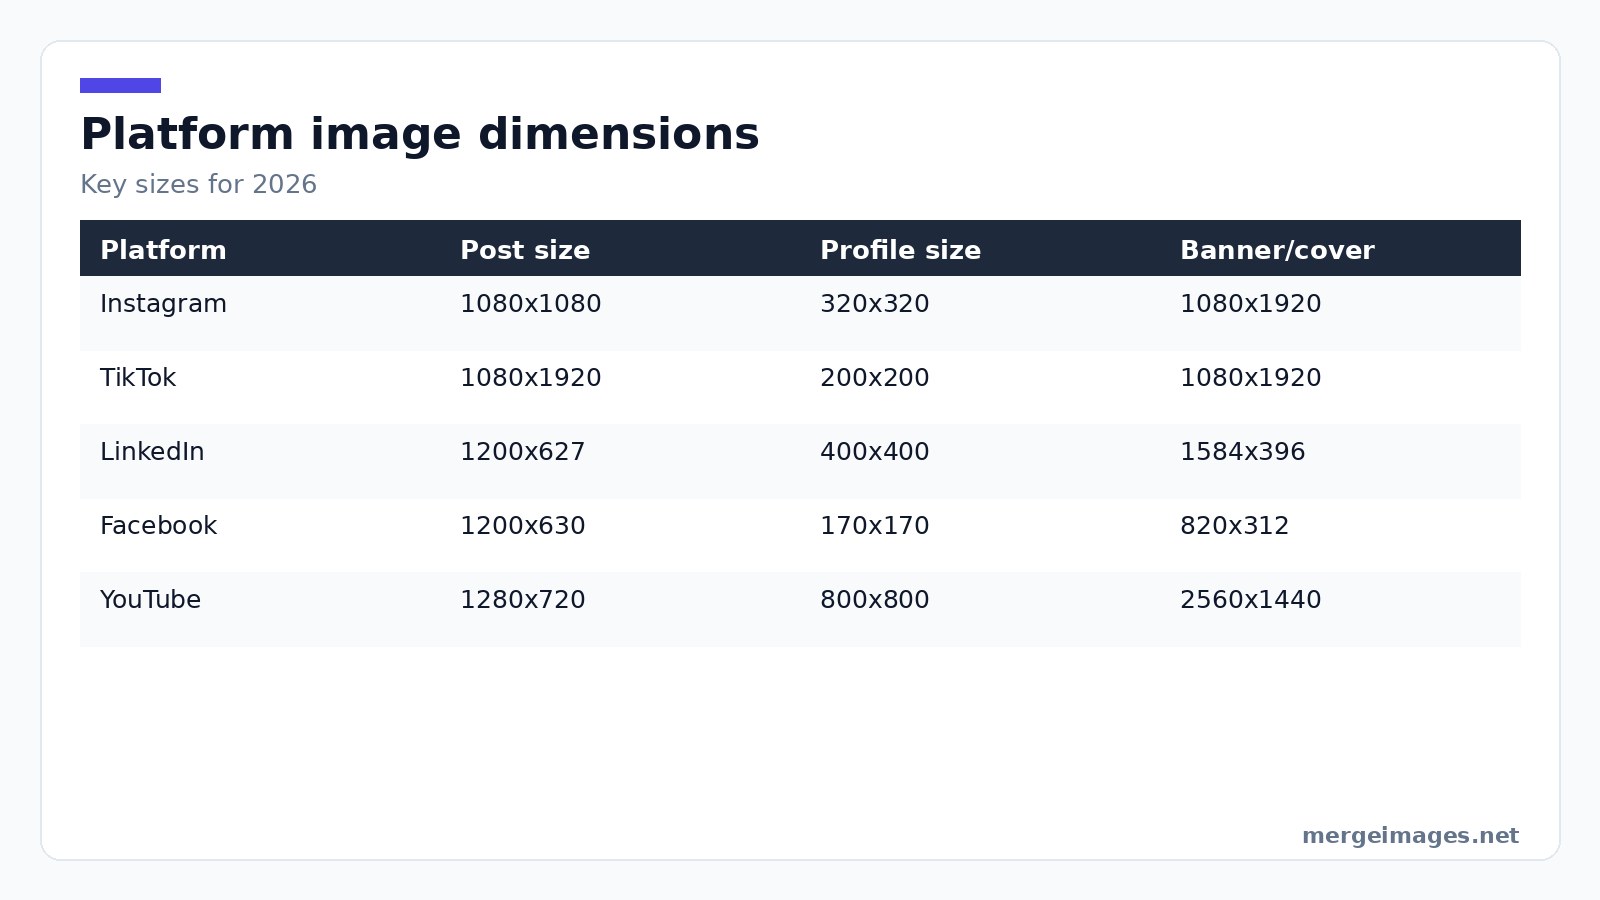
Get the exact pixel dimensions for every major social platform in 2026 and avoid cropped, blurry posts. The cheat sheet below lists the current requirements, explains why size matters, and shows how three free MergeImages tools keep your assets sharp and lightweight.
| Type | Size | Aspect Ratio |
|---|---|---|
| Square post | 1080x1080 | 1:1 |
| Portrait post | 1080x1350 | 4:5 |
| Landscape post | 1080x566 | 1.91:1 |
| Story / Reel | 1080x1920 | 9:16 |
| Profile photo | 320x320 | 1:1 |
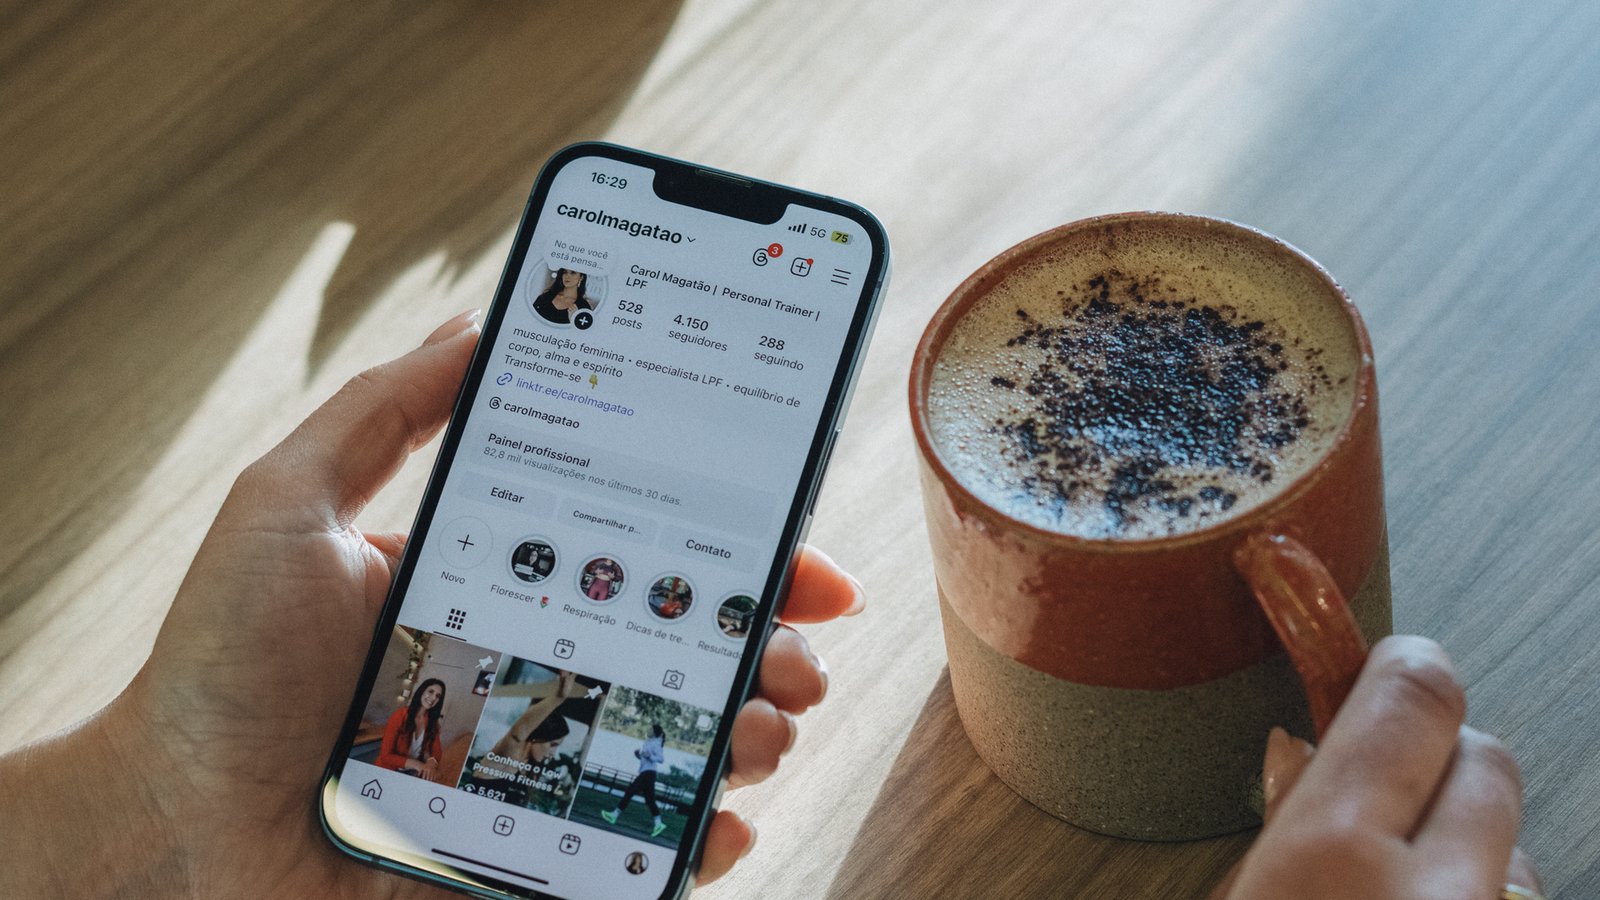
Photo: Mayara Caroline Mombelli via Pexels
Need a perfect square for a carousel? Open the Image Resizer, punch in 1080 × 1080, and download the file instantly. The tool leaves your original file name untouched. This keeps your asset library clean. Watch out for a common trap: uploading a portrait image saved at 1080 × 1350 as a PNG with an embedded color profile. Some browsers strip the profile. The platform interprets the file as a different color space. You get a faint hue shift. Export as a baseline sRGB JPEG after resizing. That is the safest practice.
A frequent mistake is to rely on Instagram’s automatic compression without checking the file size. When the image exceeds 8 MB, the service applies aggressive downsampling that can blur fine details such as text overlays. Keep your JPEG under 2 MB before upload; the Image Compressor can help you stay in that range without sacrificing readability.
TikTok
| Type | Size |
|---|---|
| Video / Photo | 1080x1920 |
| Profile photo | 200x200 |
| Cover image | 1080x1920 |
TikTok’s vertical format leaves zero room for error. One pixel off shifts the focal point when the app crops for the feed. Double checking dimensions in the Resizer prevents that surprise. Got a source image under 720 × 1280? The Upscaler can add detail. But the AI model hits a hard limit. It cannot create new texture beyond the original information. The result appears soft on high resolution screens. Shoot at the target size or use a dedicated camera instead.
Another pitfall is to upload a video with a non-standard frame rate. TikTok expects 30 fps or 60 fps. Files recorded at 24 fps are re-encoded, which may introduce jitter that looks like a shaky handheld shot. Convert your footage to 30 fps before resizing to avoid that artifact.
| Type | Size |
|---|---|
| Post image | 1200x627 |
| Profile photo | 400x400 |
| Banner | 1584x396 |
| Company logo | 300x300 |
Professional posts need text overlays. LinkedIn compresses aggressively. I run the final file through the Image Compressor to shave kilobytes while preserving readability. The compressor respects a minimum quality threshold of 85 % for JPEG. Drop below that and small type becomes unreadable on mobile. Always test the compressed version on a phone before publishing.
A subtle error many creators make is to embed fonts directly in a PNG. LinkedIn strips that metadata, leaving the text as a flat bitmap that can become pixelated after compression. Render your text as part of the image on a high-resolution canvas, then resize and compress. This workflow preserves crisp lettering.
| Type | Size |
|---|---|
| Post image | 1200x630 |
| Cover photo | 820x312 |
| Profile photo | 170x170 |
| Event cover | 1920x1005 |
Cover photos span a wide aspect ratio. Upload an 820 × 312 image to guarantee the full width displays on desktop and mobile without black bars. Stop using PNGs with transparency for covers. Facebook removes the alpha channel and drops in a gray background. Convert to JPEG when the image contains no transparency.
A common oversight is to rely on Facebook’s automatic scaling for event covers. The platform will crop the top and bottom edges if the image does not match the exact pixel count, which can cut off important information. Use the Resizer to match the dimensions precisely, then preview the result in the event creation screen.
Additional Guidance
When you’re working across multiple platforms, keep a master spreadsheet of the dimensions listed above. After you resize an asset with the Image Resizer, run it through the Image Compressor before uploading. If the original file is smaller than the target size, use the Image Upscaler first, but remember it only interpolates detail, it won’t create true resolution. Finally, always preview your image on a real device; desktop previews can be misleading.
Quick Tips
Never assume a platform fixes a wrong size automatically. Work with the largest recommended dimensions. The network downscales easily. It cannot magically upscale a tiny file. Is your source image smaller than the table values? Run it through the Upscaler first. Verify the preview before committing.
Compress every asset before you upload. The Image Compressor reduces file size without noticeable loss. Publishing speeds up. Mobile loading times improve. After compression, run a final check with the Resizer. Ensure the pixel count stayed intact.
Create a dedicated folder for each platform. Store the resized PNG or JPEG alongside a copy of the original. Revert easily if a future update changes the specifications. Keeping originals also lets you reuse them with the Photo Collage Maker for multi-image posts.
Need a side-by-side comparison? Maybe a before and after edit? Use the Horizontal Image Merge tool accessible from the main menu. It stitches two versions into a single graphic that fits any feed.
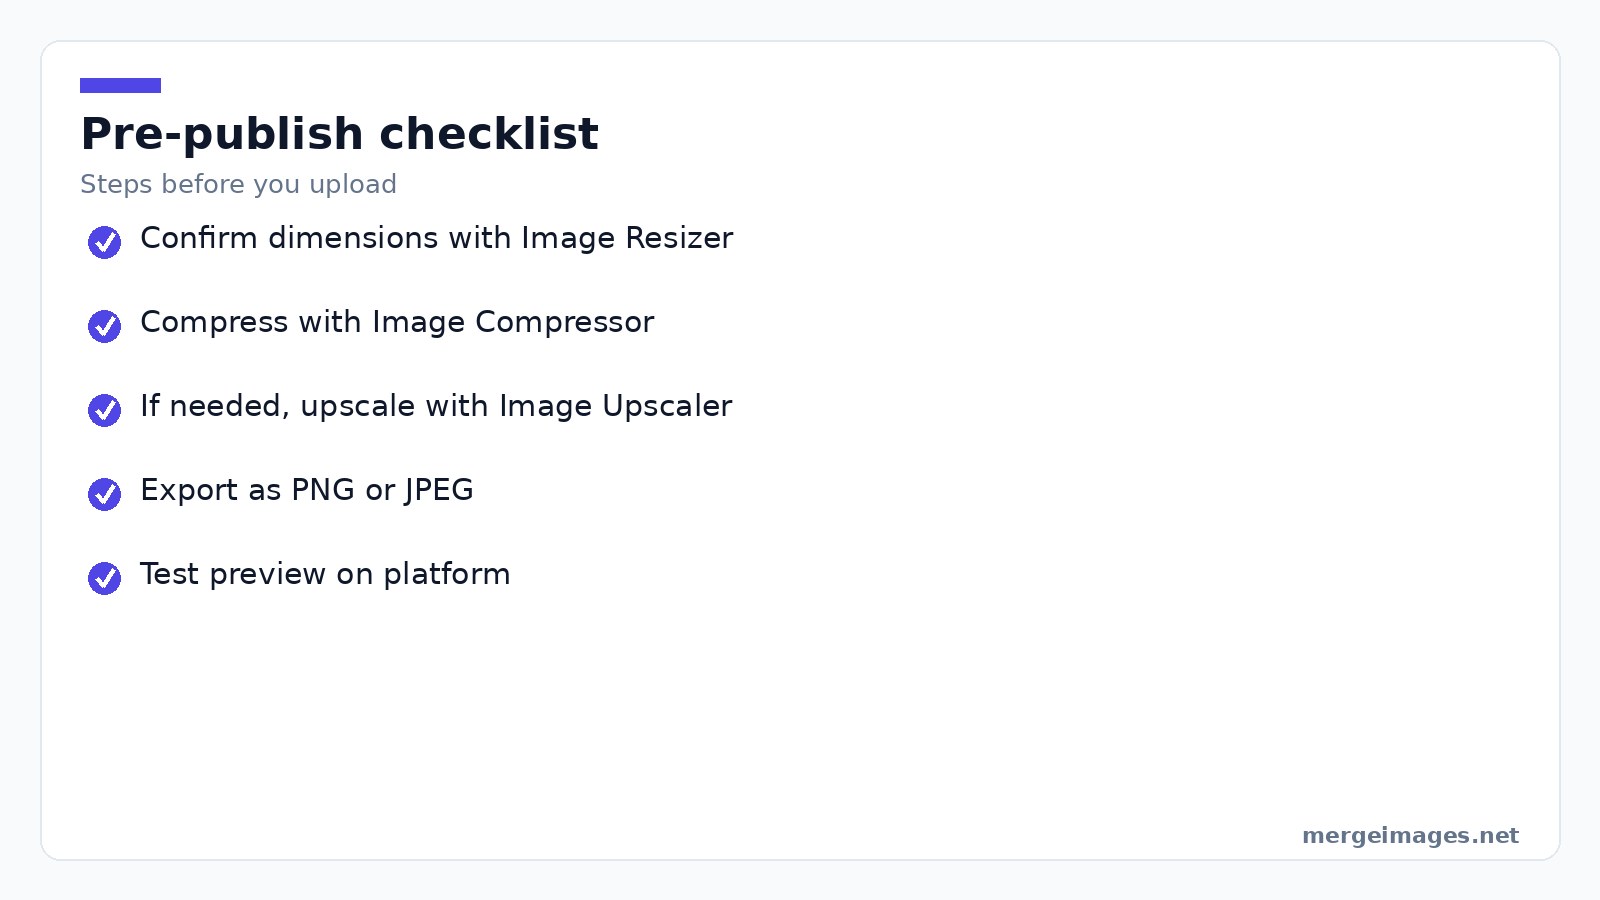
Finally, run a quick pre-publish checklist. A short routine catches the most common slip-ups. It saves you from re-uploading rejected images.
When Platforms Change Their Specs
Platforms rarely announce size updates with fanfare, but a few clues can save you from a sudden wave of cropped or blurry posts. First, monitor the “Help Center” or “Brand Resources” pages; a new PDF or a changed table often signals a revision. Second, watch the upload preview, if the platform adds a thin border or a “Fit to Frame” warning, the underlying dimensions have shifted. Third, follow official social-media blogs or newsletters; they usually mention “new recommended dimensions” a week before the change goes live.
Exporting at the recommended size rather than the minimum gives you a buffer. An image built at 1080 × 1920 for Stories, for example, will still fill the canvas if the platform nudges the optimal height to 1085 px, because the extra pixels are trimmed instead of stretched. This extra margin also protects against future redesigns that add overlay elements.
When you spot a spec change, weigh the effort of re-exporting against the risk of a sub-par post. If the new size is only a few pixels larger and your file is already under the platform’s size limit, a quick re-export is worth the clarity boost. If the change is drastic, say a shift from 1.91:1 to 16:9, re-create the asset at the new dimensions before uploading; otherwise the post will appear misaligned or blurry despite any compression tricks.
Frequently Asked Questions
Which tool should I use to change an image to 1080x1080?
Use the free Image Resizer. Enter the exact pixel values and download the result instantly.
Do I need to sign up to compress images?
No account is required. The Image Compressor works anonymously and returns a smaller file in seconds.
Can the Image Upscaler improve a 640x360 photo?
Yes. The AI generates a preview at a higher resolution, watermarked for free users, so you can assess quality before saving.
Are the dimensions listed here guaranteed for the whole year?
They reflect the official specifications published by each platform as of July 2026. Platforms may update later, so revisit the cheat sheet periodically.
How do I create a consistent profile picture across sites?
The Profile Picture Maker crops to the exact square size each network expects, ensuring uniform branding.

Bello builds useful software and writes thoughtful content to make sense of it all. He tests the tools himself and checks the facts before any of it goes in a guide.


