
Summarise this article with:
A before and after pair only persuades if the two frames are honest twins: same lens, same distance, same light. The UK CAP Code's rules 3.47 to 3.50 treat before and after photos exactly like testimonials, so marketers are expected to hold signed and dated proof that the images are genuine and have not been manipulated. Retouching the after frame invents a claim.
The first renovation pair I ever assembled failed for a boring reason. I shot the after eleven months later, standing about half a metre to the left of where I had stood the first time, and the room read as two different rooms. Nobody looked at the new worktop. They looked at the window that had somehow moved.
The Psychology Behind Before-After Images
Two frames side by side do something a single photo cannot: they hand the viewer a controlled comparison and let them draw the conclusion themselves. That is the whole mechanism. The viewer feels they spotted the change rather than being told about it, which is why the format survives in industries as different as dentistry and kitchen fitting.
It cuts the other way too. Because the reader believes they are judging evidence, anything that quietly differs between the two frames gets read as a result. Warmer light in the after frame reads as healthier skin. A wider lens reads as a bigger room.
What the Advertising Rules Actually Require
This is the part most guides on this topic leave out, and it is the part that can cost you money.
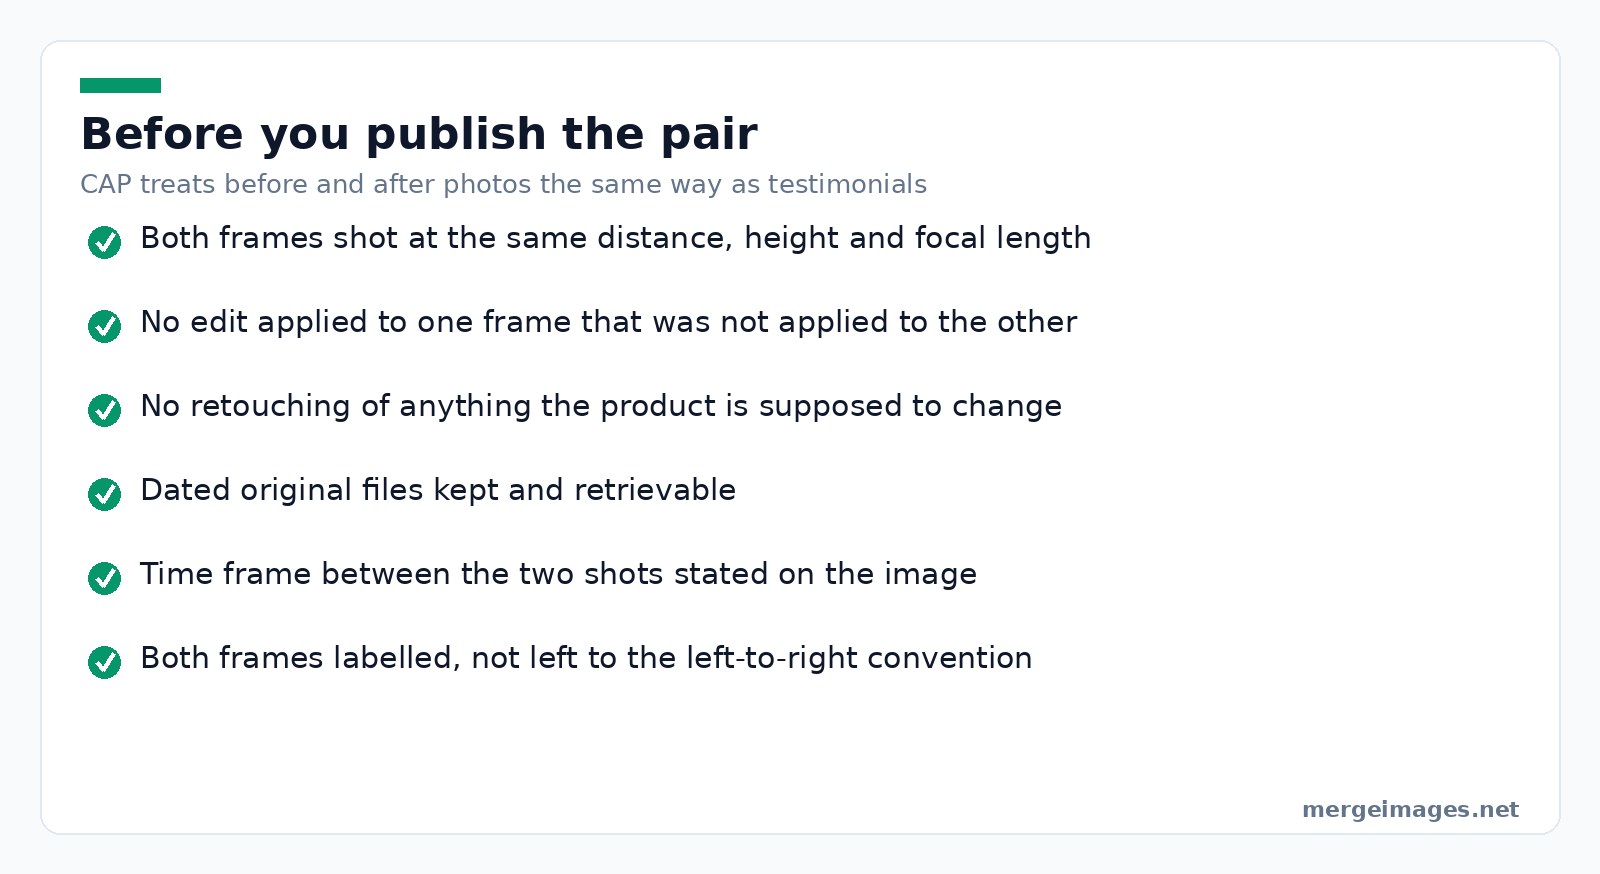
In the UK, the CAP advice on before and after photos states that CAP and the ASA regard these images in the same way as testimonials, that marketers should meet rules 3.47 to 3.50 of the CAP Code, and that they should hold signed and dated proof that the photos are genuine and have not been manipulated. The same advice singles out retouching related to any characteristic directly relevant to the apparent performance of the product, using the example of softening lines and wrinkles in an eye cream ad.
In the US, the FTC's health products compliance guidance works from the same principle: the images themselves convey a claim. Its worked example describes an ointment ad where a before picture shows a woman using a walker and the after shows her dancing, and concludes that the imagery alone likely conveys a claim about improving arthritis symptoms, which then has to be substantiated.
Neither of those is legal advice and the details differ by country, so check what applies where you advertise. The durable principle travels: a before and after image is a claim, not decoration, and you need to be able to back it. If you sell health, beauty, dental or fitness outcomes, that principle is where complaints start.
Best Practices for Before-After Photos
Maintain consistency
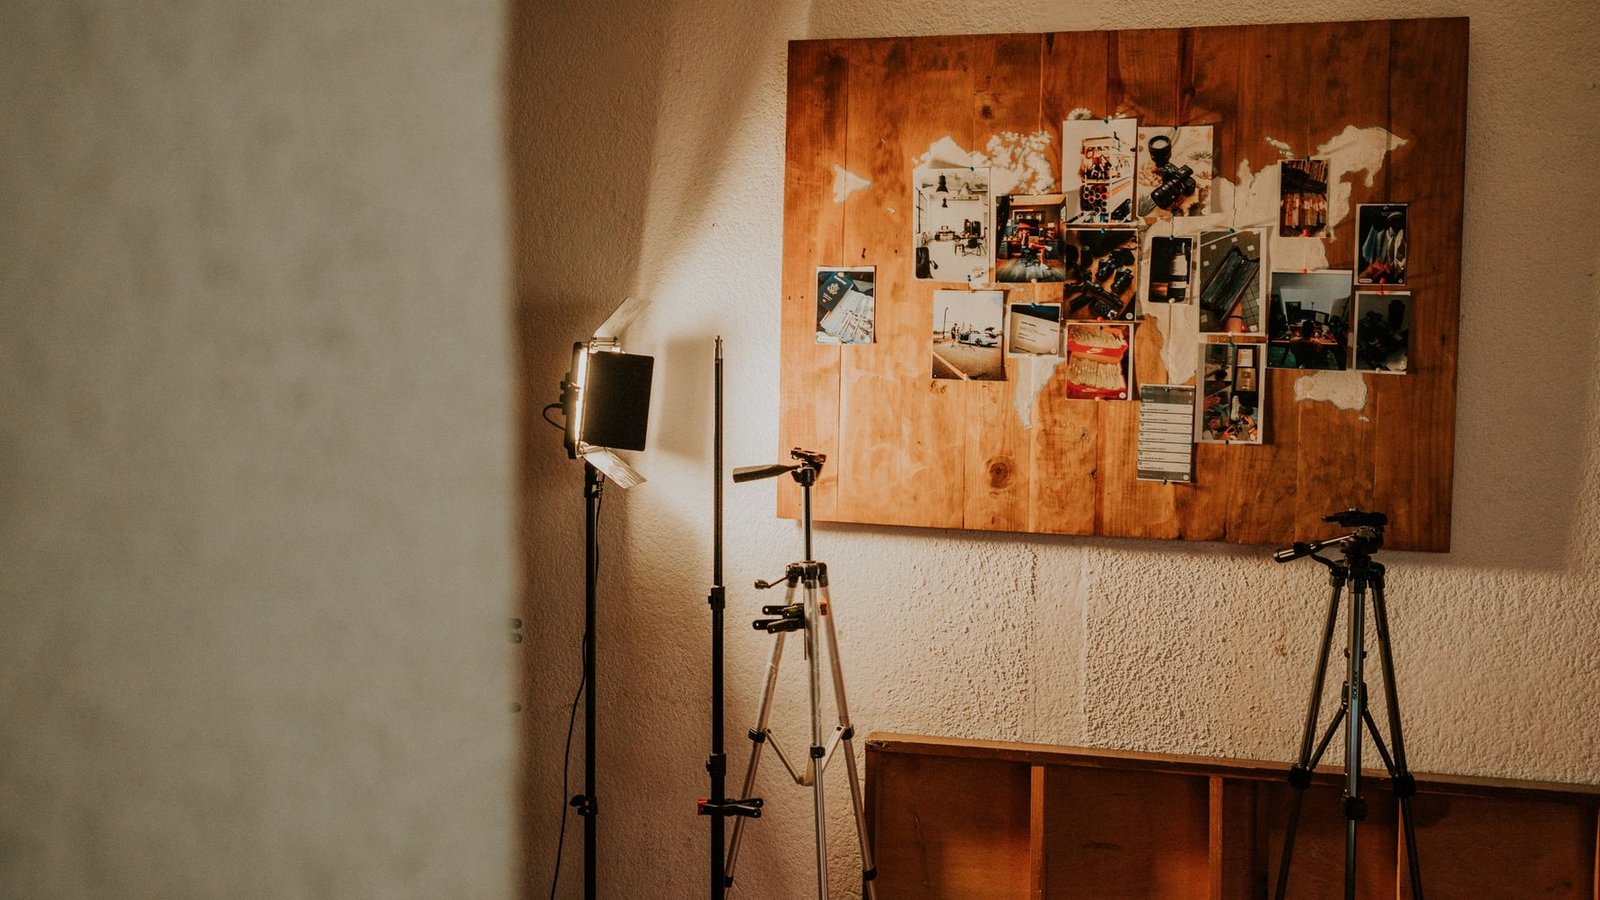
Photo: Amar Preciado via Pexels
Same camera, same focal length, same distance, same height, same light. Mark the tripod position with tape, and photograph the tape. If you are working on a phone months apart, note the room, the time of day and roughly where you stood, because you will not remember.
Keep it honest
No slimming filters, no beauty mode, no exposure lift applied to one frame only. If you brightened both frames identically, say so. If a result is unusual, say that too. The moment the two frames get different treatment, the comparison is measuring your editing rather than your work.
Compose deliberately
Put the before on the left, since most of your audience reads left to right and will otherwise decode the pair backwards. Give both images identical dimensions, and add a visible divider so nobody thinks they are looking at one wide photograph.
Side by Side, Stacked, or Slider
Side by side, built with the horizontal image merge, is the default and the only version that survives being screenshotted, emailed and pasted into a deck. Its cost is width: at a 1080 pixel social size, each frame gets about 540 pixels, so fine detail like grout lines or skin texture disappears.
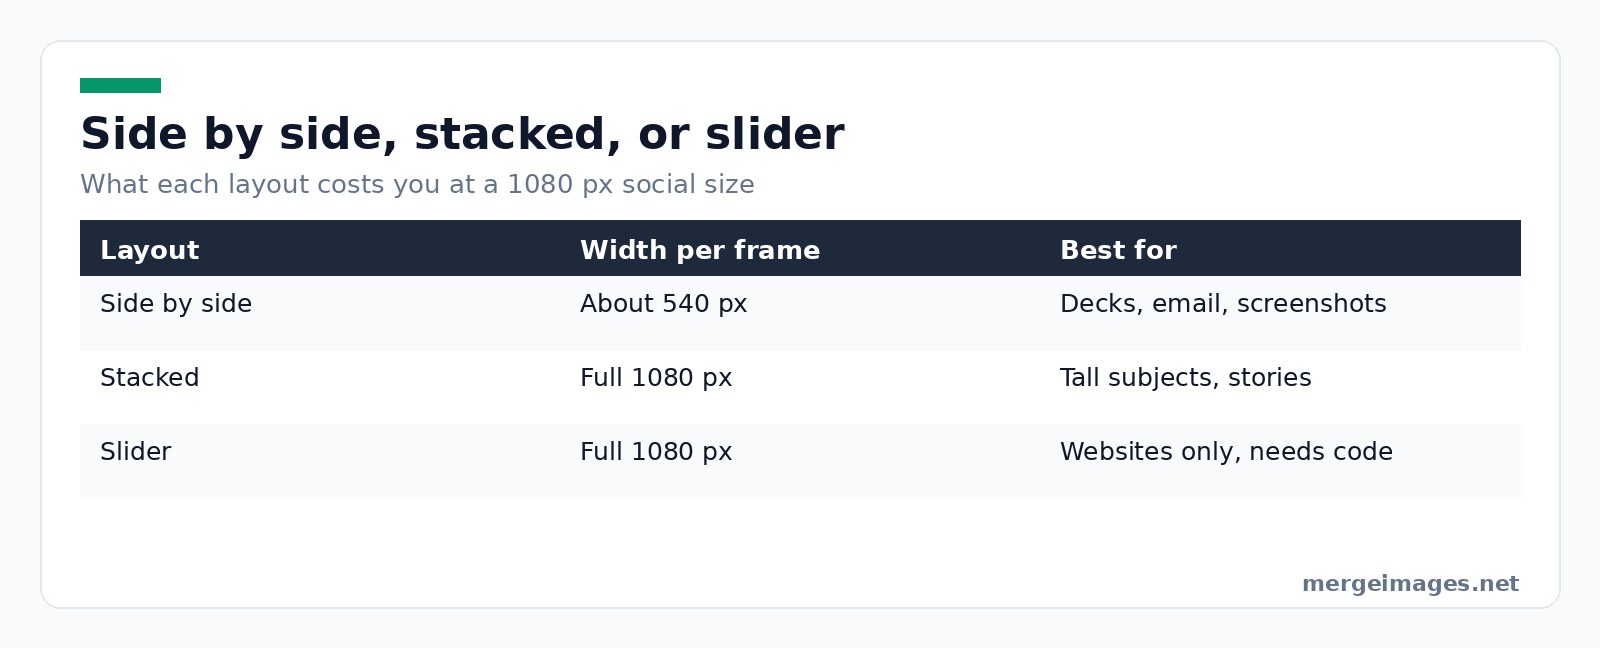
Stacked, built with the photo collage maker, suits tall subjects and portrait feeds, and gives each frame the full width. It reads more slowly, because the eye has to travel.
A drag slider is genuinely better for detail, since each frame gets the full frame. It is also not an image. A slider is a component on a web page, so it needs a developer, it cannot be pasted into an email, and it will not appear in a printed brochure. Our tools produce a finished static image, which is why I still make the side by side version even when a slider exists on the site.
Industry-Specific Tips
Fitness and beauty: neutral background, identical posture, identical distance, and a stated time frame. This is the category regulators watch most closely, so keep the raw files.
Home improvement: same spot, same focal length, curtains in the same position. Shoot a wide pair and a detail pair, because the wide one proves the change and the detail one proves the quality.
Products and cleaning: identical scale and lighting, plain background, and a reference object if size is part of the story. Crop both to matching dimensions with the image cropper before you merge, or one product will look larger purely because it was closer to the lens. If a plain backdrop helps, run both frames through the background remover and flatten them onto the same colour, never just the after.
Creating Your Before-After Image
- Pick the pair. Reject any pair where the framing genuinely differs, rather than trying to rescue it.
- Crop both to the same dimensions. My phone gave me one landscape and one portrait frame, so I cropped both to 1600 by 1200 before merging and neither ended up letterboxed.
- Merge them with the horizontal image merge, or stack them for a portrait feed.
- Add a gap. Ten to twenty pixels of background between the frames is enough to signal two photographs.
- Label them with the add text to image tool. Unlabelled pairs get read backwards more often than you would think.
Files you send to the merge and collage tools are processed on our own servers, deleted automatically within 7 days, and never shared or used to train models. The image cropper is different again and runs entirely inside your browser.
Maximizing Impact
Export square for a feed post and portrait for stories. On a website, give the merged image real alt text describing what changed, since a screen reader gets nothing at all from a picture of a picture. In paid advertising, follow whatever the platform requires for the category you are in, and keep the dated originals for as long as the campaign runs.
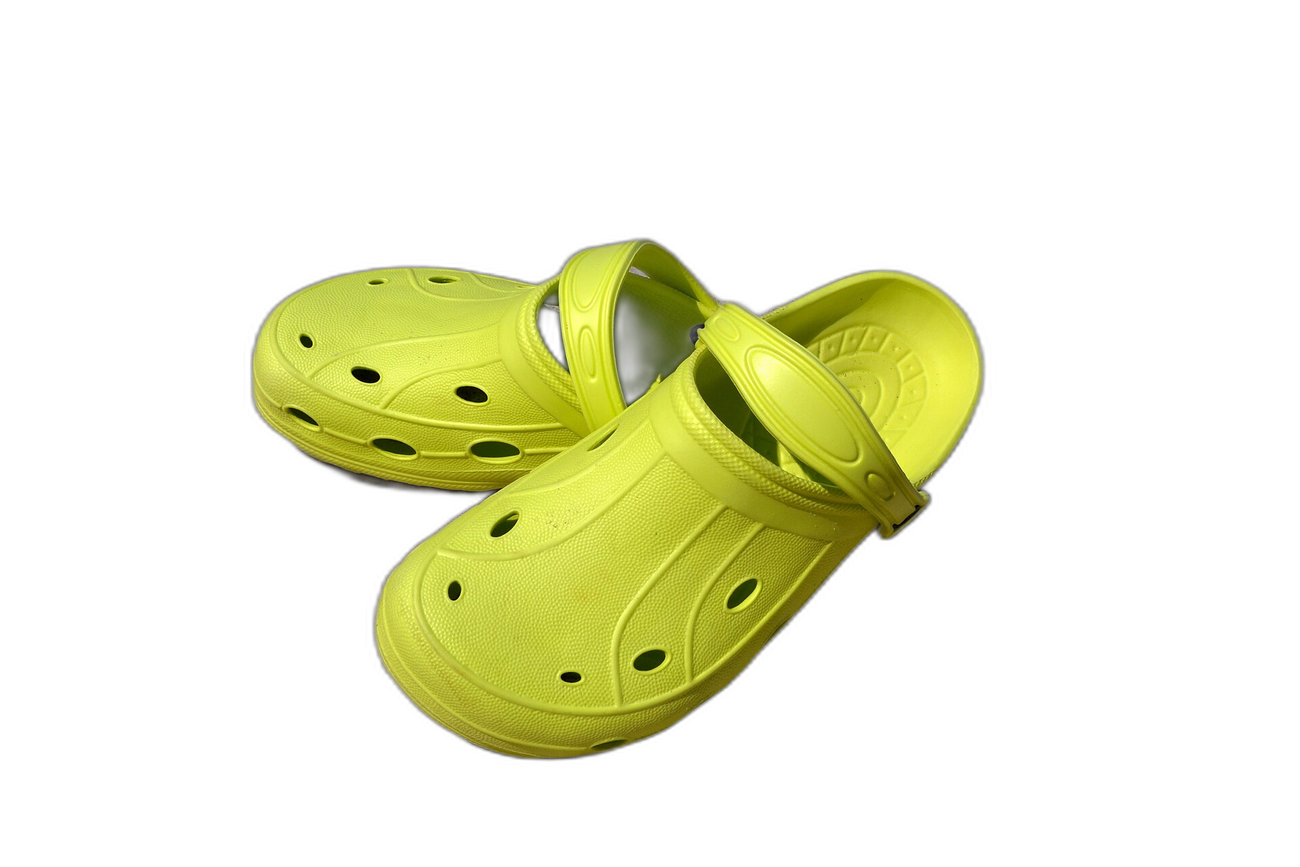
Try it hereOriginalBackground removedDrag the handle. This is the exact cutout you get, full resolution, no login.
Open the background remover
Frequently Asked Questions
Should before go on the left or the right?
Before goes on the left for audiences that read left to right, because that is the order they will assume even without labels. If you are publishing for a right to left script, flip it. Either way, label both frames rather than relying on the convention, since the pair often gets cropped, reshared or embedded somewhere you did not plan for.
Is it legal to edit a before and after photo?
Basic edits applied identically to both frames are usually fine. Editing that changes the apparent result is the problem. UK CAP advice says marketers should hold signed and dated proof that the photos are genuine and have not been manipulated, and it names retouching that affects the apparent performance of a product as misleading. Rules differ by country, so check the regulator that covers your market.
How do I make a before and after slider?
You cannot, from an image tool alone. A slider is an interactive component that lives in your website's code or in your page builder's plugin library. What an image tool gives you is a merged static file that works everywhere a slider does not: email, print, PDFs, social posts and screenshots. Most teams end up publishing both.
What size should a before and after image be?
Match the destination rather than a universal number. For a square social post, 1080 by 1080 means each half of a side by side pair is only about 540 pixels wide, so crop tight on what changed. If detail matters more than the layout, stack the frames instead so each one gets the full width.
Why does my before and after look fake?
Usually because something other than the result changed. Different colour temperature, a different lens, a different time of day, or a tidied room in only one frame. Viewers cannot always name the difference, but they register it and discount the whole comparison. Reshoot the after from the marked position rather than trying to correct the mismatch afterwards.
The Version I Would Publish
One pair, shot from the same tape mark, cropped to identical dimensions, merged side by side with a small gap, labelled, and with the untouched originals filed somewhere I could produce them. That last part is not paperwork for its own sake. It is the difference between a comparison you can stand behind and a picture you are hoping nobody checks.

Bello builds useful software and writes thoughtful content to make sense of it all. He tests the tools himself and checks the facts before any of it goes in a guide.


