
Summarise this article with:
Strong, well-prepared photos turn a simple real-estate flyer into a call-generating asset. Using 300 DPI, 8.5×11 or 11×17 formats, and a bright, correctly sized hero image, agents can boost buyer interest by up to 67 percent. All preparation stays in the browser, free, with no signup.
Visual Impact Drives Calls
A flyer lives or dies in two seconds. Quality images signal property value and show you run a professional operation. They make the listing stick in a stack of paper. When photos speak louder than copy, buyers reach for the phone.
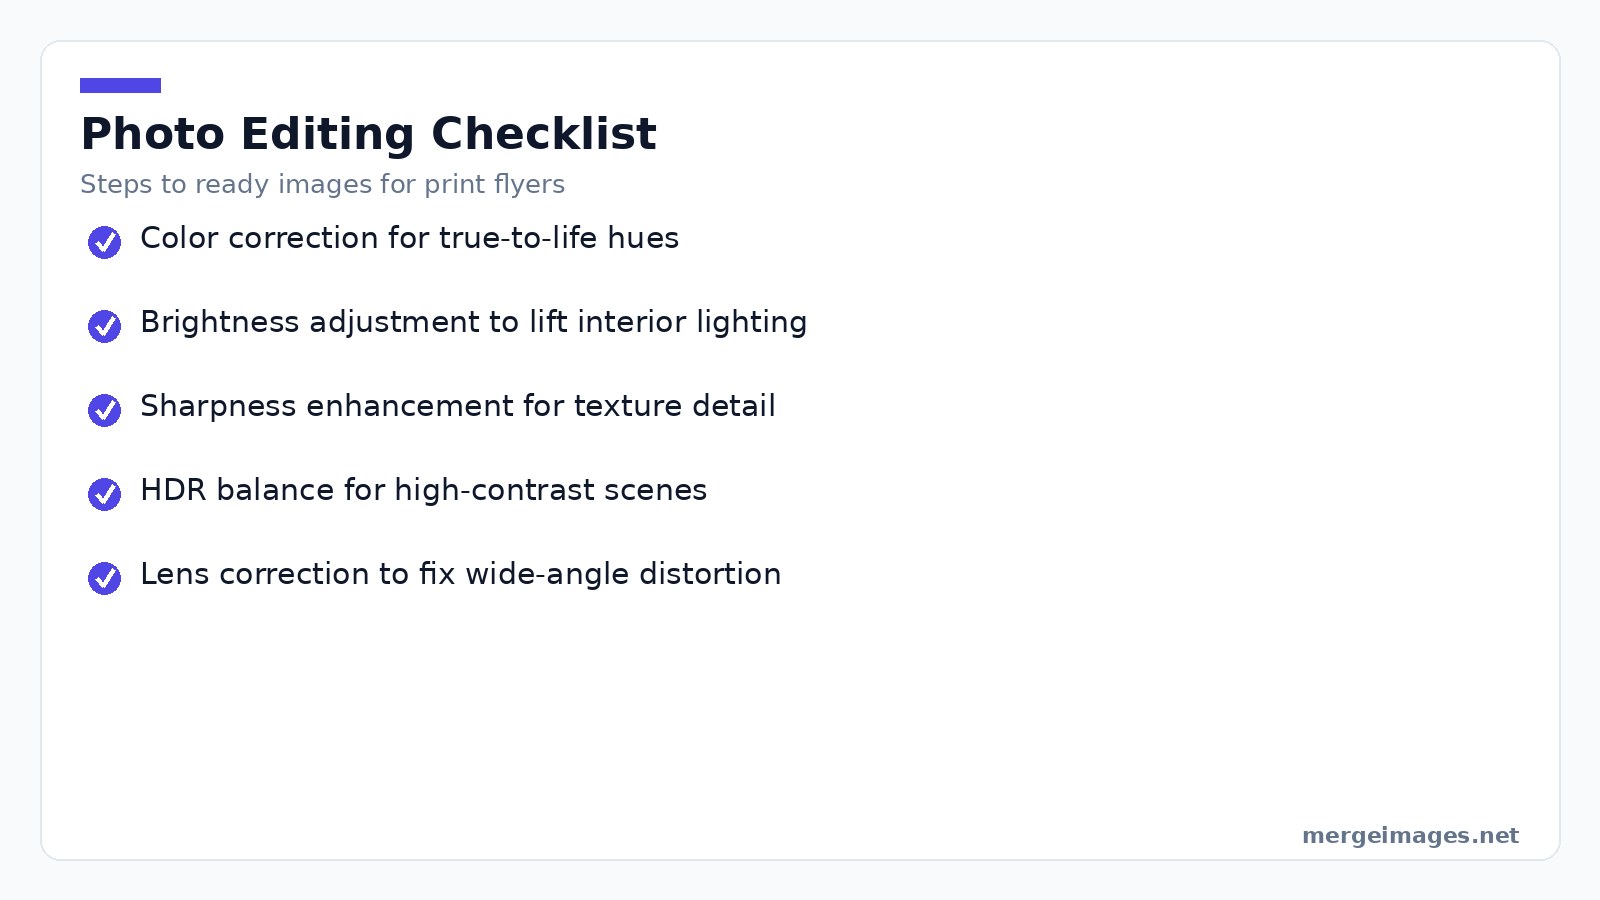
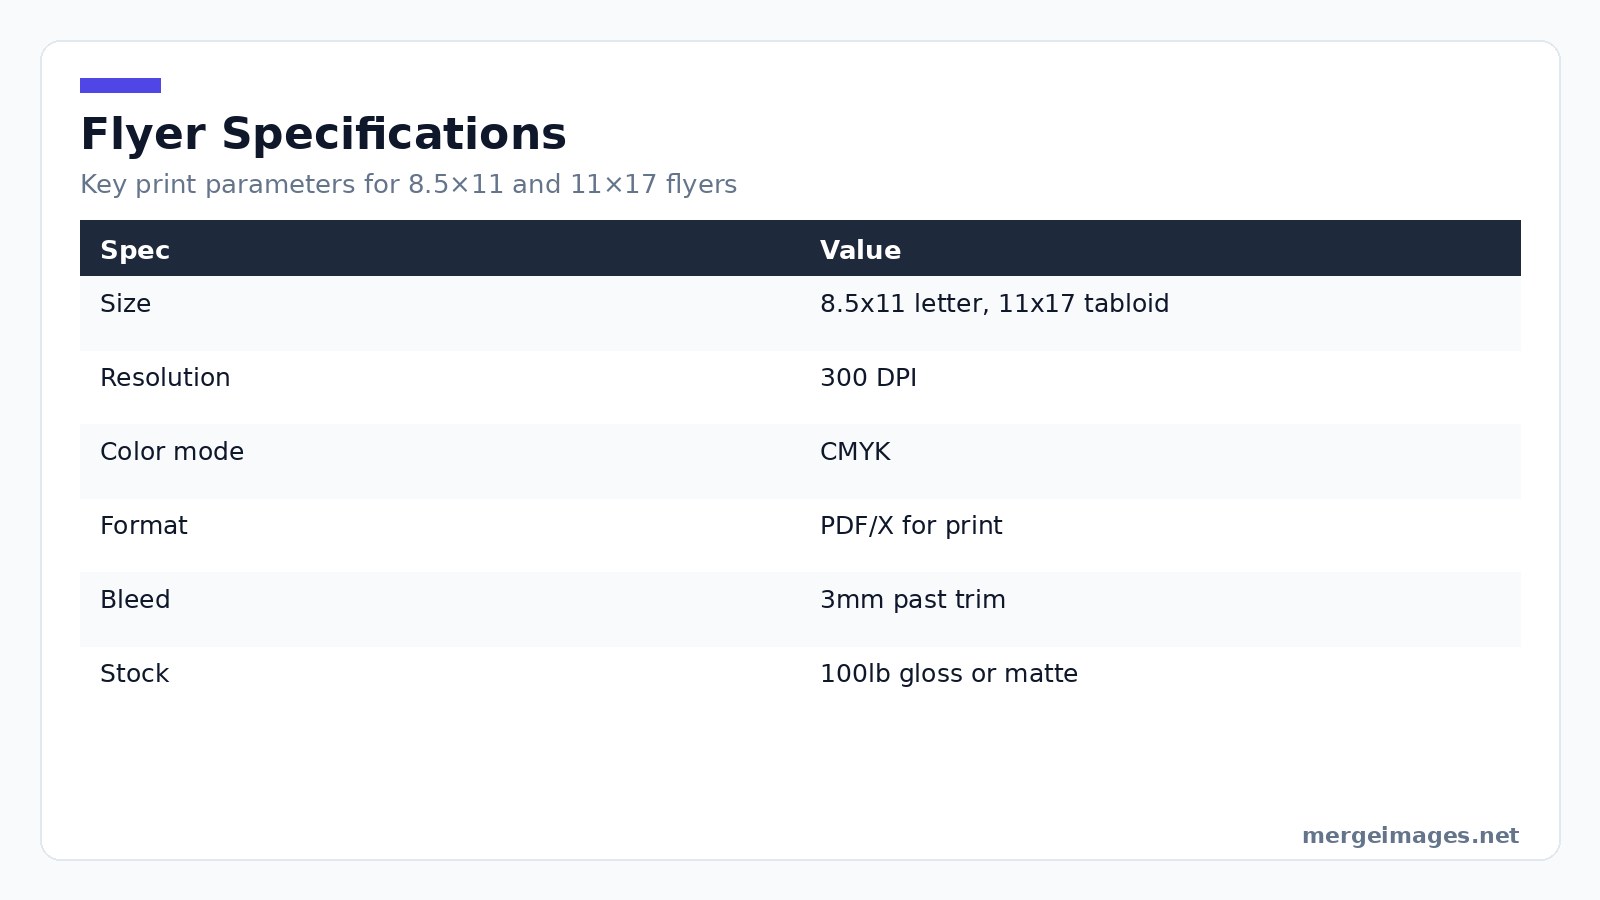
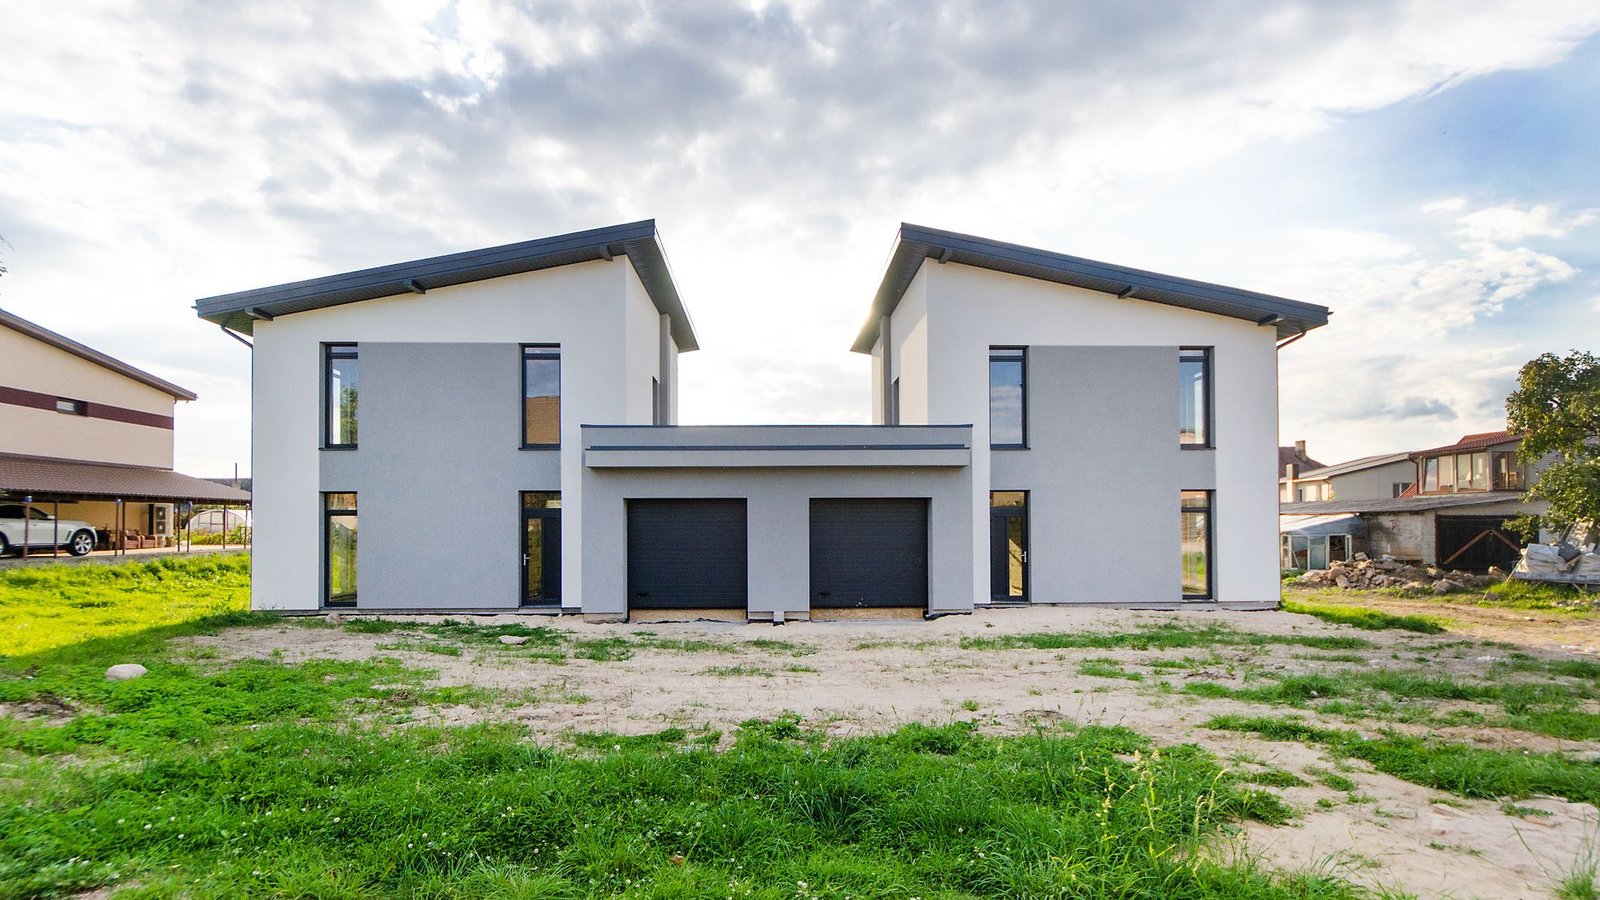
Photo: Karolina K via Pexels
Print Specs That Actually Work
| Spec | Value |
|---|---|
| Size | 8.5x11 letter, 11x17 tabloid |
| Resolution | 300 DPI |
| Color mode | CMYK |
| Format | PDF/X for print |
| Bleed | 3mm past trim |
| Stock | 100lb gloss or matte |
Match the flyer size to your distribution method. Mailers benefit from a compact 8.5x11 layout. Premium tabloids showcase more detail.
Picking the Right Shots
Choose a handful of images that tell a story together. The typical set includes a hero exterior, a living-room lifestyle shot, a kitchen view, a master suite glimpse, an outdoor entertaining space, and neighborhood context. Five to seven photos fill a letter-size flyer nicely. Larger tabloids can host eight to twelve.
Nailing the Hero Shot
The hero exterior must be instantly recognizable. Capture it during golden hour for warm tones. Shoot with a wide-angle lens to convey scale. Sharp focus and accurate colors are non-negotiable. I uploaded a 3000×2000 px exterior shot to the Image Resizer tool and set the width to 2550 px. The tool instantly returned a 2550×1700 px file preserving aspect ratio, ready for the 8.5-inch width.
Fixing Common Photo Disasters
- Low original resolution: Upscaling a 1200 px image creates pixelation even after using the upscaler. The remedy is to schedule a second on-site shoot with a higher-resolution camera before design begins.
- Incorrect color profile: Uploading sRGB files to a CMYK workflow yields muted prints. Convert the file to CMYK in the Image Resizer before exporting the PDF.
- Uneven lighting: Interior rooms often have mixed daylight and artificial light. Use the Brightness Image tool to raise overall exposure by 10-15 percent, then apply a local dodge on shadow areas using a free online mask editor.
- Lens distortion: Wide-angle lenses stretch corners of a room. The Image Resizer includes a lens-correction toggle. Enable it before finalizing the hero size.
- File size limits: Some print vendors reject PDFs larger than 15 MB. Run the final PDF through the Image Compressor tool, targeting a 12 MB ceiling while preserving 300 DPI.
Proven Layout Structures
Designers often repeat proven patterns. You can use a Hero plus Strip approach, featuring a large hero at the top, a strip of 4-6 supporting images below, and text sandwiched in the middle. A Magazine Style places the hero top-right, scatters varied-size images, and flows text around them. A Grid Layout uses 6-8 equally sized photos in a clean grid with a separate text panel. A Photo-Story sequence walks the viewer through a virtual tour. A quick way to assemble any of these is the Photo Collage Maker tool, which offers ready-made templates for flyer-friendly arrangements.
Palette and Brand Rules
Colors should amplify the photographs, not compete with them. Use brokerage brand hues for consistency, but let the photos dominate. Deep tones convey luxury. Bright shades suggest entry-level friendliness. Muted palettes feel sophisticated.
Typography Discipline
Keep type minimal. Large, bold address and price draw the eye. Secondary details like bed-bath-sqft should be legible at a glance. Avoid crowding the page with paragraphs. The visual narrative does most of the work.
Edits That Make the Difference
- Color correction: Ensure paint shades and flooring appear true to life.
- Brightness adjustment: Interior rooms need a lift. When I increased brightness by 15 using the Brightness Image tool, the living-room lighting looked evenly lit without washing out colors.
- Sharpness: A subtle boost reveals texture in countertops and fixtures.
If a photo still feels soft, consider a one-click upscale with the upscaler tool, but remember that true detail comes from the original capture.
Selling the Lifestyle
Beyond pure property shots, add lifestyle images that spark imagination. Show a family enjoying the patio, a nearby coffee shop, or a sunrise over the street. These images broaden appeal and help buyers picture daily life.
Maximizing the Mosaic
When you have many features to showcase, a mosaic layout works well. The Photo Collage Maker can arrange 8-10 thumbnails around a central hero, creating a visual tour at a glance.
Bridging Analog and Digital
A QR code bridges the analog flyer to digital depth. Link it to a video walkthrough, virtual tour, agent contact form, or financing calculator. Keep the code size at least 1 cm square for reliable scanning.
Mailer Versus Open House
Distribution dictates design nuance. Mailers need high contrast, a bold price headline, and a quick-decision focus. Open-house flyers can afford richer detail, multiple interior shots, and reminder dates.
Brokerage Requirements
Include the brokerage logo prominently, a modest agent headshot, and brand colors. Consistency reinforces trust and meets brokerage template requirements.
Choosing a Print Vendor
Local shops offer 1-3 day turnaround at $1-2 per flyer, while online printers provide lower per-unit costs but longer lead times. High-end vendors charge $3-5 for premium stock and finish.
Getting Flyers in Hands
Place flyers at open houses, brokerage stands, targeted mailers, community boards, and share them with fellow agents. A multi-channel approach multiplies exposure.
Digital Adaptations
For email or social, shrink the flyer to 600 px wide and run it through the Image Compressor tool to stay under typical attachment limits. The same visual assets translate across platforms.
Testing What Works
Swap out hero photos, price emphasis, layout patterns, or headline copy to see which version yields more calls. Track responses with a simple phone-tracking number.
When to Update
Update the flyer when the listing price changes, a new open house is scheduled, seasonal lighting shifts, or the property has lingered on the market for weeks.
Frequently Asked Questions
Letter or tabloid size?
Letter works for mailers and stand-alone flyers. Tabloid suits premium listings with richer visual content.
Phone or DSLR for photos?
A DSLR or mirrorless camera provides the resolution and dynamic range needed for print. A high-end phone can suffice for quick updates.
Should I include yourself in the flyer?
A small, professional headshot near the contact details adds a personal touch without dominating the layout.
How many flyers to print?
For an open house, 50-100 copies cover visitors. For a mailer campaign, 200-1000 ensures neighborhood penetration.
Should I use the brokerage’s template?
Most brokerages require their branding guidelines. You can customize within those limits to maintain consistency.
Final Word
Real-estate flyer photo design in 2026 hinges on 300 DPI, proper sizing, bright and sharp hero images, and a coherent collage layout. Use the Brightness Image, Image Resizer, and Photo Collage Maker tools to prepare print-ready assets entirely in the browser. Pair strong visuals with QR codes, brand colors, and targeted distribution for maximum call generation.

Bello builds useful software and writes thoughtful content to make sense of it all. He tests the tools himself and checks the facts before any of it goes in a guide.
Prueba Nuestras Herramientas de Imagen Gratuitas
¿Listo para Probarlo?
Pon estos consejos en práctica con nuestro editor de imágenes online gratuito. Sin registro.
Design your visuals, free


