
Summarise this article with:
A renovation before and after only works if the two photos match. Shoot the after from the same spot, height and focal length as the before, then merge the pair side by side with about 10 pixels of gutter. If the two frames differ in height by more than 15 percent, crop them to one ratio first, because the merge pads the shorter one.
Renovations are expensive and slow, and the record of what changed is usually a phone folder nobody can navigate. The 2026 Houzz and Home study, reported by Forbes from a survey of over 20,000 US respondents, puts the median kitchen spend at $24,000 and a primary bathroom at $15,000. That is worth ten minutes of photography.
Why Document Renovations?
For yourself, the pair is the only reliable memory of what the room used to be. Six months after a kitchen goes in nobody recalls the old layout accurately, and that matters when you are deciding whether the next project is worth it.
For everyone else, the before is the story. A photo of a finished bathroom is a photo of a bathroom. The same photo next to the peeling vinyl it replaced is evidence. That is why contractors lead with pairs in bids and why an estate agent will ask whether you have them.
Planning Your Documentation
The before photos are the ones you cannot go back for, so shoot them before anything moves, not on demolition morning when half the room is already in a skip.
Cover the room from the doorway, then each wall, then the specific things you are paying to change: the failing grout, the cracked sill, the socket in the wrong place. Photograph the problems deliberately, because the after is only impressive against a documented before. Note the date and the room in the filename.
During the work, a weekly frame from the same doorway is enough, and it gives you a sequence later.
Shooting the After From Exactly the Same Spot
This is what separates a comparison from two unrelated photos, and it is almost entirely mechanical.
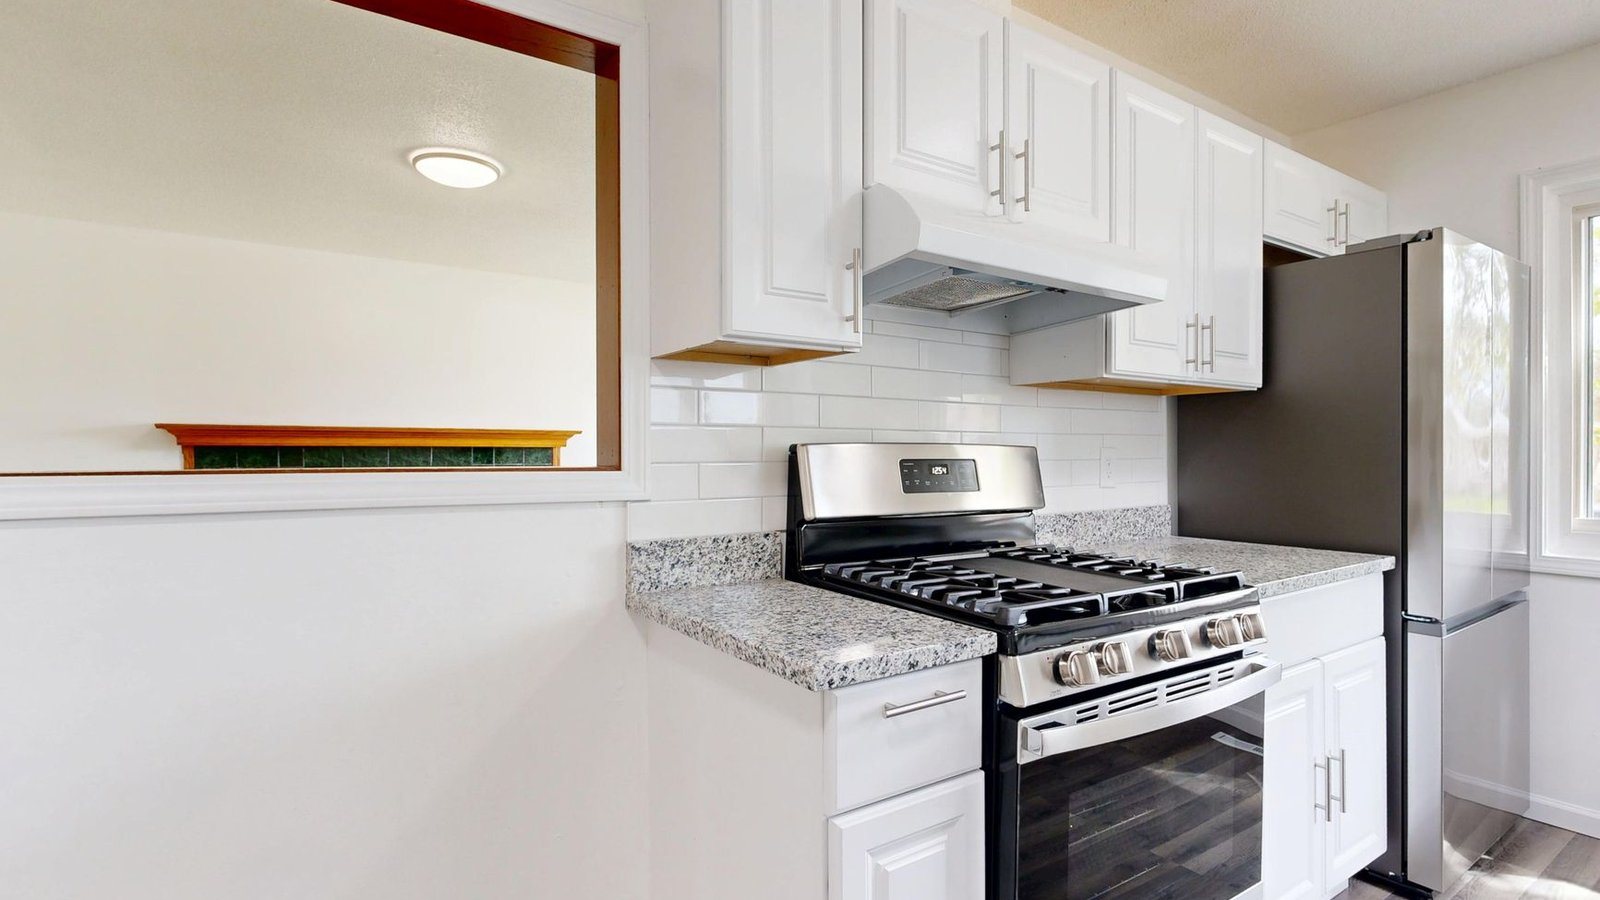
Photo: Peter Vang via Pexels
Mark the position. A strip of masking tape where you stood, plus a note of roughly how high you held the camera. Standing 300 mm further back shifts the perspective enough that the eye reads the two rooms as different sizes.
Lock the focal length. Phones switch lenses without telling you. If the before was on the ultra-wide and the after on the main camera at 1x, the frames cover different amounts of the room and no crop will reconcile them. I made exactly that mistake on a bathroom: before at the wide setting, after four months later at 1x, and the second one had to be reshot.
Keep the verticals straight. Hold the phone level rather than tilting up. A tilted frame makes walls lean, and two frames leaning differently is the fastest way to make real work look staged.
Take more than one. Shoot the after three times from the mark before the tape comes up, because you get no second chance once the room is furnished.
Matching Light and White Balance Across Months
Renovations run for months and the light does not wait. A before shot in October and an after shot in February are lit differently even at the same hour, and a room lit differently reads as a different colour.
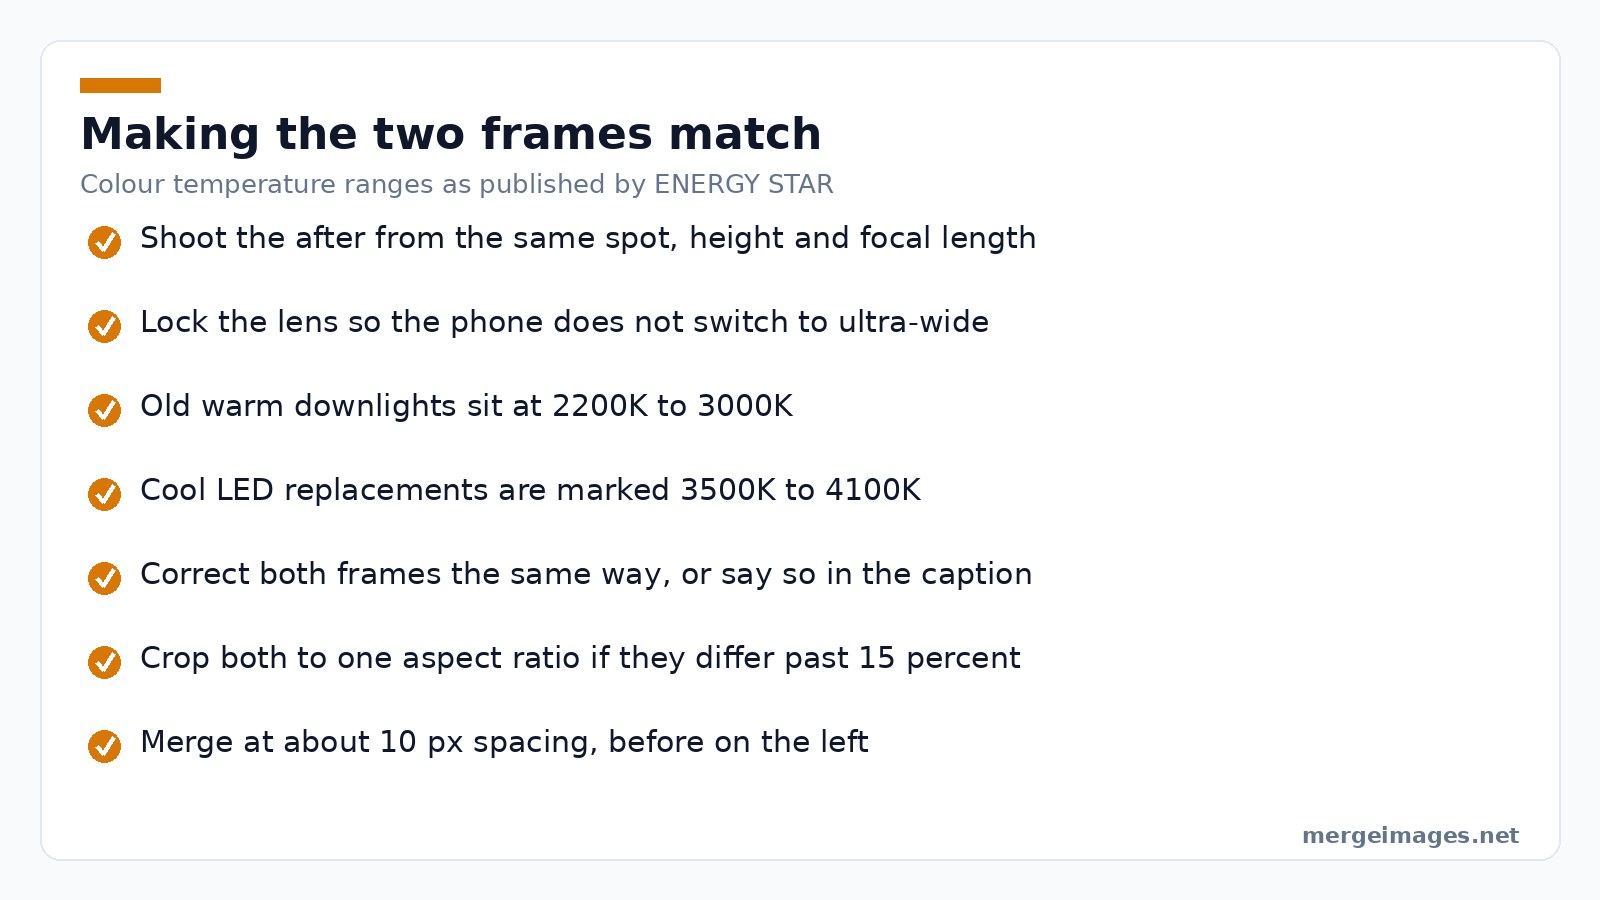
Two things move. Daylight through the window shifts with the season. And the fittings change: ENERGY STAR notes that downlights made to match incandescent bulbs sit at 2200K to 3000K, while whiter products are marked 3500K to 4100K and bluer ones 5000K to 6500K. Swap warm bulbs for cool LED downlights and the after is a genuinely different colour temperature, not just a brighter room.
Shoot both frames at the same time of day, overcast if you can pick, with the room lights on in both or off in both. Then correct both the same way. Warming the after and leaving the before alone is not colour correction, it is advertising, and that is the honest limit of the format: a before and after graded differently is misleading, however good the work was. If you cannot match the light, say so in the caption rather than fixing it in post.
Key Areas to Document
Kitchens: the full room from the doorway, then countertop and backsplash, cabinet fronts, appliance placement and the lighting change. Bathrooms: the overall view, the vanity, the shower or tub, the fixtures, and whatever storage you gained.
Living spaces want the room overview, the flooring transition at the threshold, window treatments and built-in work. Exteriors want the front elevation from the pavement, the entry, the landscaping and, if the lighting changed, one frame after dark.
Shoot one wide frame for the comparison and two or three details for everything else. The wide one is the pair; the details are supporting evidence.
Side by Side or Stacked
Decide by where the pair will be seen, not by which looks better on your laptop.
Side by side suits landscape room shots on a wide screen or a printed page, and it is the default for a contractor portfolio and an estate agent's listing.
Stacked suits anything scrolled on a phone, because two landscape frames side by side each shrink to half the screen width and the detail disappears. Stacked also works better for tall subjects: a cabinet run, a staircase, a doorway.
Whichever you pick, label them. "Before" and "After" in the corners stops the pair being read backwards, which happens more often than you would think when the before is tidy and the after is still unstyled.
Creating Comparison Images
Upload the before first and the after second, because the merge tools assemble in upload order and there is no reordering afterwards.
For a landscape pair, Horizontal Image Merge places them left to right at a default spacing of 10 px, enough to separate the frames without reading as a gap. For a phone-first pair, Vertical Image Merge stacks them. For a whole-house project, the Photo Collage Maker holds several rooms in one grid.
One behaviour to plan around: a horizontal merge sizes the canvas to the taller image and centres the shorter one against your background colour, so a mismatched pair ends up with a visible band. The tools warn you past 15 percent and offer to match sizes, but the cleaner fix is cropping both frames to one aspect ratio in the Image Cropper first.
Technical Quality
Shoot at the highest resolution the camera offers and do not crop into it more than you have to. Wipe the lens: on a phone that has been in a pocket around a building site, that is doing more damage than any setting.
Get exposure right in the frame rather than lifting it later, because a brightened dark before is the kind of edit that makes real work look faked. Straight horizons, clean surfaces, no ladders in shot unless the ladder is the point.
Sharing Your Project
Home improvement tags on Instagram and project boards on Pinterest carry this well, and the tall stacked format suits both.
For a sale, pairs support the listing rather than replacing it: listing photos should show the current state, with the pair used in the description or open house material to show what was replaced. Contractors should file pairs by job type, since a bid is far more persuasive with the closest previous project attached.
Special Considerations
Strip the personal before you shoot. Post, prescriptions, calendars, photographs on the wall and the house number on an exterior frame all end up in public. Check reflections in glass and tiling, where addresses and faces sneak into an otherwise clean photo. If something has to stay in shot, redact it deliberately rather than hoping nobody zooms in.
Project Documentation Tips
One folder per room, dated filenames, and a note of what was done and what it cost. That last part turns a photo set into a record you can use when you sell, when you claim on a warranty, or when you are working out whether the next room is affordable. Back it up somewhere that is not the phone.
Beyond Before-After
The pair is the headline, but the sequence is the interesting part: demolition day, the structure open, the first fitting going in, the last bit of trim. Those are the frames people stop scrolling for, and they cost nothing extra to take. Keep the original inspiration photos too, because setting what you planned next to what you got is a more honest review than the finished shot alone.
Try it hereOpen the image mergerMerge two photos in secondsCombine images side by side or stacked, free, no login.
Frequently Asked Questions
How do I take before and after photos that line up?
Mark where you stood with tape, note the camera height, and lock the lens so the phone does not switch between wide and main. Shoot at the same time of day. Then crop both frames to one aspect ratio before merging, so the pair sits square rather than one frame being padded against the background.
Should renovation before and after photos be side by side or stacked?
Side by side for landscape room shots on a wide screen or a printed page. Stacked for anything read on a phone, because two landscape frames side by side each shrink to half the screen width. Stacked also suits tall subjects like a staircase or a cabinet run. Label both either way.
Is it dishonest to edit a renovation before and after?
Editing both frames identically is fine; editing them differently is not. Brightening the after, warming its colour, or straightening only one of the two changes the comparison rather than the presentation. If the light genuinely differed, correct both the same way and say so in the caption.
What should I photograph before renovation starts?
The full room from the doorway, each wall, and every problem you are paying to fix: the failing grout, the damaged sill, the awkward socket. Do it before anything is moved, because the before is the only shot you cannot go back for. Note the date and the room in the filename.
Do before and after photos help when selling a house?
They support the listing rather than replace it. Listing photos should show the current state, with the pair used in the description or open house material to evidence what was replaced and when. Buyers care more about a documented roof or rewire than the aesthetic change.
Start With the Before Shots
If a project is coming up, the useful action is small: walk the room today, shoot it wide from the doorway plus a handful of details, and put a strip of tape where you stood. Everything else here is recoverable later. That one set of frames is not.

Bello builds useful software and writes thoughtful content to make sense of it all. He tests the tools himself and checks the facts before any of it goes in a guide.
Prueba Nuestras Herramientas de Imagen Gratuitas
¿Listo para Probarlo?
Pon estos consejos en práctica con nuestro editor de imágenes online gratuito. Sin registro.
Unir Imágenes Ahora


