
Summarise this article with:
Cull ruthlessly before you edit. Load the entire shoot, scan every thumbnail, and immediately discard any frame that lacks sharp eyes or genuine smiles. In my recent batch of 300 photos, I marked only 85 as five-star selections; those are the only ones you should edit.
Select your keepers before touching a slider. Load the shoot into a browser tab. Scan thumbnails. Flag frames where the eyes lock sharp and smiles feel genuine. I recently opened a folder of 300 images, applied the rating stars, and after the first pass had 85 images marked 5 star. Edit only those files.
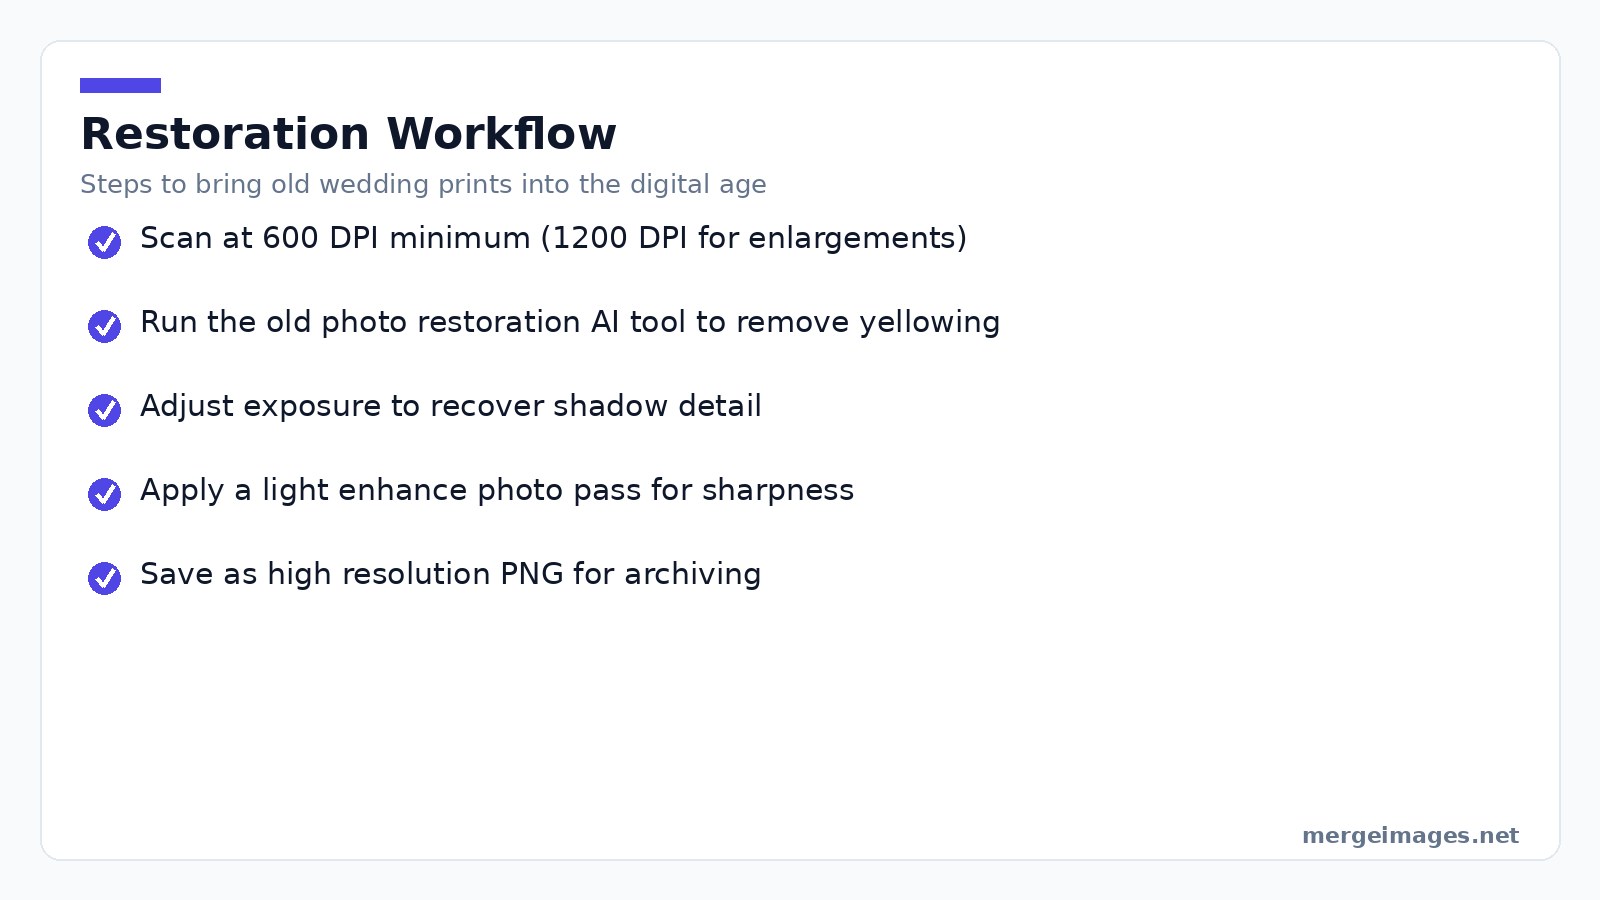
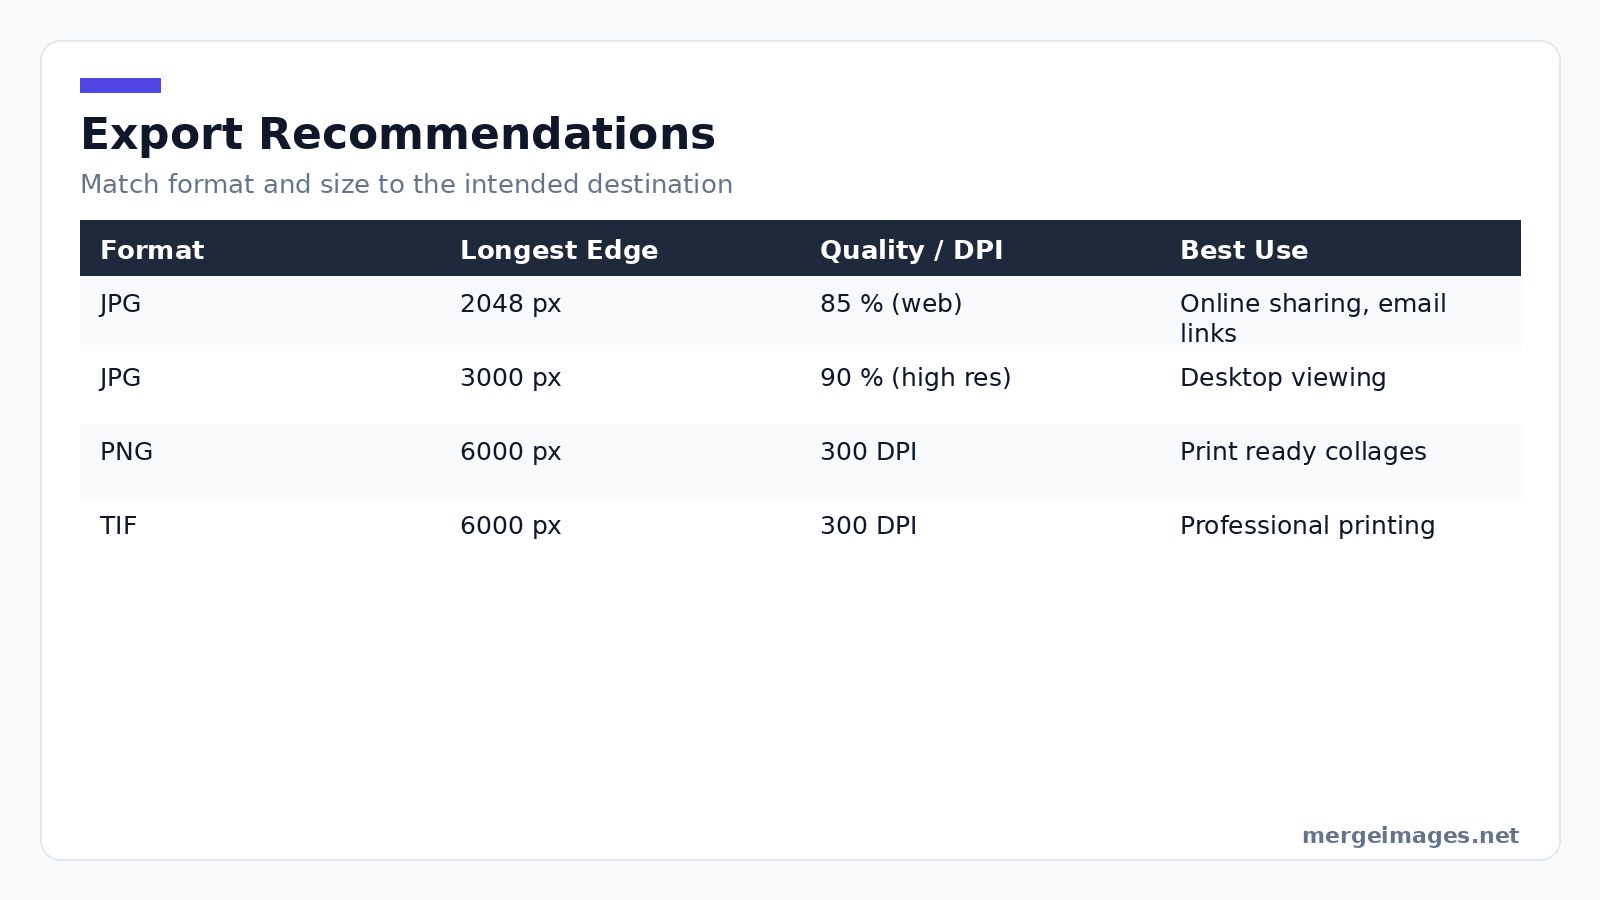
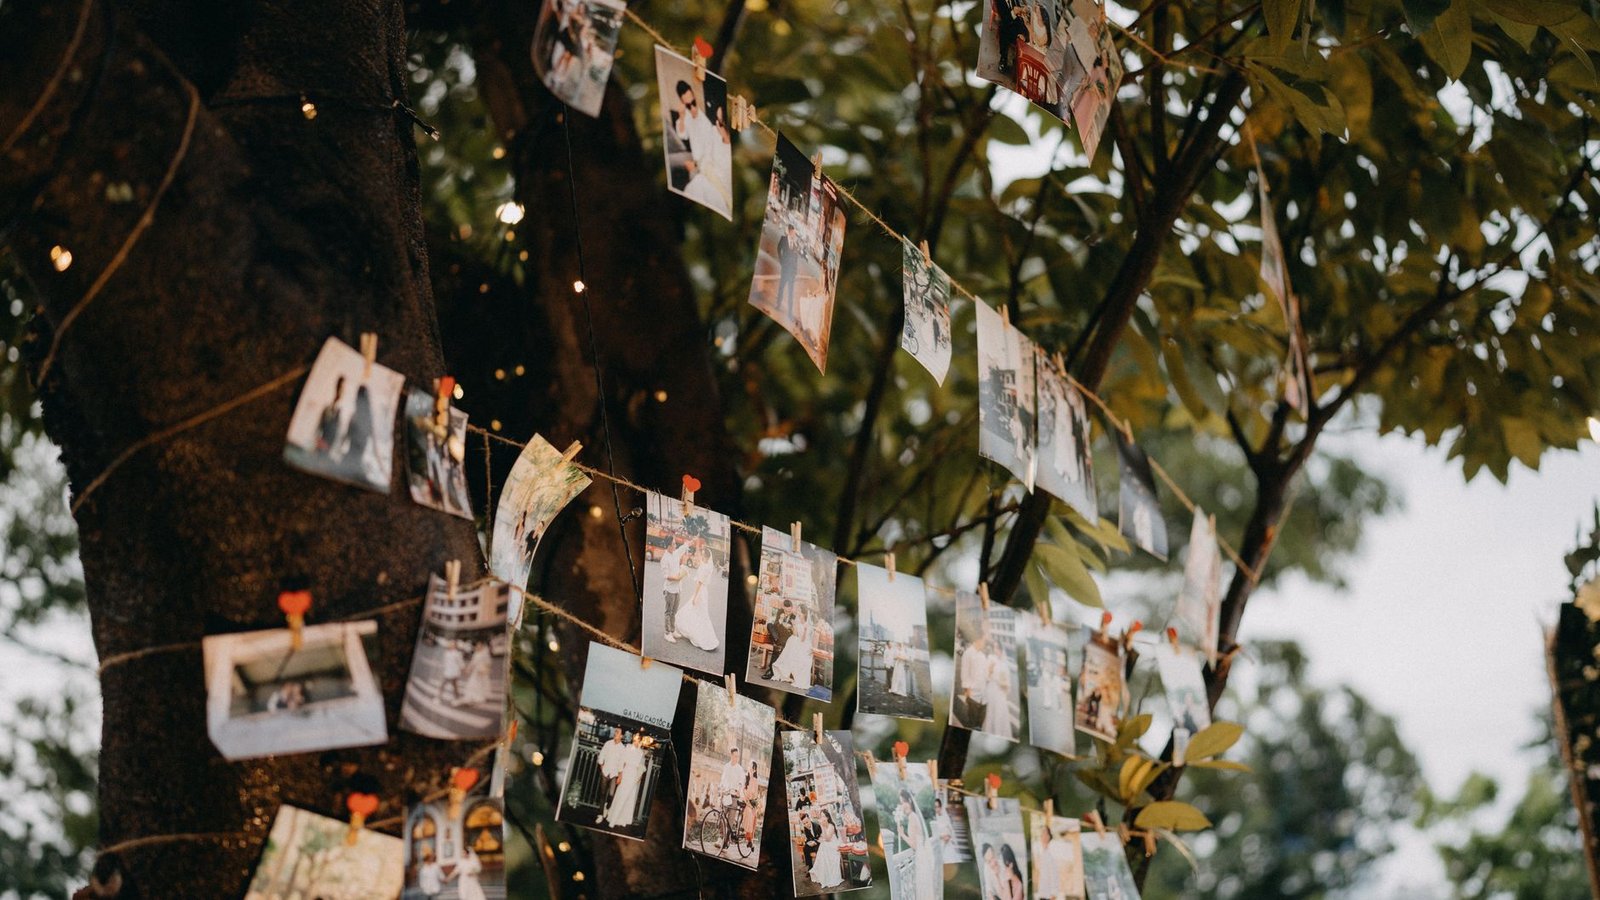
Photo: Pew Nguyen via Pexels
A quick culling routine works like this:
- Scan the timeline. Delete obvious misses like blurry backs, closed eyes, or obstructed faces.
- Mark the top 10 percent that capture the raw emotion of the ceremony.
- Add a handful of detail shots like rings, venue décor, and candid laughter.
- Review the shortlist on a larger screen before moving on.
A tight, curated set makes every edit purposeful and the final gallery cohesive.
Lock Down Exposure and White Balance
Exposure and white balance dictate the entire look. Click the auto expose slider once. Watch it lift shadow detail lost under dim altar lighting. I resized an image to 1200 px wide, shrinking the file from 3.2 MB to 1.1 MB. Modest dimensions keep web uploads fast while preserving visible quality.
In mixed light venues, click a neutral element like a white tablecloth or gray stone wall to let the tool set the temperature. Fine tune the slider until the bride’s dress reads ivory instead of yellow, and the groom’s suit holds its charcoal tone. Never push exposure until highlights clip. Gently raise shadows and lower highlights a few stops instead.
Refine Skin Tones Gently
Keep skin tones natural across every portrait. Use the enhance photo tool to brighten eyes and teeth by no more than 12 %. A subtle lift adds sparkle without looking artificial. When adjusting hue, move the yellow green slider toward red just enough to warm the complexion. Stop before you oversaturate the background.
If a portrait looks too cool after the overall white balance fix, apply a local adjustment to that specific face. This creates a harmonious gallery where guest skin reads correctly regardless of the capture lighting.
Maintain a Consistent Color Mood
A unified color mood ties the day together. Pick one aesthetic like warm and light, timeless neutral, or moody dark. Apply the same curve to every image. The curve panel lets you lift shadows slightly while nudging highlights toward a soft amber for a romantic feel. Keep the curve flat for a classic unstyled look.
Batch processing is your friend. Select the first edited photo, copy its adjustment settings, and paste them onto the rest of the batch. This guarantees ceremony photos match reception shots. The final slideshow becomes a single visual story.
Restore Vintage Wedding Prints
Old family wedding prints hide treasured moments beneath yellowed paper and scratches. The old photo restoration tool uses AI to erase haze and fill missing pixels. I fed a scanned 1972 print into the restoration tool. The AI removed the yellow haze and recovered fine lace details that were invisible before.
Use this reliable workflow for scanned prints:
- Scan at 600 DPI minimum. Use 1200 DPI for prints you plan to enlarge.
- Run the restoration tool to neutralize the age induced color shift.
- Adjust exposure to bring back faint shadows.
- Apply a light touch of the enhance tool to clarify edges if the scan lacks sharpness.
- Save the result as a high resolution PNG for future use.
These steps drag decades old memories into the digital age without losing original charm.
Build a Storytelling Collage
A well designed collage summarizes a whole wedding in a single frame. The photo collage maker offers ready made layouts that automatically size each image for balanced composition. Choose a timeline layout covering getting ready, ceremony, first dance, and reception. Drop your curated shots into the placeholders.
Set the canvas to 300 DPI for a print ready collage. A 20 × 16 inch collage needs a 6000 × 4800 px file. The tool exports a PNG that meets this requirement. Send it straight to a printer.
Export the same collage at 150 DPI for online sharing. This keeps the file under 2 MB and ensures quick uploads to social platforms.
Export for Sharing and Printing
Exporting the right file type and size prevents future frustration. Use this table as a quick reference:
| Format | Longest Edge | Quality / DPI | Best Use |
|---|---|---|---|
| JPG | 2048 px | 85 % | Online sharing, email links |
| JPG | 3000 px | 90 % | High resolution desktop viewing |
| PNG | 6000 px | 300 DPI | Print ready collages |
| TIF | 6000 px | 300 DPI | Professional printing |
The 2048 px JPG keeps load times low for web albums while preserving detail. Export each image as a PNG at 300 DPI for a photo book to guarantee crisp prints.
Know Your Tool Limits
Even the best free tools have boundaries. The auto expose function recovers moderate shadow loss. It will not reconstruct detail from severely underexposed areas where a dedicated RAW converter is required. The skin tone slider works well for minor color casts. Over use creates a plastic look that feels inauthentic. Batch copying settings ensures consistency but does not replace a final visual check. A single outlier breaks the mood of the entire sequence.
Step back and reduce the contrast amount if you notice banding after a large increase. The browser engine lacks true 16 bit processing, so extreme adjustments expose its limitations. Heavy grain removal smooths away fine fabric texture when working with vintage scans. Aim for a balance that reduces distraction while preserving the character of the original print.
Platform Guidance
- Always work on a copy of the original file. Browser tools edit in place only when you click save. Keep the source untouched.
- Calibrate your monitor using a basic calibration tool for color critical work. Displayed tones may mislead you otherwise.
- Use the “undo” stack liberally. Most browsers allow ten steps back, which is enough to experiment safely.
- Ask for the exact DPI and colour profile when exporting for a specific printer. The default PNG output uses sRGB which matches most consumer printers.
- Zip the folder before uploading if you need to share a large gallery. Many platforms impose a 25 MB per file limit.
Frequently Asked Questions
How many photos should I edit for my wedding?
A focused selection of 80 to 100 images captures the day’s story without overwhelming viewers.
Do I need professional software to fix my wedding photos?
No. Free browser tools handle exposure, skin tone, and collage creation without any download or signup.
What file format works best for printing a photo album?
Export as PNG or TIF at 300 DPI for the exact print dimensions you plan to use.
Can I restore old wedding photos on my own?
Yes. The old photo restoration tool removes yellowing and scratches. You can then enhance the result for a clean digital version.
How do I share my edited wedding photos with family?
Upload the JPG files at 2048 px longest edge to a shared album. Send the link via email or messenger.
Bello builds useful software and writes thoughtful content to make sense of it all. He tests the tools himself and checks the facts before any of it goes in a guide.
Probieren Sie Unsere Kostenlosen Bildtools
Bereit es Auszuprobieren?
Setzen Sie diese Tipps mit unserem kostenlosen Online-Bildeditor in die Praxis um. Keine Anmeldung erforderlich.
Enhance your photos, free


